Every manual step in Salesforce, updating a field, sending a follow-up email, assigning a task, adds up. Multiply that across a team, and you’re looking at hours lost each week to work that Salesforce workflow automation can handle on its own. The good news: Salesforce gives you built-in tools to eliminate that repetitive effort and keep your processes consistent without writing a single line of code.
This guide breaks down how Salesforce Flow (the platform’s current automation engine) works, what replaced the legacy Workflow Rules and Process Builder, and how to put automation into practice with real examples you can adapt to your own org. Whether you’re automating lead assignments, approval chains, or data syncing with external platforms, you’ll find actionable steps to get started.
At Atrixware, we build Axis LMS with direct Salesforce integration, including SSO and CRM data sync, so we see firsthand how well-structured Salesforce automation reduces friction between systems. If your LMS and CRM aren’t talking to each other automatically, you’re creating unnecessary work. This article will help you fix that on the Salesforce side and build smarter workflows from the ground up.
Why Salesforce workflow automation matters
When your team handles data entry, follow-ups, and record updates by hand, errors compound quickly. A rep forgets to update a lead status. A manager misses an approval request buried in email. A new account gets created without triggering the onboarding checklist. None of these failures happen because people aren’t trying. They happen because manual processes don’t scale and human attention has limits.
The real cost of doing it manually
Most teams underestimate how much manual work lives inside Salesforce. Consider a standard sales cycle: a lead comes in, someone assigns it, sends an acknowledgment, sets a follow-up task, updates the lead source, and notifies the right team member. That’s five separate actions per lead, all performed by a person if you have no automation in place. Multiply that by dozens of leads per day, and you’re spending hours every week on work that produces no strategic value.
Inconsistent data quality is often just as damaging as lost time. When people manually update records, they skip steps, use different naming conventions, or leave fields blank. That inconsistency breaks your reports, distorts your pipeline forecasts, and makes it harder to trust the numbers you rely on to make decisions.
If your Salesforce data isn’t reliable, every decision you make from it carries hidden risk.
Consistency and compliance at scale
Automation removes the variability that comes with human execution. When you configure a rule in Salesforce Flow, every record that meets the criteria gets identical treatment, every time, without exception. That consistency matters for daily operations, but it matters even more when compliance is on the line.
Many industries require documented, repeatable processes. Healthcare organizations track consent and communication logs. Financial firms record every client touchpoint. Regulated businesses need audit trails that show exactly what happened and when, and salesforce workflow automation delivers that by default because each automated action is logged directly against the record it affects.
Your compliance team will also spend far less time verifying that processes were followed. When a workflow runs automatically, the documentation generates itself, and you’re no longer depending on individuals to remember which steps they completed or in what order.
Faster handoffs between teams
Salesforce sits at the center of sales, marketing, customer service, and operations for most businesses. When one team finishes their portion of a process, the next team needs a signal to act. Without automation, that handoff depends on someone sending a message, updating a shared spreadsheet, or picking up the phone.
Automated handoffs eliminate that lag entirely. When a deal closes in Salesforce, an automation can immediately notify your customer success team, create an onboarding task, and trigger a welcome email, all without anyone touching the record manually. The same principle applies to training workflows: if you connect a platform like Axis LMS to Salesforce, a closed deal or updated contact record can automatically enroll a customer in the correct training course, cutting the manual coordination that would otherwise pass between your CRM and LMS teams.
Key concepts and building blocks
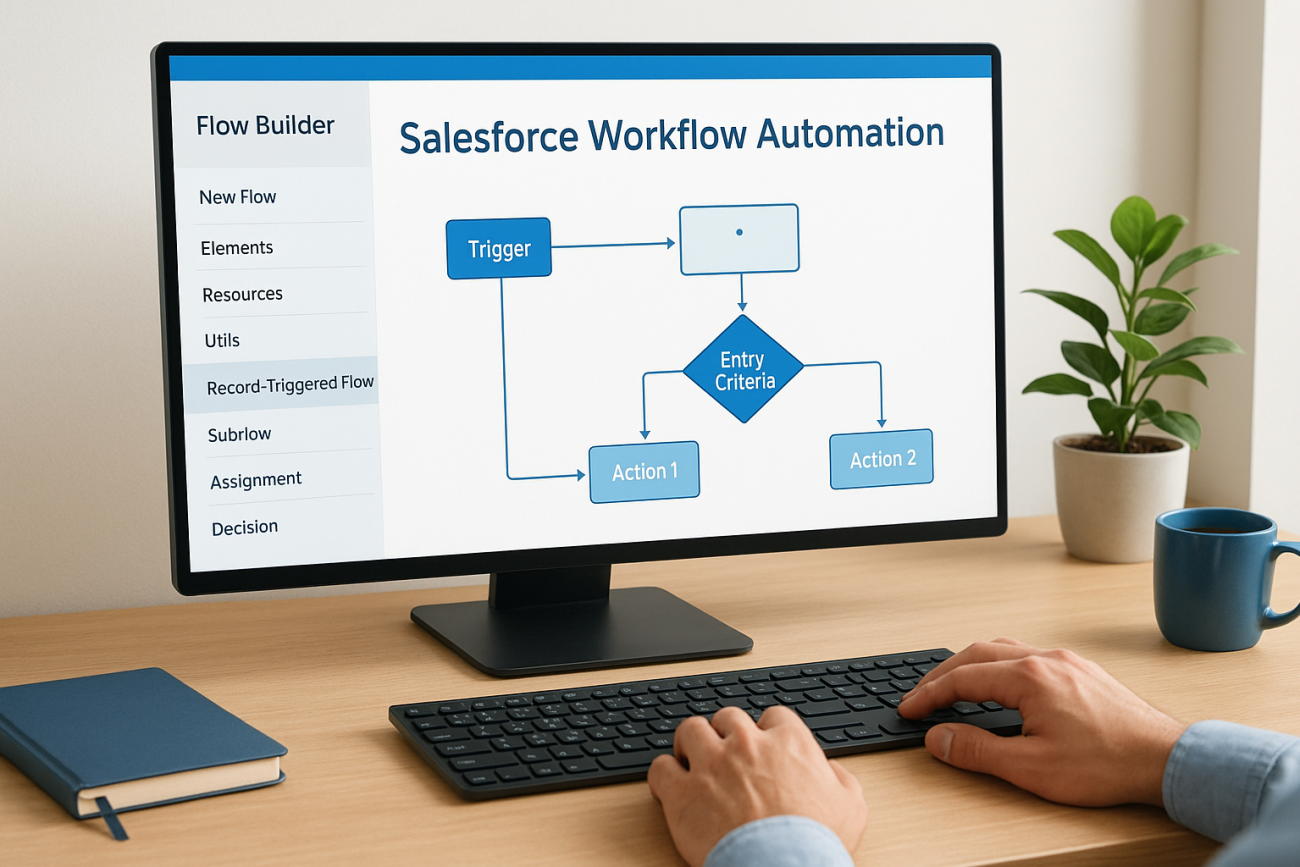
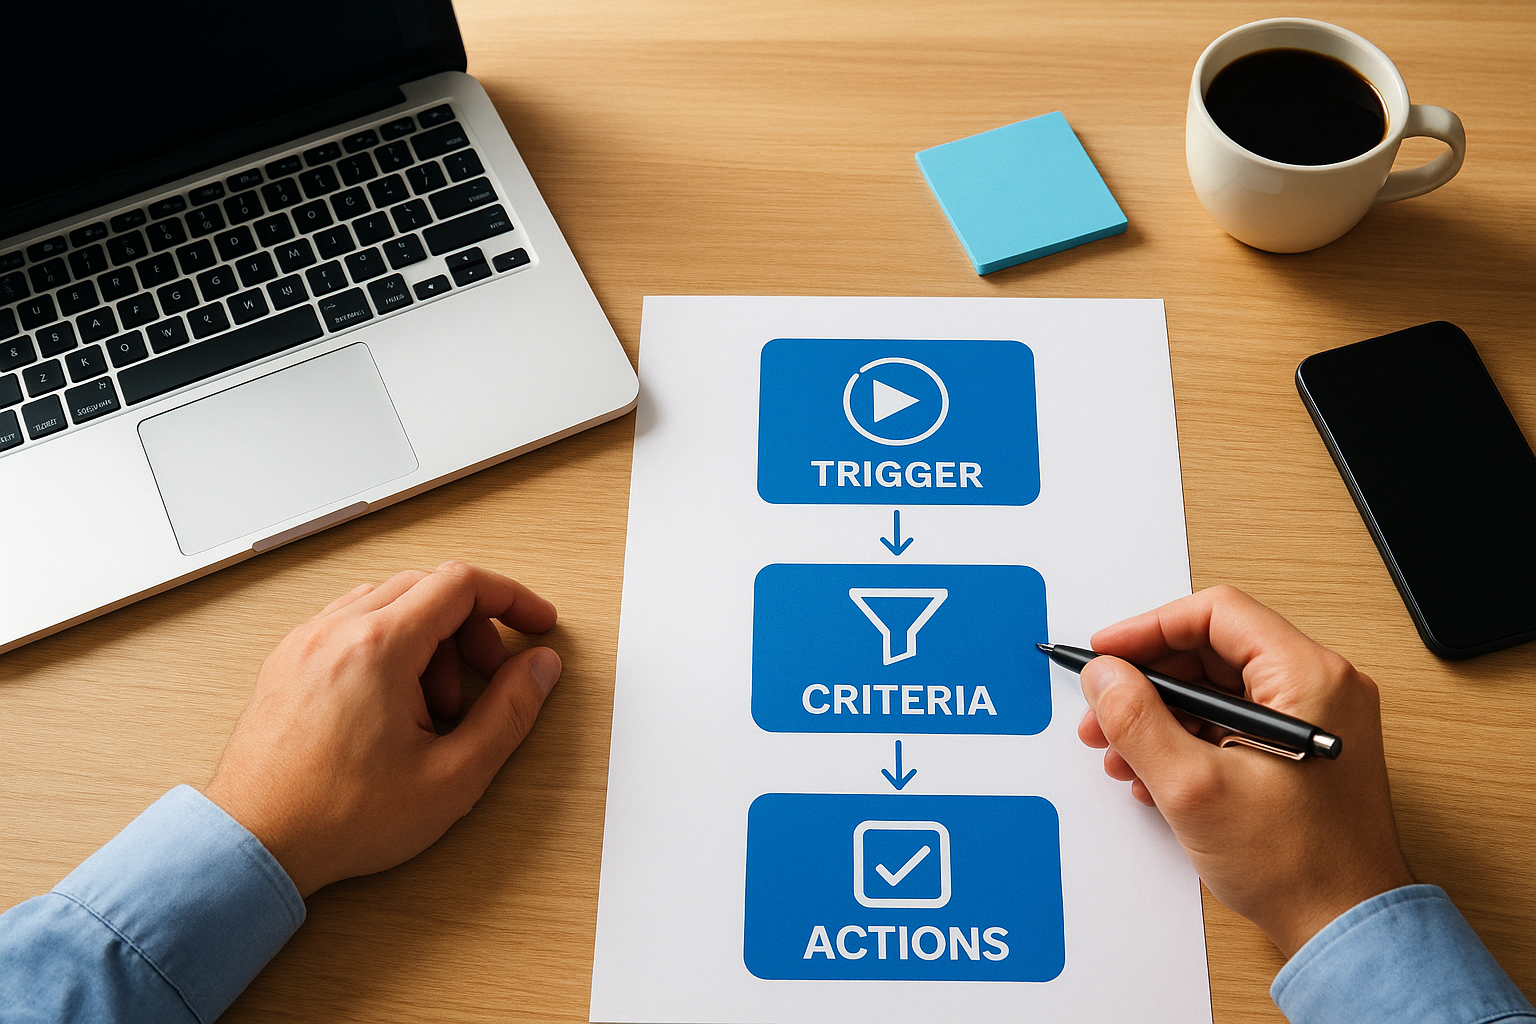
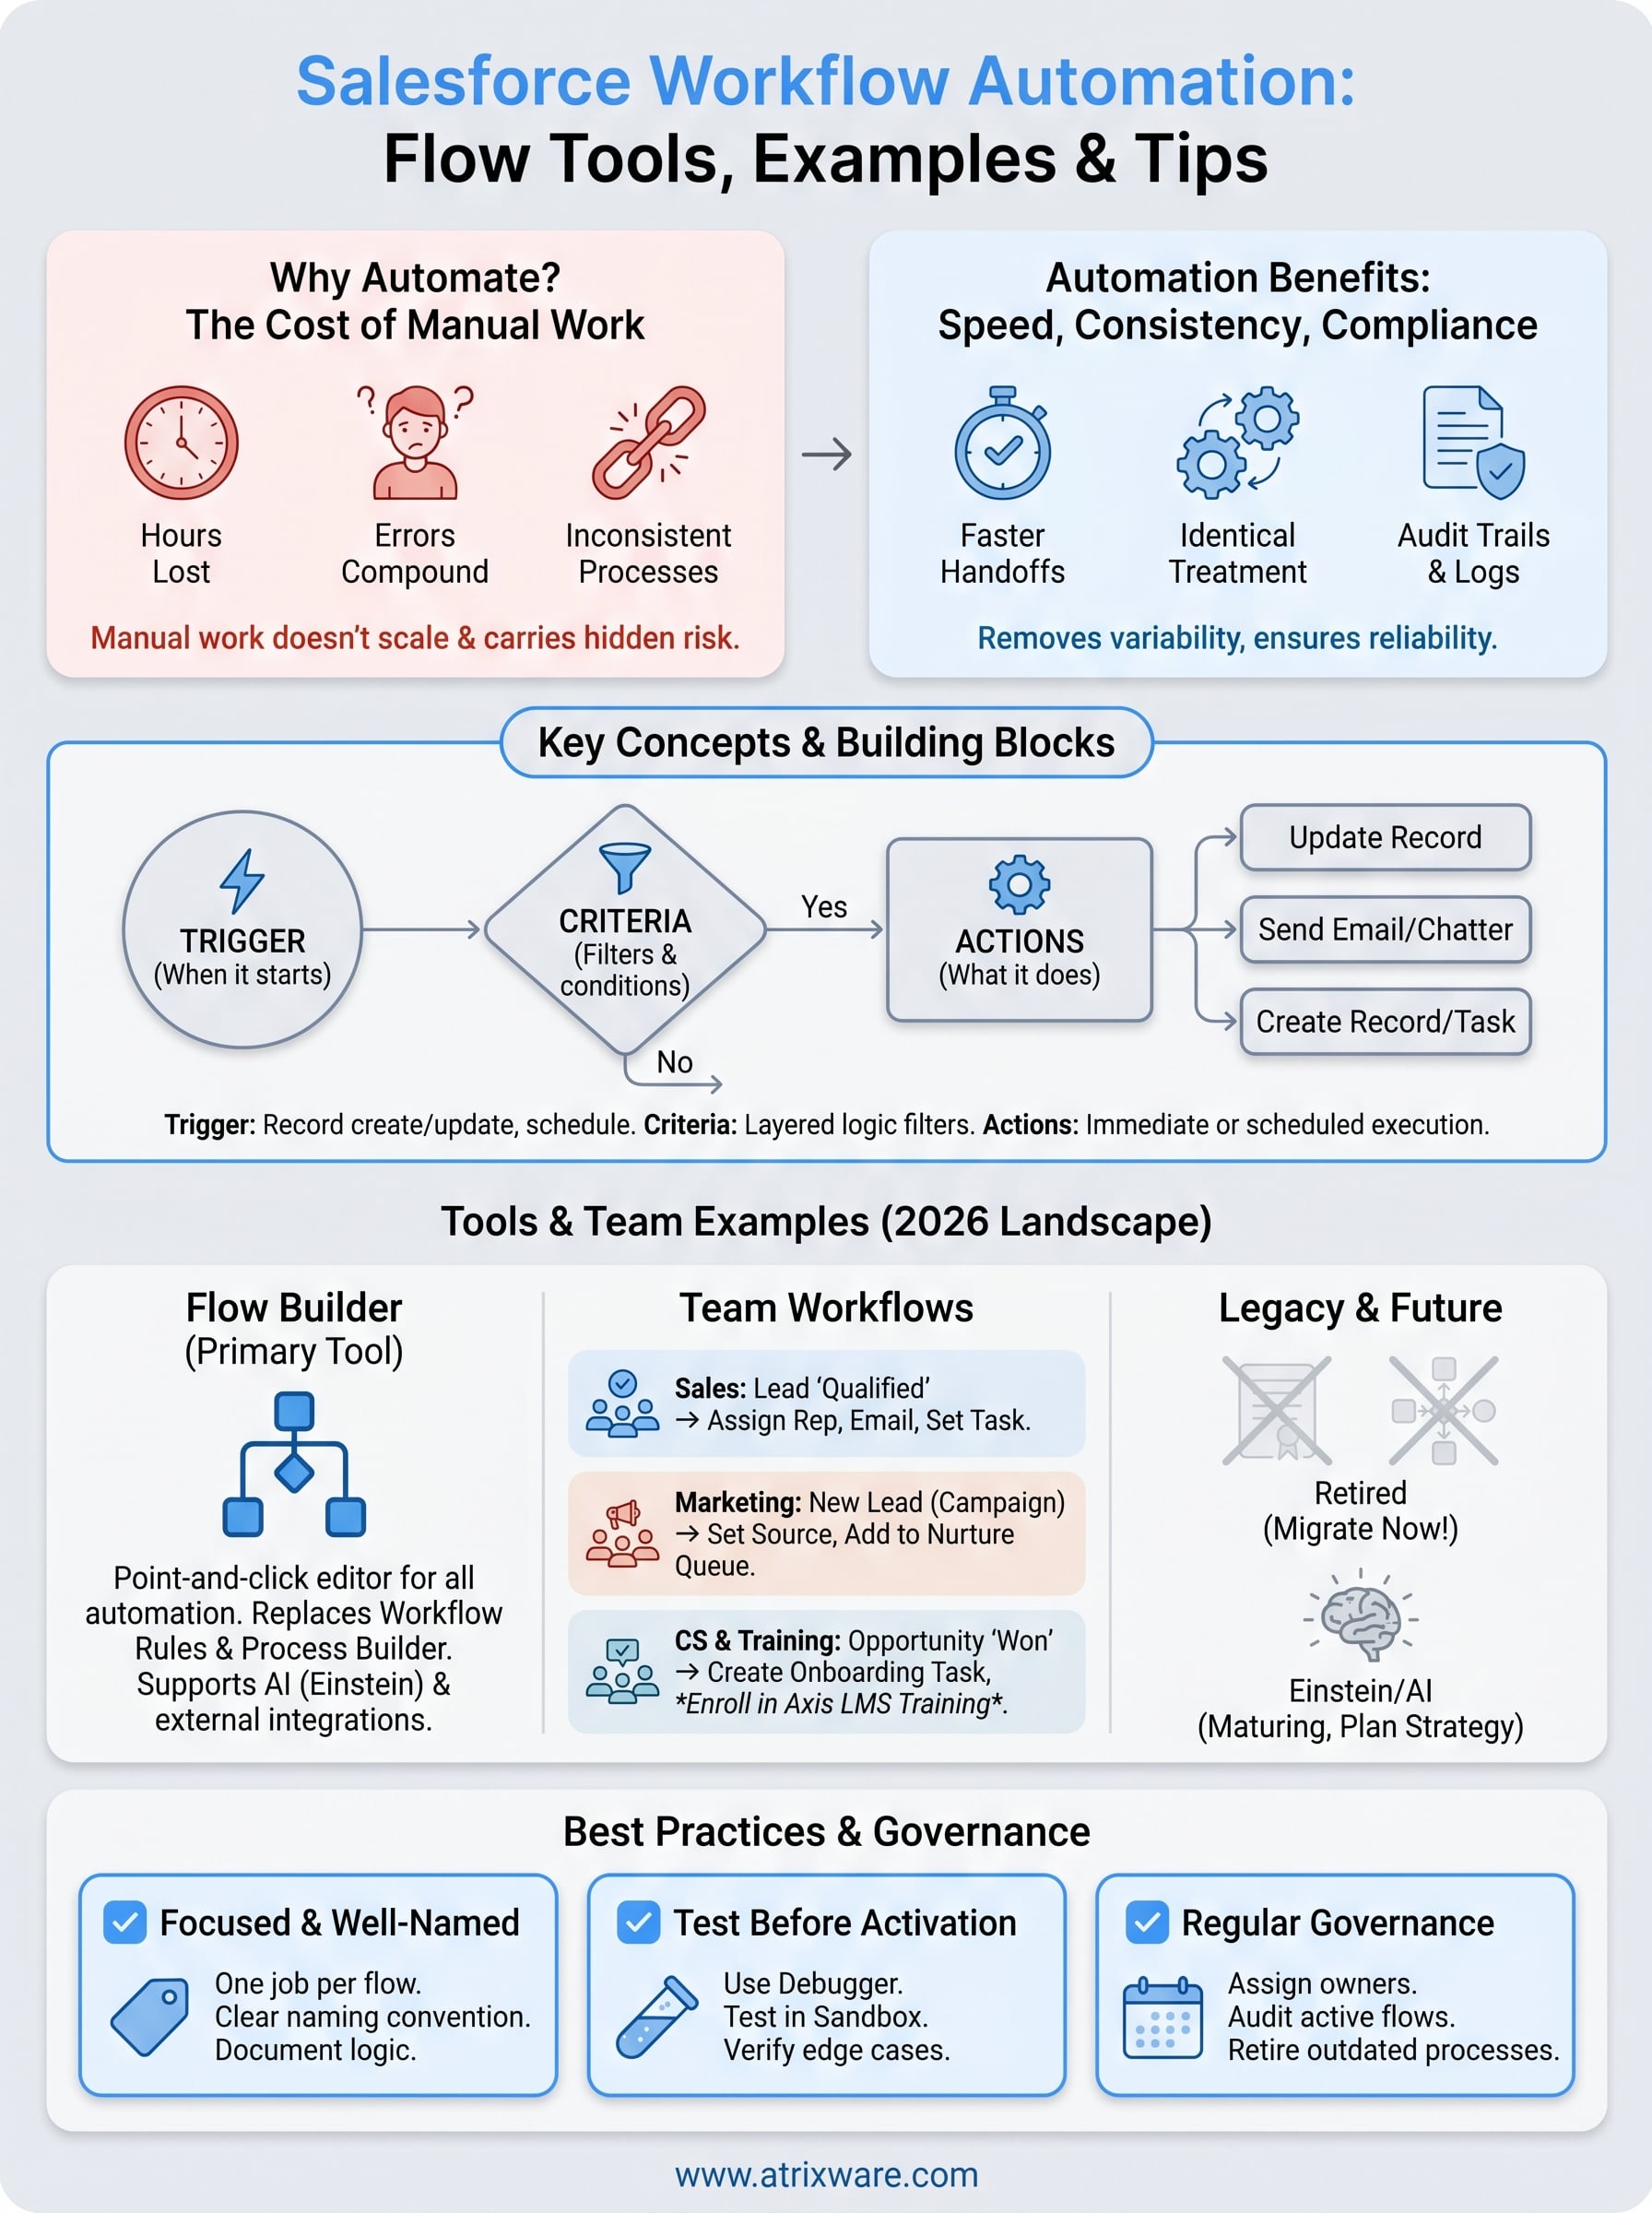
Before you configure a single flow, you need to understand how Salesforce automation is structured. Every automated process is built from three core components: a trigger that starts the process, criteria that determine whether it should run, and actions that execute the logic. Understanding how these pieces connect gives you a foundation to build automation that works reliably and stays easy to maintain over time.
Triggers and criteria
A trigger defines when your automation starts. In Salesforce Flow, you can start a flow when a record is created, updated, deleted, or on a set schedule. The trigger fires first, then Salesforce checks your criteria before running any actions. Criteria act as filters: if a lead’s status changes to "Qualified" but your criteria also require the region to be "Northeast," the automation only runs for records that meet both conditions. This layered logic keeps your flows targeted and prevents unwanted actions from firing on every record change.
Getting your trigger and criteria combination right is what separates a flow that runs precisely from one that creates data problems across your org.
Actions and their types
Actions are what your flow actually does once the trigger fires and the criteria pass. Salesforce gives you a wide range of action types to work with, including field updates on the triggering record or related records, new record creation, email sends, Chatter posts, external HTTP callouts, and subflow launches. Immediate actions run the moment the criteria are met, while scheduled actions let you delay execution by hours or days, which is useful for follow-up reminders or escalation steps inside your salesforce workflow automation setup.
Objects and relationships
Every action in Salesforce operates on an object, which is the database table that stores your records. Standard objects like Lead, Contact, Opportunity, and Account are where most automation lives, but custom objects work exactly the same way. When you build a flow, you tell it which object to target, and from there you can traverse relationships to read or write data on connected records. For example, a flow triggered on an Opportunity can update fields on the parent Account without any extra configuration steps, keeping your related data accurate automatically.
Salesforce automation tools in 2026
Salesforce has consolidated its automation capabilities significantly over the past few years. Flow Builder is now the primary tool for building salesforce workflow automation, and Salesforce has been clear that all legacy tools are being phased out in favor of it. If you’re still relying on older tools, understanding the current landscape will help you plan your migration and avoid building on a foundation that Salesforce no longer supports.
Salesforce Flow Builder
Flow Builder is a point-and-click automation editor that you access directly inside Setup. It handles everything from simple field updates to complex multi-step processes with branching logic, loops, and external callouts. You build your flow on a visual canvas by dragging and connecting elements, which makes the tool accessible even without a development background. Record-Triggered Flows are the most common type you’ll work with, but Flow Builder also supports Screen Flows for guided user experiences, Schedule-Triggered Flows, Platform Event-Triggered Flows, and Autolaunched Flows that other processes can call on demand.
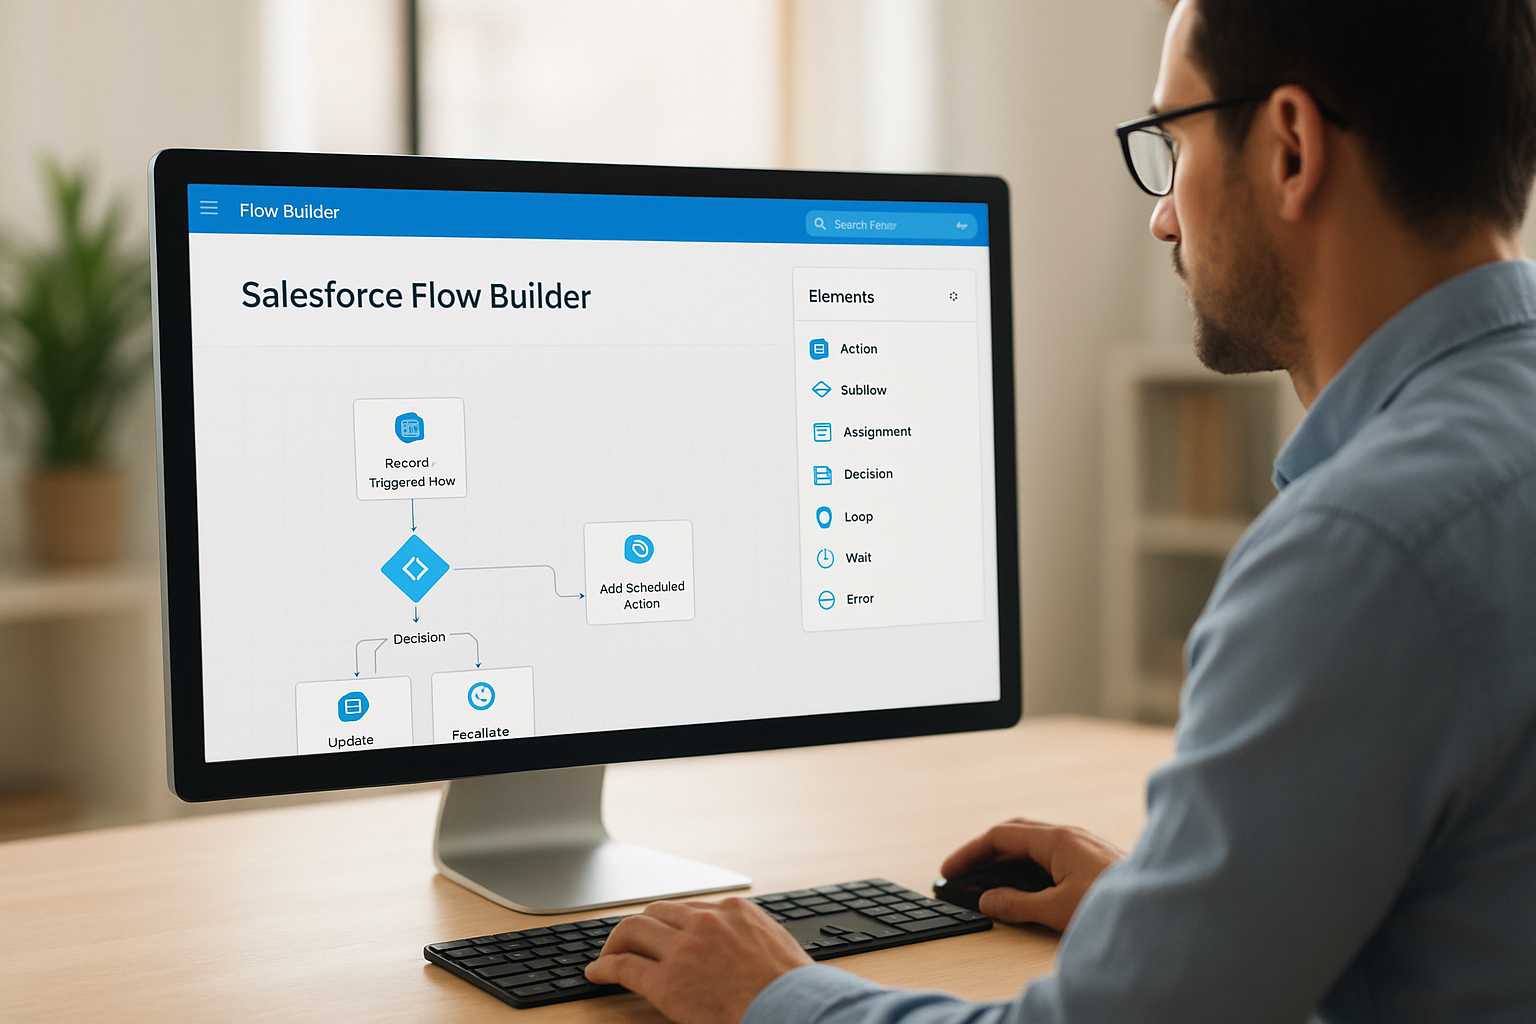
Flow Builder replaced both Workflow Rules and Process Builder, and it handles every use case those tools covered while adding significantly more capability.
Workflow Rules and Process Builder: what you need to know
Salesforce retired Workflow Rules and Process Builder in 2025. Both tools are no longer available for new automation in most orgs, and Salesforce has provided migration tooling to help you convert existing automations into Flow. If your org still runs active Workflow Rules or Process Builder processes, you should prioritize migrating them now. Leaving legacy automations in place creates real maintenance risk, since Salesforce will not invest in fixing compatibility issues or extending support for tools it has officially retired.
Einstein and AI-assisted automation
Einstein for Flow and Agentforce represent Salesforce’s push toward AI-assisted automation within the platform. Einstein for Flow can suggest next steps based on your org’s data patterns, while Agentforce lets you build autonomous agents that take action on behalf of users without manual triggers. These tools are still maturing, but planning your automation strategy around them now positions you to take advantage of AI capabilities as they become more reliable. Start with Flow Builder as your foundation, then layer in AI features where they add clear, measurable value to your processes.
Workflow automation examples by team
The best way to understand salesforce workflow automation is to see it applied to real team workflows. The examples below cover the most common use cases across sales, marketing, and customer success and training, giving you concrete starting points you can adapt directly to your org.
Sales team
When a lead’s status changes to "Qualified," your flow can assign it to the correct rep based on territory, send an automated acknowledgment email to the lead, and create a follow-up task with a due date set three days out. A second flow handles deal progression: when an Opportunity moves to "Proposal Sent," it notifies the sales manager and sets a reminder task if the stage hasn’t changed within a week.
Common sales flow triggers to build first:
- Lead created with a specific source: auto-assign and notify the rep
- Opportunity stage changed to "Closed Won": create a handoff task for customer success
- Contact not updated in 30 days: alert the account owner to re-engage
Marketing team
Marketing automation in Salesforce centers on lead source tracking and campaign response accuracy. When a new Lead is created with a specific campaign source, a flow sets the correct lead source field, adds the record to the campaign with a "Responded" status, and routes it to a nurture queue if the lead score falls below your qualification threshold. This keeps your campaign attribution clean without relying on reps to fill in fields after the fact.
Clean campaign data starts with automation, not manual field updates.
Useful marketing flows to add after lead routing:
- Duplicate lead detected: flag for review and pause assignment
- Lead converted: copy source data to the new Contact and Opportunity records
- Campaign end date reached: update all open leads in that campaign automatically
Customer success and training teams
When an Opportunity closes as "Won," a flow can create an onboarding task for the assigned customer success manager, post a Chatter notification to the team channel, and update the Account status field without anyone touching the record. If you connect Axis LMS to Salesforce, that same trigger can automatically enroll the new customer in the correct training course, removing the manual handoff between your CRM and LMS teams entirely.
How to build workflow automation with Flow
Building salesforce workflow automation in Flow Builder is straightforward once you approach it in a logical sequence. Open Setup, search for Flows, and click "New Flow" to get started. From there, you choose your flow type first, and for most record-based automation, you’ll select "Record-Triggered Flow." The rest of the process follows a consistent pattern: define the trigger, set your criteria, add your actions, and activate.
Step 1: Define your trigger and criteria
Your first decision is which object the flow watches and what event starts it. Select your object (Lead, Opportunity, Contact, etc.), then choose whether the flow runs when a record is created, updated, or deleted. After that, you set your entry criteria using condition filters to narrow down which records qualify. Keep your criteria as specific as possible. A flow that fires on every record update creates performance problems and increases the chance of unintended changes.
The tighter your entry criteria, the fewer edge cases you’ll need to troubleshoot after activation.
Step 2: Map your actions before you build
Before you drag a single element onto the canvas, write out your logic in plain language. List every field update, email send, record creation, and notification you need the flow to handle. Decide whether each action is immediate or scheduled. This planning step saves time because it prevents you from building halfway through a flow and realizing the logic doesn’t hold.
Once you start building, use the canvas to connect your elements in sequence. Add Update Records elements for field changes, Create Records for new tasks or cases, and Send Email Alert actions for notifications. If your flow branches (for example, different actions based on region or record type), use a Decision element to split the path cleanly.
Step 3: Activate and monitor
Before you activate, use the built-in debug tool in Flow Builder to run a test with sample record data. The debugger shows you exactly which path your flow takes and flags any errors before they affect live records. Once you activate, monitor the Paused and Failed Flow Interviews section in Setup during the first few days. Failed interviews tell you precisely where the flow broke and what data caused the issue, so you can fix problems quickly without guesswork.
Best practices, testing, and governance
Running salesforce workflow automation well long-term requires more than just building flows that work on day one. Without consistent naming standards, clear ownership, and a structured testing process, your automation layer becomes difficult to maintain as your org grows. The practices below will help you keep your flows reliable, auditable, and easy to hand off to anyone who joins your team later.
Keep flows focused and well-named
Every flow you build should do one clearly defined job. When you combine too many unrelated actions into a single flow, troubleshooting becomes complicated and changes carry unintended consequences. Name each flow using a consistent format that describes the object, trigger event, and outcome, for example: "Lead: Created – Assign and Notify Rep." Clear names make it immediately obvious what a flow does without requiring anyone to open it.
Document your flows even when the logic seems simple. Add description fields inside Flow Builder to explain why the flow exists, who requested it, and what business process it supports. That context saves significant time when someone needs to update the flow months after it was built.
A flow that’s well-named and documented is a flow that your whole team can maintain, not just the person who built it.
Test before you activate
Use the Flow Builder debugger to run your flow against real or sample record data before you switch it on. Step through the debug output to confirm that every element fires in the correct order and that your criteria filter out records you don’t intend to affect. Pay particular attention to scheduled actions and related record updates, since those are the areas where untested flows most often produce unexpected results.
Test in a sandbox org whenever possible. Sandboxes give you an isolated environment to verify your logic against realistic data without any risk to live records or active users. Move flows to production only after you’ve confirmed the behavior is correct.
Govern your automation as it grows
Assign a designated owner to each flow so there’s always someone accountable for keeping it current. As your org evolves, flows built for old processes can conflict with new ones, creating duplicate actions or overwriting fields incorrectly. Schedule a quarterly review to audit active flows, check for failures in the Paused and Failed Flow Interviews log, and retire any automation that no longer serves a current business process. Governance is what separates a manageable automation library from one that creates more problems than it solves.
Where to go from here
You now have a complete picture of how salesforce workflow automation works in 2026: the tools available, the building blocks behind every flow, real examples across teams, and the governance habits that keep your automation reliable over time. The next step is straightforward. Pick one repetitive process your team handles manually today, map it out using the trigger, criteria, and action structure covered in this guide, and build your first Record-Triggered Flow in a sandbox. Starting small gives you a working example to learn from before you scale the approach across your org.
If your training workflows are still disconnected from Salesforce, that gap costs your team time on every closed deal and every new customer onboarded. Axis LMS integrates directly with Salesforce to automate enrollment, sync learner data, and remove the manual handoff between your CRM and your training platform. See how Axis LMS connects with your Salesforce org and start automating your training workflows today.