A security breach doesn’t wait for your team to figure out what to do next. When systems go down and data is at risk, the difference between a contained incident and a full-blown crisis comes down to one thing: whether your people know the security incident response plan steps before the pressure hits. Organizations that wing it during an incident spend 63% more on recovery costs than those with a tested, rehearsed plan, according to IBM’s Cost of a Data Breach report.
The problem isn’t a lack of frameworks. NIST and SANS have published solid ones for years. The problem is that most teams never operationalize those frameworks, they sit in a PDF somewhere, unread and untrained. That’s where structured training becomes critical. At Atrixware, we build Axis LMS to help organizations deliver and track compliance training at scale, including the kind of security awareness and incident response training that turns a static document into muscle memory for your team.
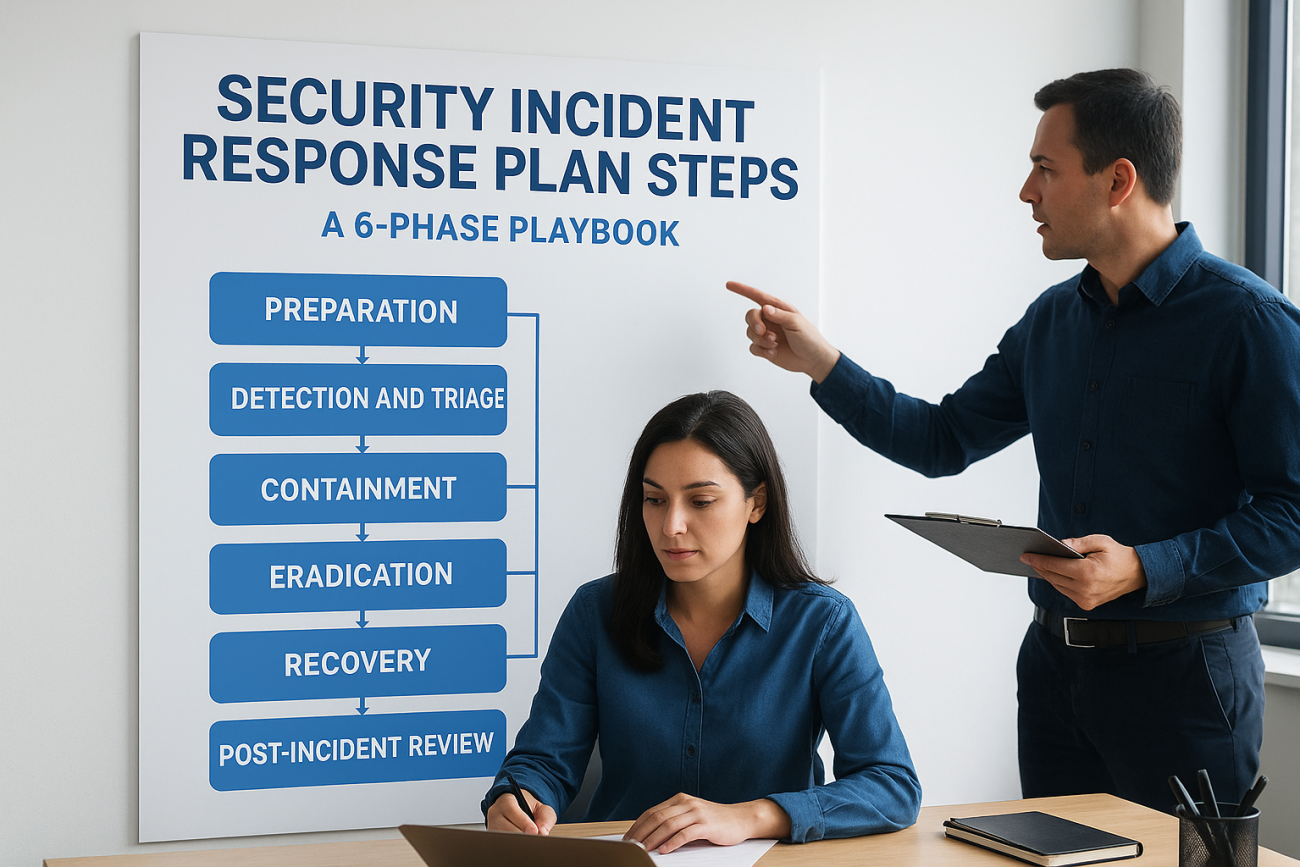
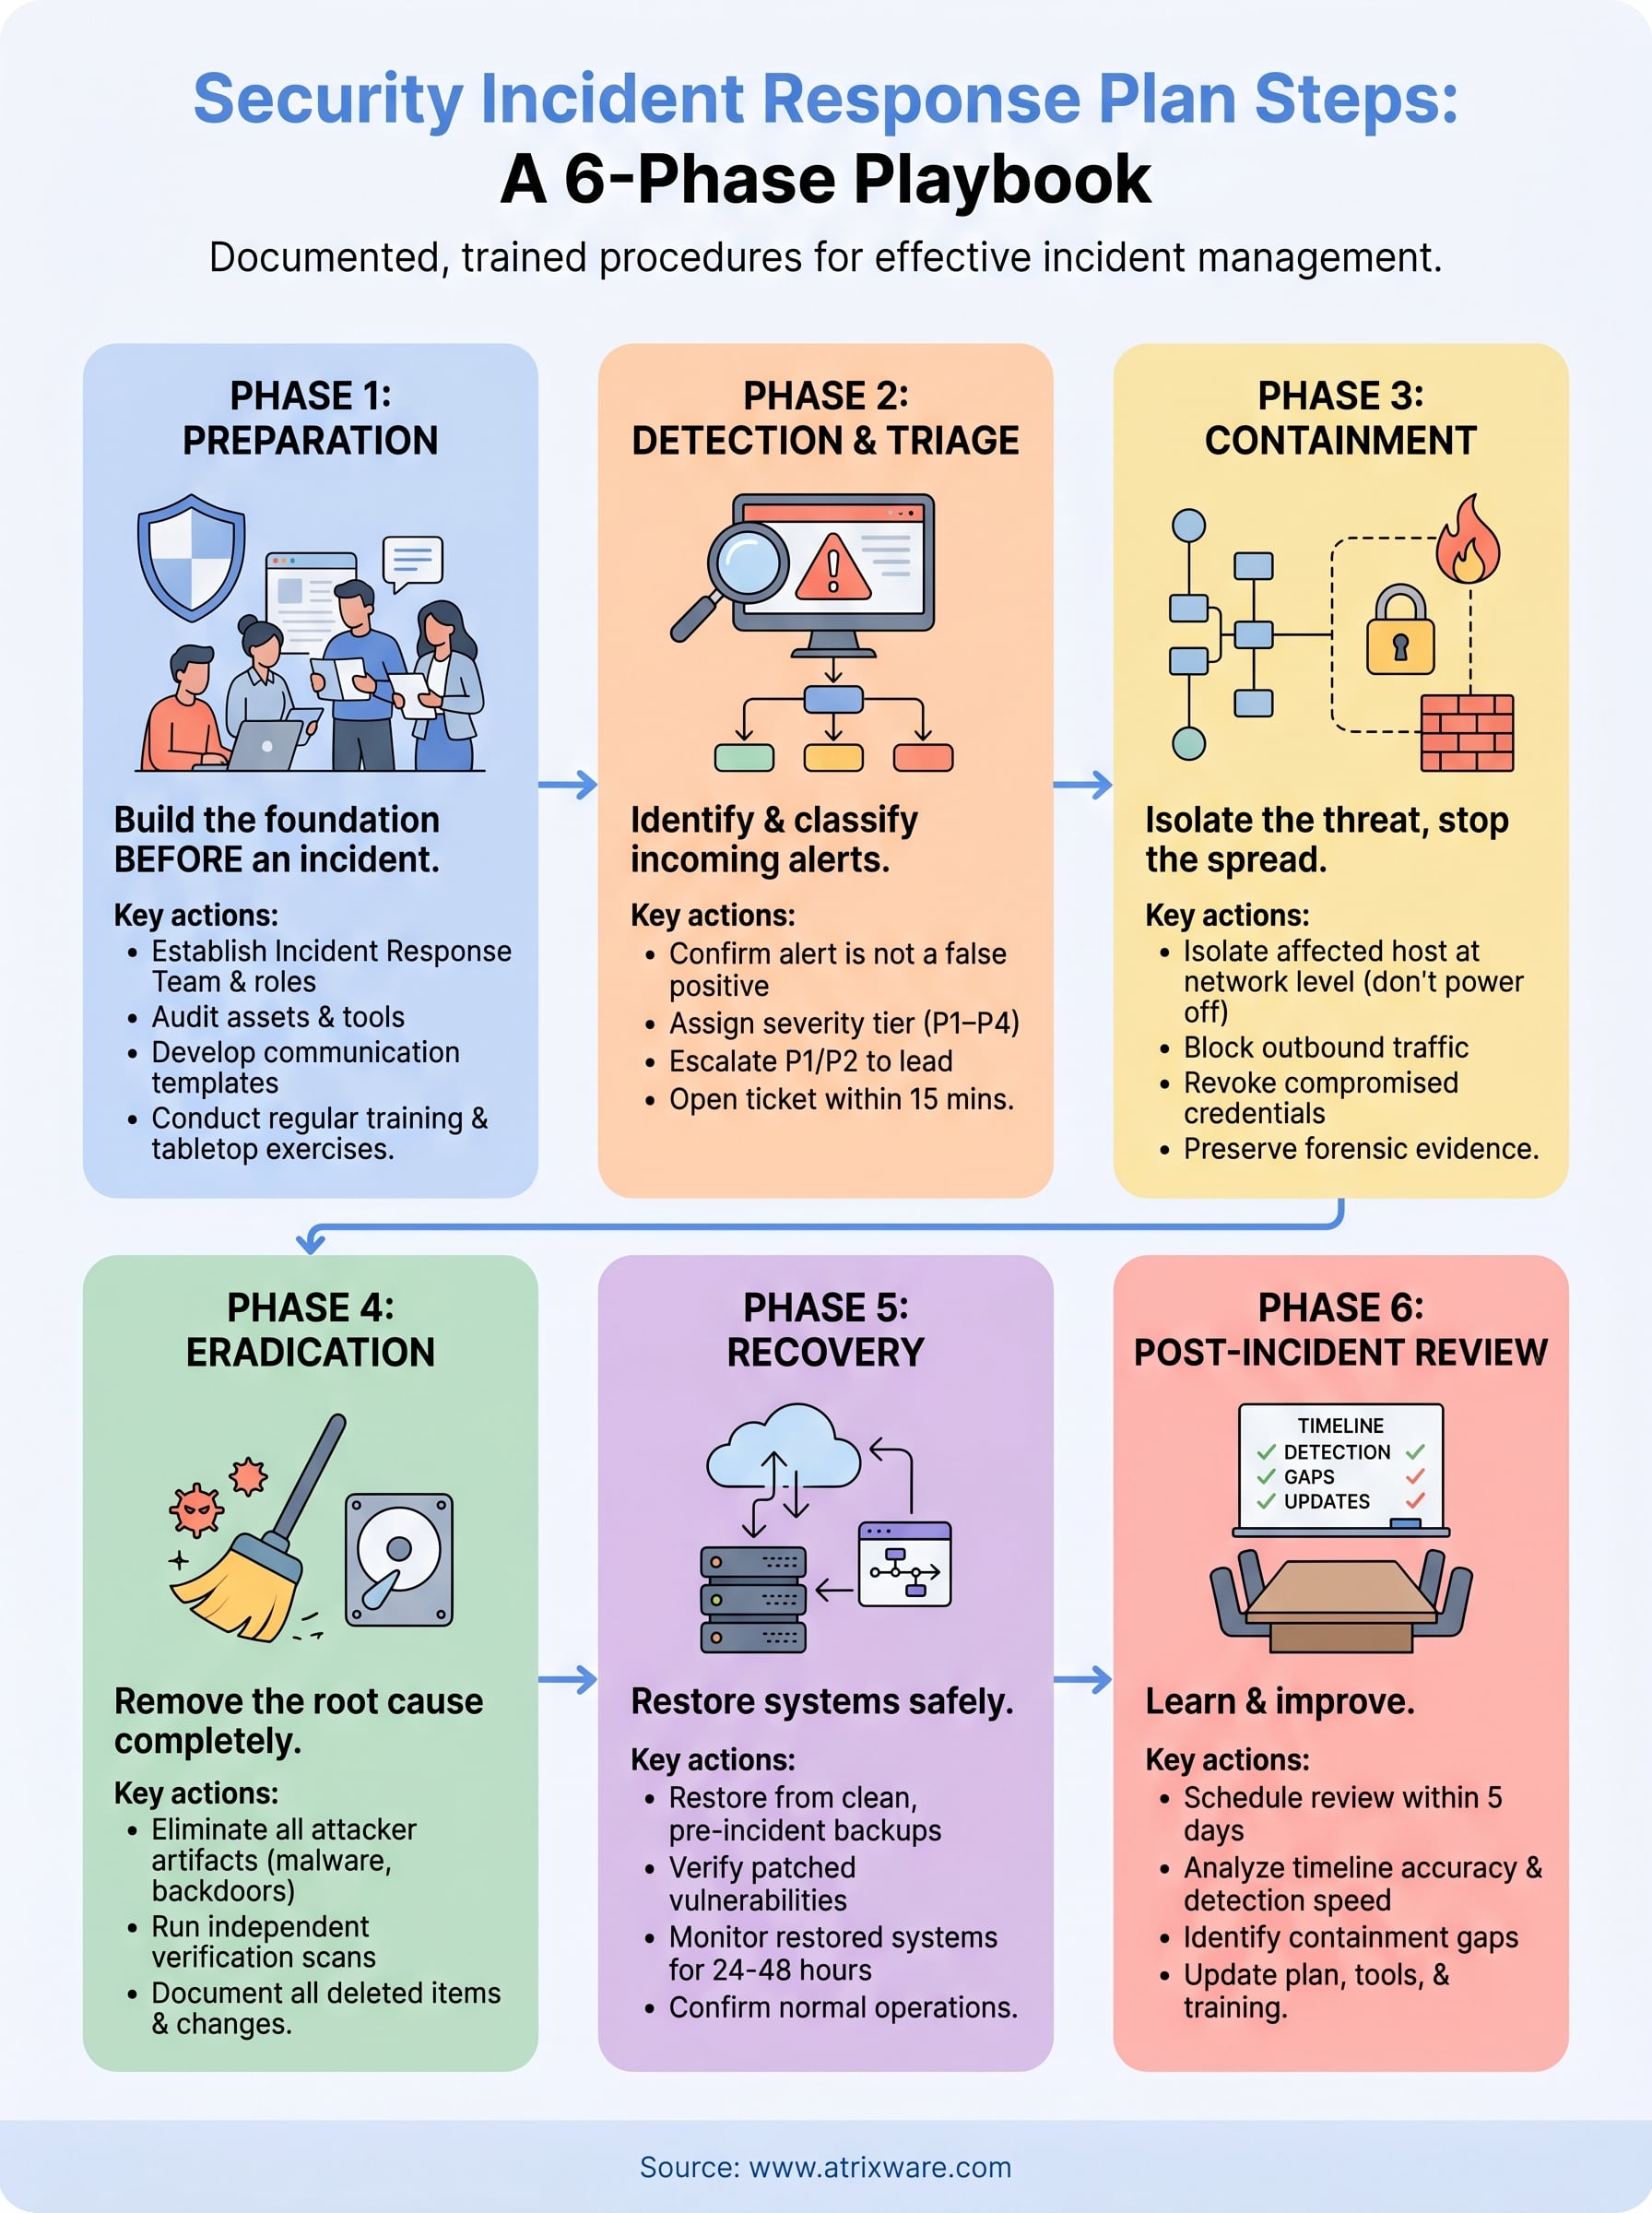
This guide breaks down a complete incident response plan into six clear phases, from preparation through post-incident review. Each phase includes specific actions your team can take right now, not abstract theory, but a practical playbook you can build from, train on, and actually use when something goes wrong. Whether you’re creating your first response plan or tightening up an existing one, here’s exactly how to structure it.
What an incident response plan covers
An incident response plan is a documented, pre-approved set of procedures that tells your team exactly who does what, when, and in what order when a security incident occurs. It’s not a general IT policy or a list of contact numbers. A real plan covers the full lifecycle of an incident, from the moment your monitoring tools flag something suspicious to the point where your systems are back online and your team has learned from what happened.
An incident response plan without assigned roles and tested procedures is just documentation, not preparedness.
Most organizations confuse an incident response plan with a data breach policy or a disaster recovery plan. These are related but distinct. A data breach policy defines your obligations under laws like GDPR or HIPAA. A disaster recovery plan focuses on restoring systems after any type of failure. An incident response plan specifically handles the human decision-making process during a security event: who leads the response, how you communicate internally and externally, and how you stop the threat from spreading.
The core components every plan needs
Your plan needs to cover six functional areas to be operationally useful. Missing even one creates a gap that attackers or confusion will fill. Here’s what a complete plan addresses:
| Component | What it covers |
|---|---|
| Roles and responsibilities | Who leads the response, who handles forensics, who communicates with leadership |
| Incident classification | Severity tiers (P1–P4) and what qualifies as a security incident |
| Communication protocols | Internal escalation paths, legal notifications, and public statements |
| Detection and analysis criteria | What signals trigger a formal response |
| Containment and eradication steps | Specific actions to isolate and remove threats |
| Post-incident review process | How you document, analyze, and update after each event |
Each of these components maps directly to the security incident response plan steps covered in the phases below. Without this structure, your team improvises under pressure, and improvisation during an incident leads to missed steps, delayed containment, and inflated recovery costs.
What separates a plan from a policy
A policy tells your team what is required. A plan tells them exactly how to execute it. The distinction matters most when the clock is running. Your incident response plan should include specific decision trees, not just general guidance. For example, if a user reports a suspicious email attachment, your plan should map out: Does the user open it? (No.) Who do they forward it to? (The security team email alias.) What happens next? (Automated quarantine triggers within your email security tool, and the security analyst receives an alert within 15 minutes.)
Baking communication timelines directly into your plan is equally critical. Under GDPR, you have 72 hours to notify the relevant supervisory authority of a personal data breach. Under some US state laws, that window is even shorter. Assigning named owners for each notification step inside your plan ensures you don’t miss a legal obligation while your team is focused on stopping the attack. The plan is the difference between a coordinated response and a reactive scramble.
The 6 phases at a glance
The six-phase model used in this guide aligns with the NIST Computer Security Incident Handling Guide (SP 800-61) and maps directly onto the security incident response plan steps your team needs to execute in sequence. Each phase builds on the previous one, so skipping or rushing through a phase creates downstream problems that cost you more time and money to fix.
Treating the phases as a strict sequence, not a checklist, is what separates teams that contain incidents quickly from those that spend weeks in recovery.
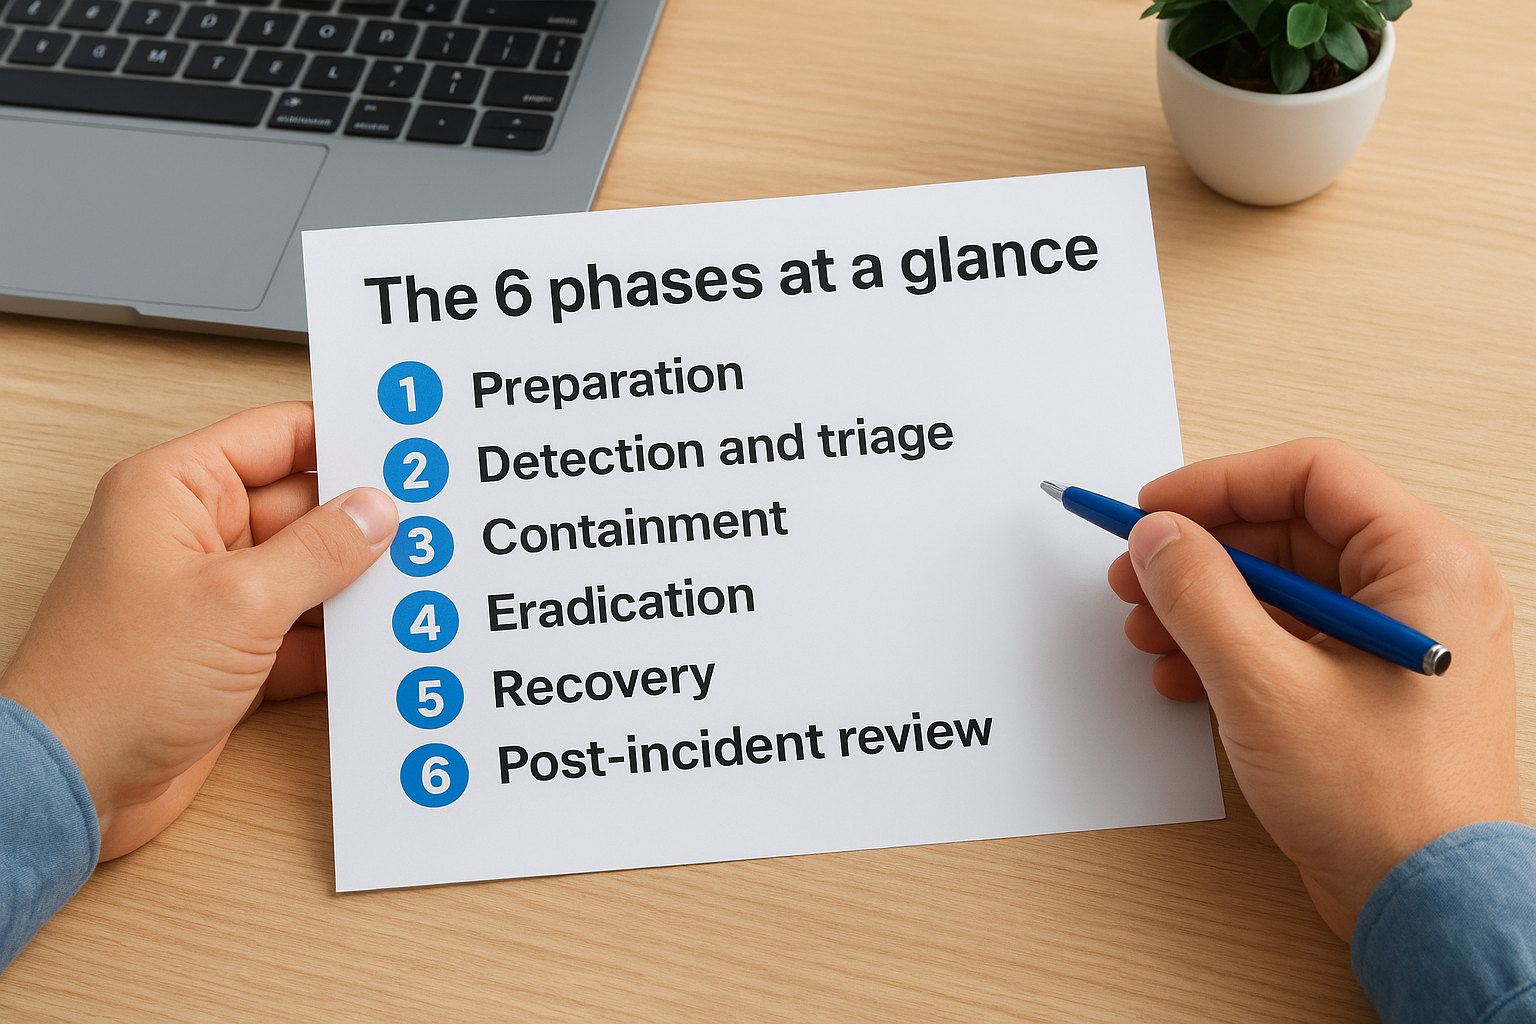
Here’s how all six phases break down at a high level:
| Phase | Name | Core objective |
|---|---|---|
| 1 | Preparation | Build the tools, team, and documentation before an incident happens |
| 2 | Detection and triage | Identify and classify the incident using predefined criteria |
| 3 | Containment | Stop the threat from spreading to additional systems |
| 4 | Eradication | Remove the root cause from your environment |
| 5 | Recovery | Restore systems safely and verify normal operations |
| 6 | Post-incident review | Document what happened and update your plan accordingly |
How the phases connect
No phase operates in isolation. Preparation (Phase 1) directly determines how fast your team moves through Phases 2 and 3, because teams with pre-configured detection tools and clear escalation paths identify and contain threats faster than teams without them. Recovery (Phase 5) depends entirely on how thoroughly your team completed eradication in Phase 4. Restoring a system before confirming the threat is fully removed hands attackers a second entry point at no cost to them.
Matching phases to your team’s size
Your team size and structure affect how you assign ownership across these phases. A small security team of two or three people will likely have one person covering Phases 1 through 3 as the lead, while another handles external communication and legal notifications. Larger teams can assign dedicated incident commanders, forensic analysts, and communication leads to separate phases. What matters is that every phase has a named owner documented in your plan before an incident starts.
Phase 1–2: Prepare, detect, and triage
Phases 1 and 2 are where the security incident response plan steps either succeed or fall apart. Most teams underinvest in Phase 1 because nothing is visibly broken yet. That mindset leaves them scrambling when Phase 2 hits, because detection without preparation is just noise with no process attached to it.
Phase 1: Build your preparation foundation
Preparation is the only phase you complete before an incident happens. Your goal here is to put every tool, document, and trained person in place so your team can move immediately when detection triggers. Start by auditing three areas: your detection toolset, your documented response procedures, and your team’s training completeness.
Preparedness is not a one-time project. Treat it as a standing quarterly review item with named owners.
Use this checklist to confirm your preparation foundation is solid:
- Incident response team roster with named leads for each phase and documented backups
- Asset inventory listing all systems, their criticality level, and their owners
- Communication templates pre-written for internal escalation, legal notification, and executive briefing
- Training records confirming every team member has completed incident response training in the last 12 months
- Tabletop exercise completed within the last 6 months with documented findings
Phase 2: Detect and triage incoming alerts
Detection starts with your monitoring tools, but triage is where human judgment takes over. When an alert fires, your team needs to determine two things immediately: Is this a confirmed incident or a false positive, and what severity tier does it fall into? Without a documented triage criteria, analysts make inconsistent calls under pressure.
Use this triage template to standardize your first 15 minutes after an alert:
| Step | Action | Owner | Time limit |
|---|---|---|---|
| 1 | Confirm alert is not a false positive | Tier 1 analyst | 5 min |
| 2 | Assign severity tier (P1–P4) | Tier 1 analyst | 3 min |
| 3 | Escalate P1/P2 to incident lead | Tier 1 analyst | 2 min |
| 4 | Open incident ticket and log initial findings | Incident lead | 5 min |
Running these four steps consistently ensures no incident sits unclassified for longer than 15 minutes, which directly limits attacker dwell time inside your environment.
Phase 3–4: Contain and eradicate safely
Containment and eradication are the two phases where your direct actions determine whether the incident ends here or compounds into a larger breach. The security incident response plan steps in Phases 3 and 4 require your team to move deliberately rather than frantically, because a rushed containment decision often drives attackers deeper into your environment before you realize what happened.
Phase 3: Isolate the threat before it spreads
Your first containment goal is to stop lateral movement. Attackers who gain access to one system will probe adjacent ones within minutes, so your team needs to cut network access to the compromised system before doing anything else. Containment does not mean shutdown. It means controlled isolation that preserves forensic evidence while blocking the threat from reaching other assets.
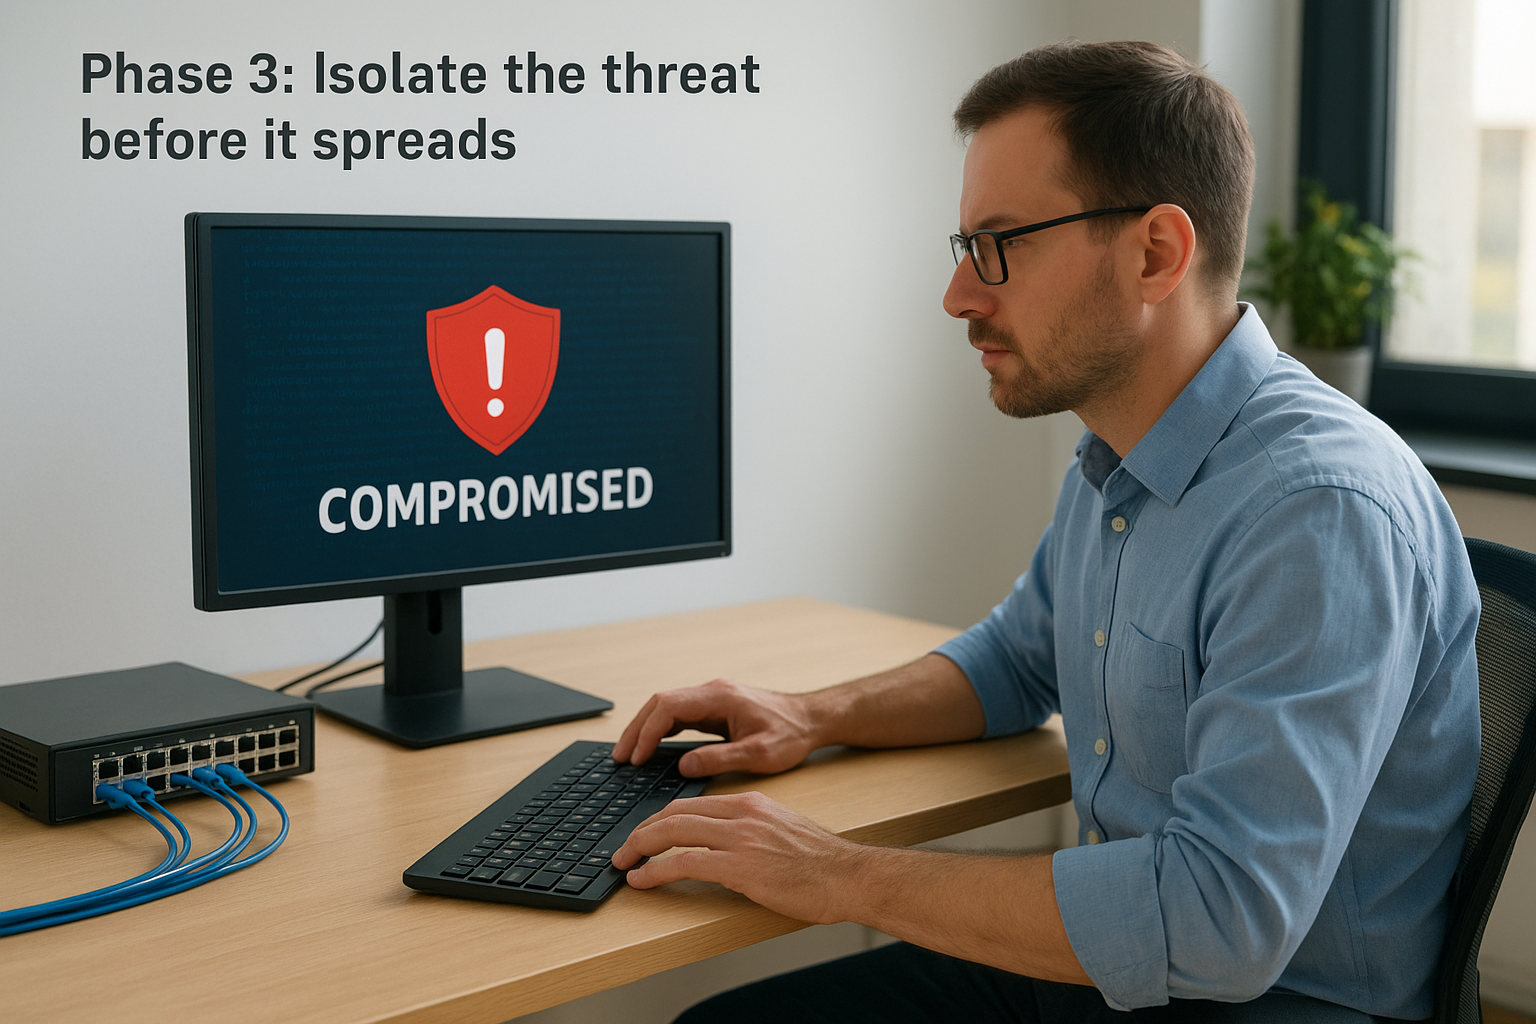
Pulling the plug on a compromised machine destroys volatile memory data your forensics team needs to trace the attacker’s exact path.
Use this short-form containment checklist when a P1 or P2 incident is confirmed:
- Isolate the affected host at the network switch or firewall level, not by powering it off
- Block outbound connections from the affected IP range at your perimeter firewall
- Revoke active credentials tied to the compromised account immediately
- Notify your incident lead and document every action taken with a timestamp
Phase 4: Remove the root cause completely
Eradication means eliminating every artifact the attacker left behind: malware, backdoors, unauthorized accounts, and modified configurations. Skipping a thorough scan at this stage is the most common reason organizations get reinfected within days of thinking the incident is resolved. Your team should run independent verification scans using at least two separate detection tools before declaring eradication complete.
After your scans confirm the threat is removed, document exactly what you found and deleted. Log the malware hash values, the affected file paths, and any registry changes you reversed. That documentation feeds directly into your Phase 6 post-incident review and helps your team update detection rules so the same technique does not succeed a second time.
Phase 5–6: Recover and improve
Phases 5 and 6 close the loop on your security incident response plan steps. Recovery gets your systems back online. The post-incident review makes sure the same attack does not succeed a second time. Treating Phase 5 as the finish line is a mistake, because without Phase 6, you repeat the same gaps that let the incident happen in the first place.
Phase 5: Restore systems with verification
Your first priority in recovery is not speed, it is confirmed safety. Restore systems from known-good backups only after your eradication scans from Phase 4 are fully documented. Bring each system back online in stages, starting with your lowest-risk assets, and monitor closely for 24 to 48 hours before declaring full recovery.
Restoring a system before completing independent eradication verification gives attackers a free re-entry point.
Use this staged recovery checklist to keep your process controlled:
- Restore from a pre-incident backup with a confirmed clean timestamp
- Run endpoint detection on the restored system before reconnecting it to your network
- Verify that all patched vulnerabilities are confirmed closed on the restored image
- Monitor restored systems with elevated logging for a minimum of 48 hours post-restoration
- Confirm with the asset owner that normal operations are functioning as expected before closing the incident ticket
Phase 6: Conduct a post-incident review
Schedule your post-incident review within five business days of closing the incident, while details are still fresh. This is not a blame session. It is a structured analysis of what your detection, containment, and recovery steps got right and where each one broke down. Assign a single facilitator who was not the primary incident lead to run the review so the lead can participate as a contributor rather than a defender.
Document your findings using this four-point review template:
| Review area | Question to answer |
|---|---|
| Timeline accuracy | Did your team follow the documented sequence, and where did you deviate? |
| Detection speed | How long did the attacker operate before your tools flagged the incident? |
| Containment gaps | Which steps slowed your containment and why? |
| Plan updates needed | What specific procedures, tools, or training need to change before the next incident? |
Completing this template after every incident builds a running record of improvements that strengthens your plan each time your team uses it.
Next steps
The six security incident response plan steps covered in this guide give you a complete structure to build from, but a plan sitting in a document does not protect anything. The teams that contain incidents fastest are the ones whose members have practiced each phase until the sequence is automatic, not aspirational. That means documented roles, completed training records, and tabletop exercises that test your assumptions before an attacker does it for you.
Your next move is to close the biggest gap in your current plan. Audit your training completion records and identify which team members have not completed incident response training in the past 12 months. From there, build those training tracks, assign phase owners, and schedule your first tabletop exercise within 90 days. If you need a scalable way to deliver and track that training across your organization, start your free Axis LMS demo and see how it fits your workflow.