A poorly executed channel partner onboarding process costs more than time, it costs deals, mindshare, and partner loyalty. When new partners don’t understand your product, can’t access the right resources, or feel abandoned after signing, they default to selling what they already know. And that’s usually a competitor’s solution.
The fix isn’t complicated, but it does require structure. Partners need a clear path from signed agreement to first sale, with defined milestones, training, and support at each stage. Companies that nail this see faster time-to-revenue and significantly lower partner churn within the first year.
This guide breaks down the channel partner onboarding process into concrete steps and best practices you can implement right away. You’ll get a stage-by-stage framework covering everything from pre-onboarding preparation to ongoing enablement, plus practical advice on automating training delivery and tracking with tools like Axis LMS from Atrixware. Whether you’re building your partner program from scratch or fixing one that’s underperforming, this is your playbook for getting partners productive faster.
What a channel partner onboarding process includes
A channel partner onboarding process is a structured sequence of activities that moves a new partner from contract signing to active, confident selling. It spans multiple teams, including sales, legal, training, and partner success, and typically unfolds over 30 to 90 days depending on your product’s complexity and the experience level of the partner. Think of it less as a single event and more as a phased program with defined outputs at each stage.
The goal isn’t just to get partners through orientation; it’s to get them ready to generate revenue on your behalf.
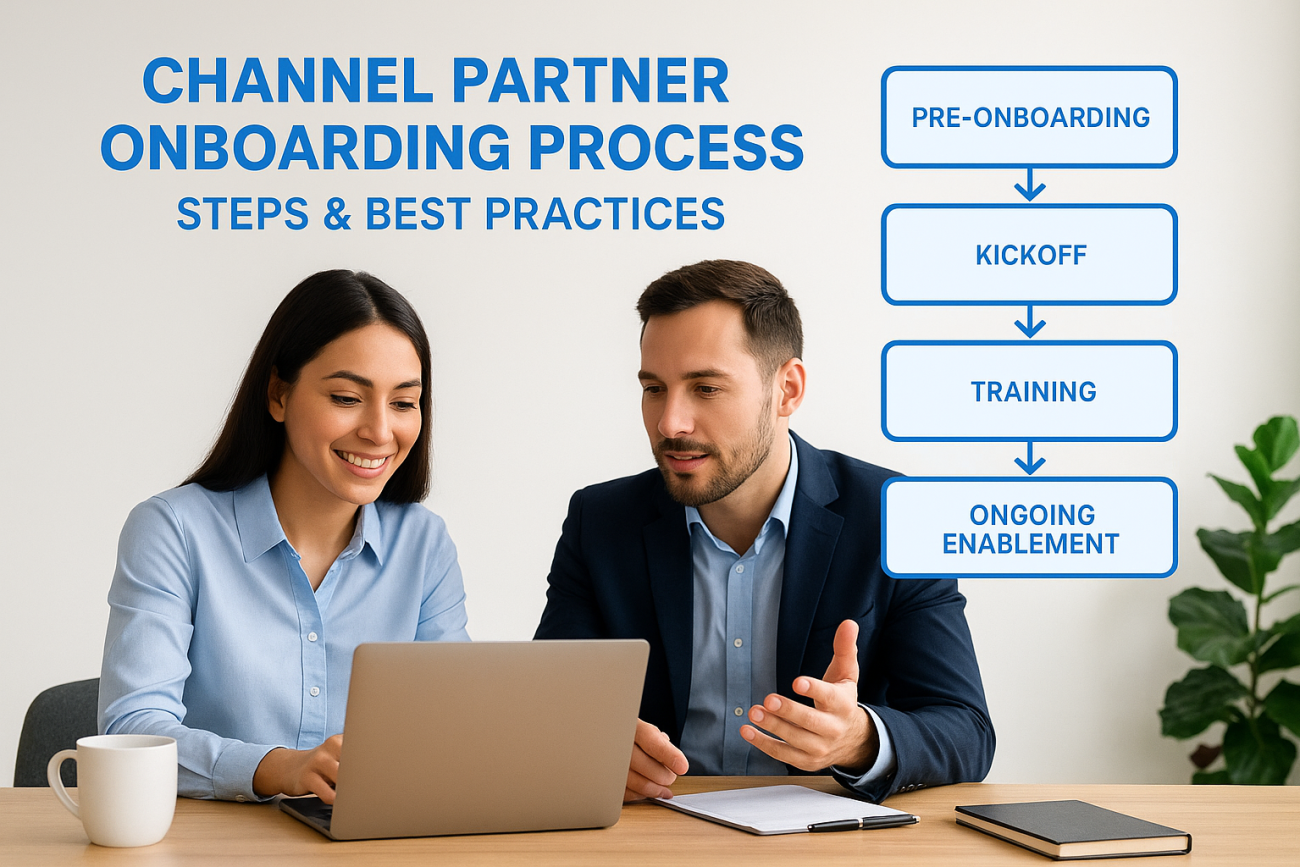
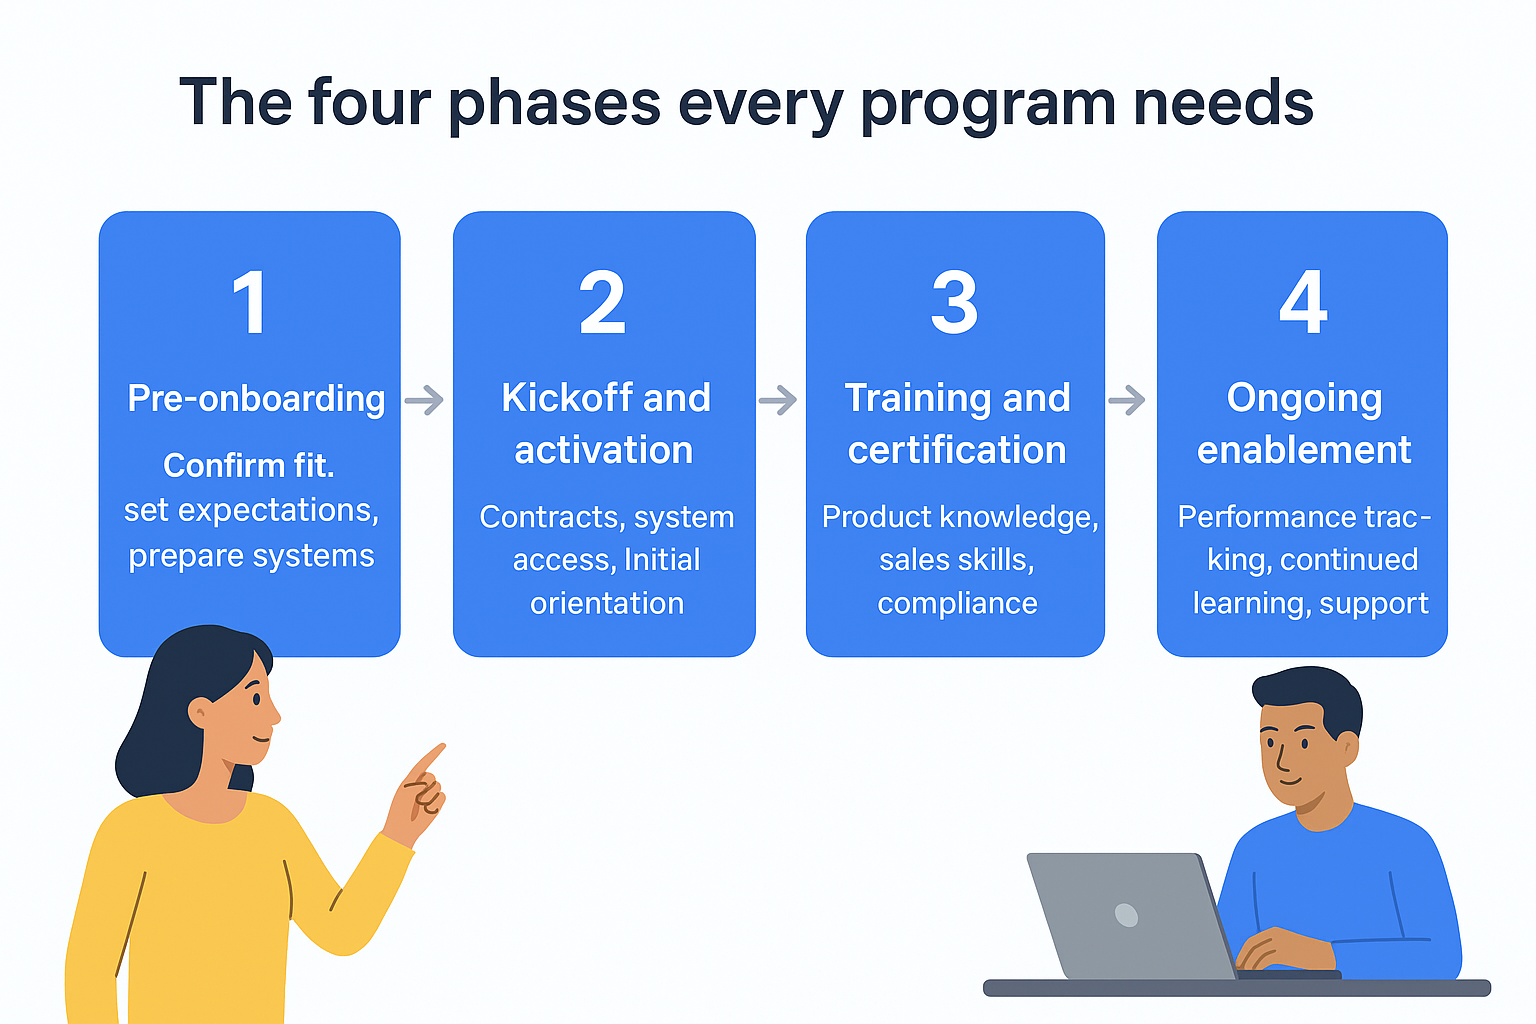
The four phases every program needs
Most effective onboarding programs follow a sequence of four phases. Each builds on the last, and skipping any one of them leaves gaps that show up later as poor sales performance or partner disengagement.
| Phase | Primary Goal | Typical Duration |
|---|---|---|
| 1. Pre-onboarding | Confirm fit, set expectations, prepare systems | 1–5 days |
| 2. Kickoff and activation | Contracts, system access, initial orientation | 1–5 days |
| 3. Training and certification | Product knowledge, sales skills, compliance | 2–6 weeks |
| 4. Ongoing enablement | Performance tracking, continued learning, support | Ongoing |
Each phase requires clear ownership and defined deliverables so nothing slips through the cracks between your internal teams and the partner.
The components that make up each phase
Within those four phases, a complete program includes several distinct components. Your partners need legal and administrative setup (signed agreements, NDAs, territory assignments), followed by technical access (partner portals, CRM logins, co-branded marketing assets). Then comes the training layer, which covers product knowledge, sales methodology, competitive positioning, and any required certifications. Finally, you need a communication and support structure so partners know exactly who to contact when they hit a roadblock.
All of these components should be documented and sequenced so a new partner always knows what comes next and your team always knows what is outstanding. A simple checklist works for smaller programs; a full learning management system handles this at scale by automating assignment, tracking completion, and sending reminders without manual follow-up on your end.
What a complete process looks like versus a thin one
Many companies mistake handing over a PDF welcome packet for a real onboarding process. A thin onboarding program typically means one orientation call, a shared folder of resources, and a check-in three months later. A complete process includes assigned learning paths, milestone-based check-ins, certification requirements before partners can sell independently, and a clear escalation path for support questions.
The difference shows up quickly in partner performance data. Partners who finish a structured onboarding program reach their first closed deal significantly faster than those left to self-serve through static documents. They also submit fewer support tickets, produce higher-quality leads, and are far more likely to remain active, engaged partners 12 months in. Building the right structure upfront pays dividends across the entire partner relationship.
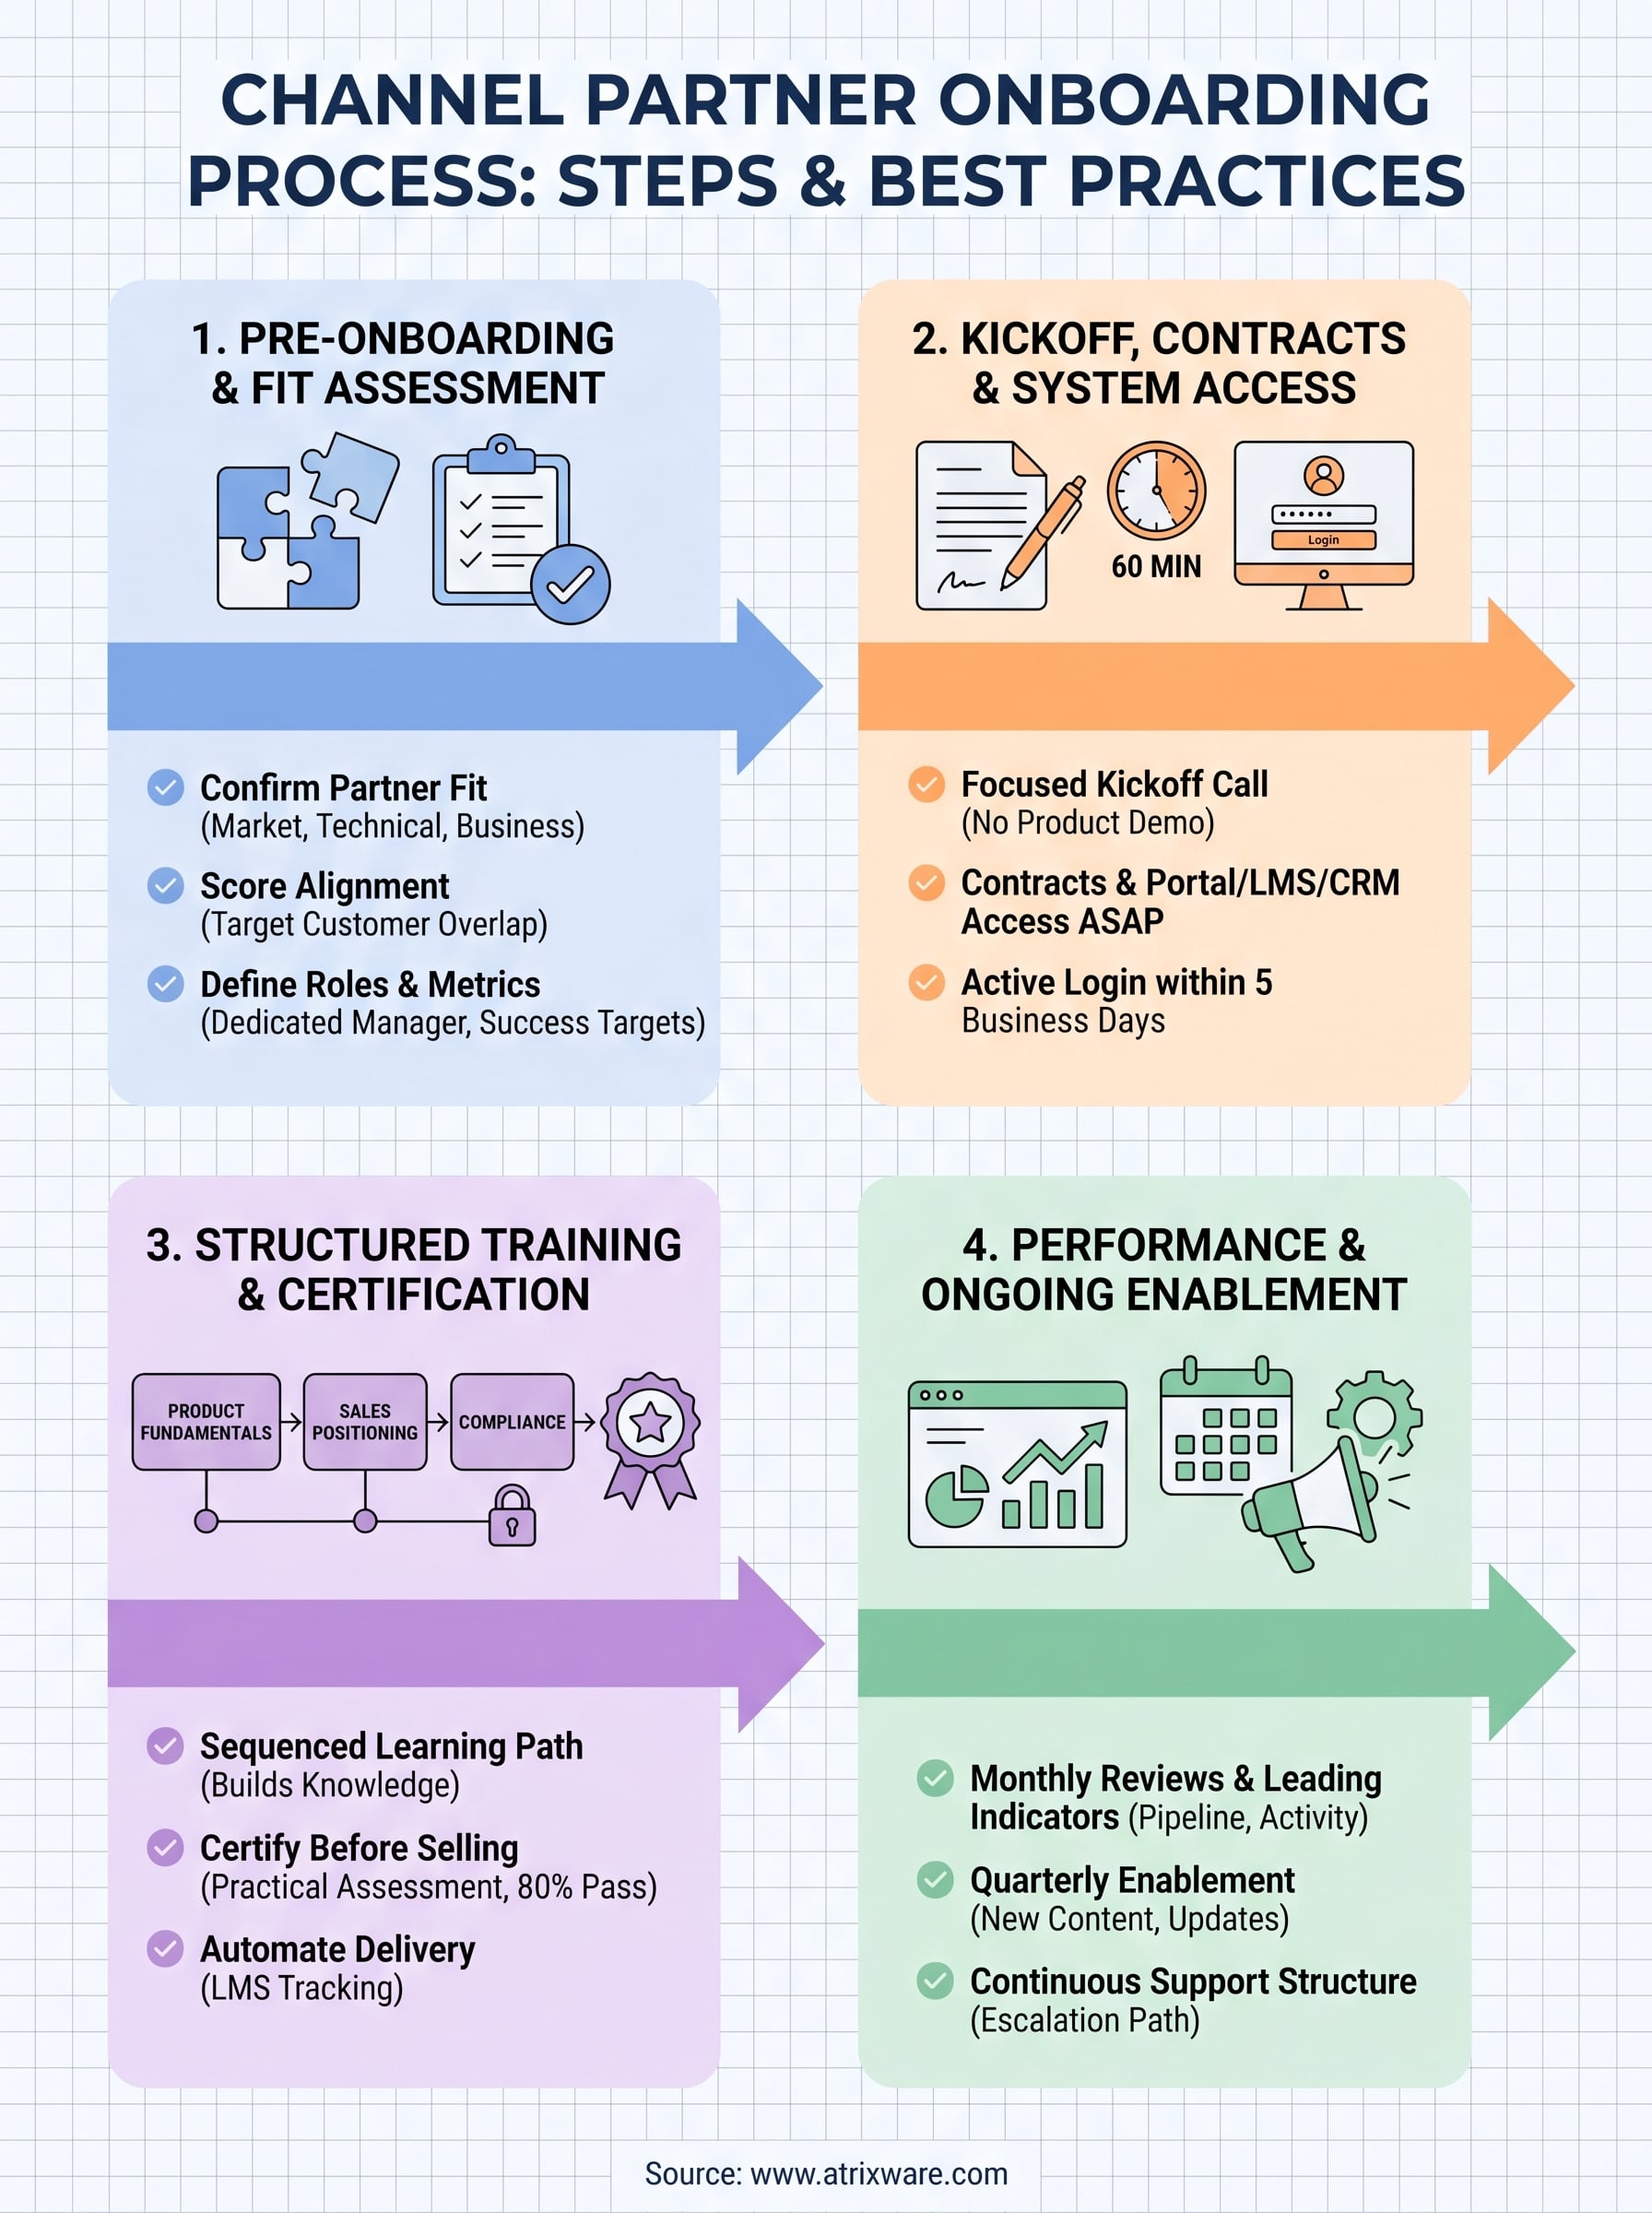
Step 1. Define partner fit, roles, and success metrics
Before you send a single welcome email, confirm that the partner you’re onboarding is actually the right fit for your program. Skipping this step means you’ll invest weeks of training resources into a partner who lacks the target customer base, technical capacity, or genuine motivation to sell your solution. Fit assessment is not a formality; it’s the filter that protects your program’s return on investment.
A poorly matched partner costs more to manage than they ever return in revenue.
Assess partner fit before onboarding begins
Your fit assessment should cover three dimensions: market alignment (does the partner reach your target buyer?), technical capability (can their team learn and support your product?), and business model compatibility (does selling your solution make financial sense for them?). Run this check during the pre-sales stage, not after the contract is signed.
Use a scoring matrix to make the evaluation repeatable and objective:
| Criterion | Low Fit (1) | Medium Fit (2) | High Fit (3) |
|---|---|---|---|
| Target customer overlap | Less than 25% | 25–60% | More than 60% |
| Technical sales capacity | No technical staff | Some technical staff | Dedicated pre-sales team |
| Existing portfolio conflict | Direct competitor products | Adjacent products | Complementary products |
| Commitment level | Passive interest | Stated intent | Dedicated headcount |
Partners scoring below 8 out of 12 typically need additional qualification before entering your channel partner onboarding process.
Define roles and set measurable success metrics
Once you confirm fit, lock down who owns what on both sides of the relationship. Assign a dedicated partner manager on your end, and confirm the partner’s primary contact and sales lead before kickoff. Ambiguity here creates delays and accountability gaps when things go sideways.
Set three to five time-bound success metrics so both sides know exactly what a successful onboarding looks like. Concrete targets work far better than vague intentions like "become an active partner."
- First certified rep: within 30 days
- First qualified opportunity submitted: within 45 days
- First closed deal: within 90 days
- Required training completion rate: 100% before independent selling
- Partner portal first login: within 5 business days of access granted
Step 2. Run kickoff, contracts, and system access
Once you’ve confirmed fit and locked in success metrics, the clock starts on activation. Partners form strong first impressions fast, and a slow, disorganized kickoff signals exactly the kind of program they’ll deprioritize. Your goal in this step is to move from signed agreement to active, logged-in partner within five business days. Every delay here pushes back your 90-day revenue target.
Run a focused kickoff call
Schedule the kickoff call within 48 hours of contract signing. Keep it to 60 minutes or less and cover only what the partner needs to take action immediately. This is not the time for a full product demo or a company history presentation. Cover program structure, their assigned partner manager, key contacts, and the first three tasks they need to complete before your next check-in.
The kickoff call sets the tone for the entire relationship; make it sharp, specific, and respectful of the partner’s time.
Send a written summary within 24 hours of the call. Use this template as your starting point:
PARTNER KICKOFF SUMMARY

Date: [Date]
Partner: [Company Name]
Partner Contact: [Name, Role]
Your Partner Manager: [Name, Email, Phone]

IMMEDIATE ACTION ITEMS (complete within 5 business days):
1. Sign and return [document name] by [date]
2. Log into partner portal at [URL] and complete profile
3. Enroll in [Course Name] in the training system

FIRST CHECK-IN: [Date and Time]
FIRST 30-DAY GOAL: [Specific metric from Step 1]
Complete contracts and grant system access on the same day
Waiting for legal sign-off to grant system access is a common bottleneck in the channel partner onboarding process. Avoid it by running both tracks in parallel. While contracts are in review, prepare the partner’s portal account, LMS enrollment, and CRM access so everything goes live the moment signatures land.
Confirm access across all required systems before the kickoff call ends:
- Partner portal login
- LMS account with assigned learning path
- Co-branded marketing asset library
- CRM partner record and deal registration setup
- Primary support contact or ticketing system
Assign a hard deadline of five business days for all access to be confirmed and working.
Step 3. Deliver training and certify partner readiness
Training is where most channel partner onboarding processes fall apart. Companies dump a library of PDFs and recorded webinars onto a shared drive and call it a curriculum. Partners then cherry-pick whatever looks relevant, miss the critical content, and go into the field with knowledge gaps that kill deals. You need a structured learning path with required completions, not an open buffet.
Build a structured learning path
Sequence your training so each module builds on the last. Start with product fundamentals, then move into sales positioning, competitive differentiation, objection handling, and finally any compliance or certification requirements. Assign modules with due dates so partners work through the content at the right pace rather than cramming everything the night before their first opportunity call.

Use your LMS to enforce the sequence and track completion automatically. A basic learning path for most B2B product programs looks like this:
| Week | Module | Required to Proceed |
|---|---|---|
| 1 | Product overview and core use cases | Yes |
| 1 | Ideal customer profile and target verticals | Yes |
| 2 | Demo delivery and objection handling | Yes |
| 2 | Competitive positioning | Yes |
| 3 | Deal registration and quoting process | Yes |
| 3 | Compliance and data handling requirements | Yes |
| 4 | Certification assessment | Yes |
Automating assignment and completion reminders through an LMS removes the manual follow-up burden from your partner manager entirely.
Certify before partners sell independently
Require partners to pass a certification assessment before they can register deals or sell without support from your team. This protects your brand, reduces the volume of support escalations, and gives your partner reps a clear goal to work toward in the first 30 days.
Your certification should test practical application, not just recall. Use scenario-based questions that reflect real sales conversations. Here is a straightforward certification standard to apply:
CERTIFICATION REQUIREMENTS

Passing score: 80% or higher
Retake policy: 2 attempts; partner manager review required before third attempt
Badge issued: Yes (via LMS, shareable with customers)
Expiration: 12 months from issue date
Renewal: Re-assessment or completion of annual update module
Partners who hold a current certification consistently outperform those who do not on both deal volume and average contract size.
Step 4. Measure performance and keep partners enabled
Onboarding doesn’t end when a partner earns their certification. The channel partner onboarding process transitions into ongoing enablement the moment a partner starts working active deals. If you go quiet after the first 30 days, partner engagement drops sharply and your early investment in training evaporates. Your job at this stage is to track performance against the metrics you defined in Step 1 and intervene early when a partner falls behind, not after a quarter of missed targets.
Track the metrics that actually predict revenue
Set a monthly review cadence with each partner for the first 90 days, then shift to quarterly reviews once they reach consistent activity levels. Focus your reviews on leading indicators, not just closed revenue, because lagging metrics tell you about problems that happened weeks ago. Combine your LMS completion data with CRM pipeline data so you see the full picture in one conversation.
The partners who receive regular, structured check-ins produce more pipeline than those who only hear from you when something goes wrong.
Track these metrics in your LMS and CRM side by side:
| Metric | Review Frequency | Action Trigger |
|---|---|---|
| Training completion rate | Weekly (first 30 days) | Below 100% by day 30 |
| Certification status | Monthly | Expired or not achieved |
| Deals registered | Monthly | Zero deals in 45 days |
| Pipeline value | Monthly | Below agreed target |
| Support ticket volume | Monthly | High volume signals knowledge gaps |
Build a continuous enablement rhythm
Partners who closed their first deal two months ago still need fresh content, product updates, and competitive intelligence to stay sharp. Build a quarterly enablement calendar that pushes new material to your partner reps automatically through your LMS. Running it this way keeps your solution top of mind without requiring your partner manager to chase people individually.
Use this template to structure your quarterly plan:
QUARTERLY PARTNER ENABLEMENT PLAN

Q[X] Focus: [Theme, e.g., "New Feature Rollout"]

Month 1: Release update module + updated competitive battlecard
Month 2: Live virtual session (60 min max) + Q&A recording in LMS
Month 3: Refresher assessment + pipeline review call

Target completion: 100% of certified partner reps by end of quarter
Tracked via: LMS reporting dashboard
Repeating this cycle keeps partners current, confident, and producing revenue well beyond the initial 90-day window.
Wrap up and next steps
A strong channel partner onboarding process is the difference between partners who sell your solution and partners who let it collect dust. The four steps in this guide give you a repeatable framework: confirm fit and set metrics, activate partners with a sharp kickoff, deliver structured training with certification requirements, and maintain performance through ongoing enablement. Each step builds on the last, and every component needs clear ownership to work.
Your next move is to audit your current program against these steps and find the gaps. Look at where partners stall, whether that is during training, at certification, or after the first deal. Those stall points tell you exactly where to focus your improvements first. If you need a platform to automate training delivery, track completion, and keep partners certified without manual effort, explore what Axis LMS can do with a hands-on admin demo and see how it fits your program.