Every training program relies on a stack of tools, your LMS, your CRM, your HR platform, your email system. The problem isn’t the tools themselves. It’s the manual work required to pass data between them. Zapier workflow automation solves this by connecting apps through automated triggers and actions, so information flows where it needs to go without you copying and pasting between browser tabs.
At Atrixware, we built Axis LMS with over 5,000 system integrations in mind, and Zapier is one of the most practical ways our customers connect their training workflows to the rest of their business. New hire added in BambooHR? Automatically enroll them in onboarding courses. Learner completes a compliance module? Push that record to Salesforce or fire off a Slack notification to their manager. These aren’t hypothetical scenarios, they’re real workflows running right now.
This guide walks you through exactly how to build these automations from scratch. You’ll learn what Zaps are and how they work, see practical examples relevant to training and business operations, and follow a step-by-step tutorial to create your first workflow. Whether you’re connecting Axis LMS to your existing tools or automating processes across any combination of apps, you’ll have a working Zap by the end of this article.
What Zapier workflow automation is and how it works
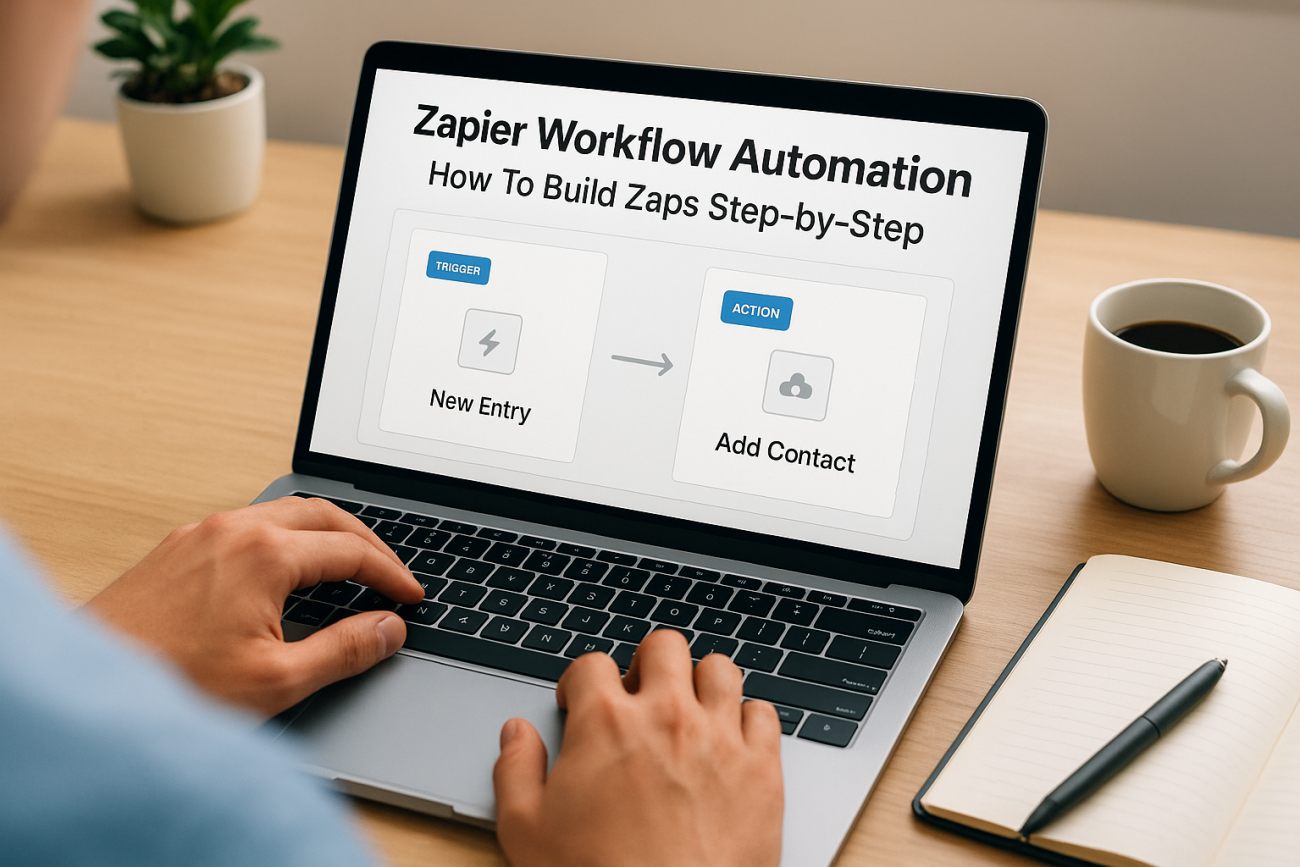
Zapier is a no-code integration platform that lets you connect two or more apps through a simple rule: when something happens in one app, do something in another. That rule is called a Zap. Every Zap has at minimum one trigger and one action, and you can chain multiple actions together to build sequences that handle entire business processes automatically. Zapier workflow automation removes the need for custom API development by giving you a visual builder that handles authentication, data mapping, and error handling behind the scenes.
Triggers, actions, and Zaps explained
A trigger is the event that starts a Zap. It could be a form submission, a new row in a spreadsheet, a completed course in your LMS, or a new contact added to your CRM. Once the trigger fires, Zapier executes one or more actions in response. An action could be creating a record, sending an email, updating a field, or enrolling a user in a training course. Together, a trigger plus its actions form a Zap, and each Zap runs automatically every time the trigger condition is met.

A single Zap can replace hours of manual data entry each week, freeing your team to focus on work that actually requires human judgment.
Think of each Zap as a standing instruction. You define the rule once, Zapier checks for the trigger on a polling interval (every one to fifteen minutes depending on your plan, or instantly for supported apps), and the workflow runs without any input from you. You can have dozens of Zaps active simultaneously, each handling a different process across your entire business.
Multi-step Zaps and built-in logic
Basic Zaps connect two apps with a single action, but multi-step Zaps let you chain as many actions as your workflow requires. A new hire added to BambooHR can trigger Zapier to create a user in Axis LMS, send a welcome email, post a Slack message to their manager, and log the event in a Google Sheet, all within a single Zap. Each step passes data from the previous step, so information moves through your entire tool stack in one automated sequence.
Zapier also includes built-in logic tools that make workflows respond intelligently to different inputs. Filters let you set conditions so a Zap only continues when specific criteria are met, for example, only enrolling users who belong to a particular department. Paths let you branch the workflow in different directions based on data values, and delays let you pause between steps for a set amount of time.
What Zapier connects to
Zapier supports over 7,000 apps, covering categories from HR and CRM to email, project management, e-commerce, and learning management. The table below shows a sample of common app categories and representative tools you can connect through Zaps:
| Category | Example Apps |
|---|---|
| HR and People Ops | BambooHR, ADP, Workday |
| CRM | Salesforce, HubSpot, Zoho CRM |
| Email and Messaging | Gmail, Outlook, Slack |
| Learning Management | Axis LMS |
| Project Management | Asana, Trello, Monday.com |
| Spreadsheets and Docs | Google Sheets, Airtable |
The breadth of this app library means you can build cross-functional workflows without writing a single line of code. If your app is not natively listed but supports webhooks, Zapier’s Webhooks app lets you connect it anyway, giving you coverage across virtually any modern web application.
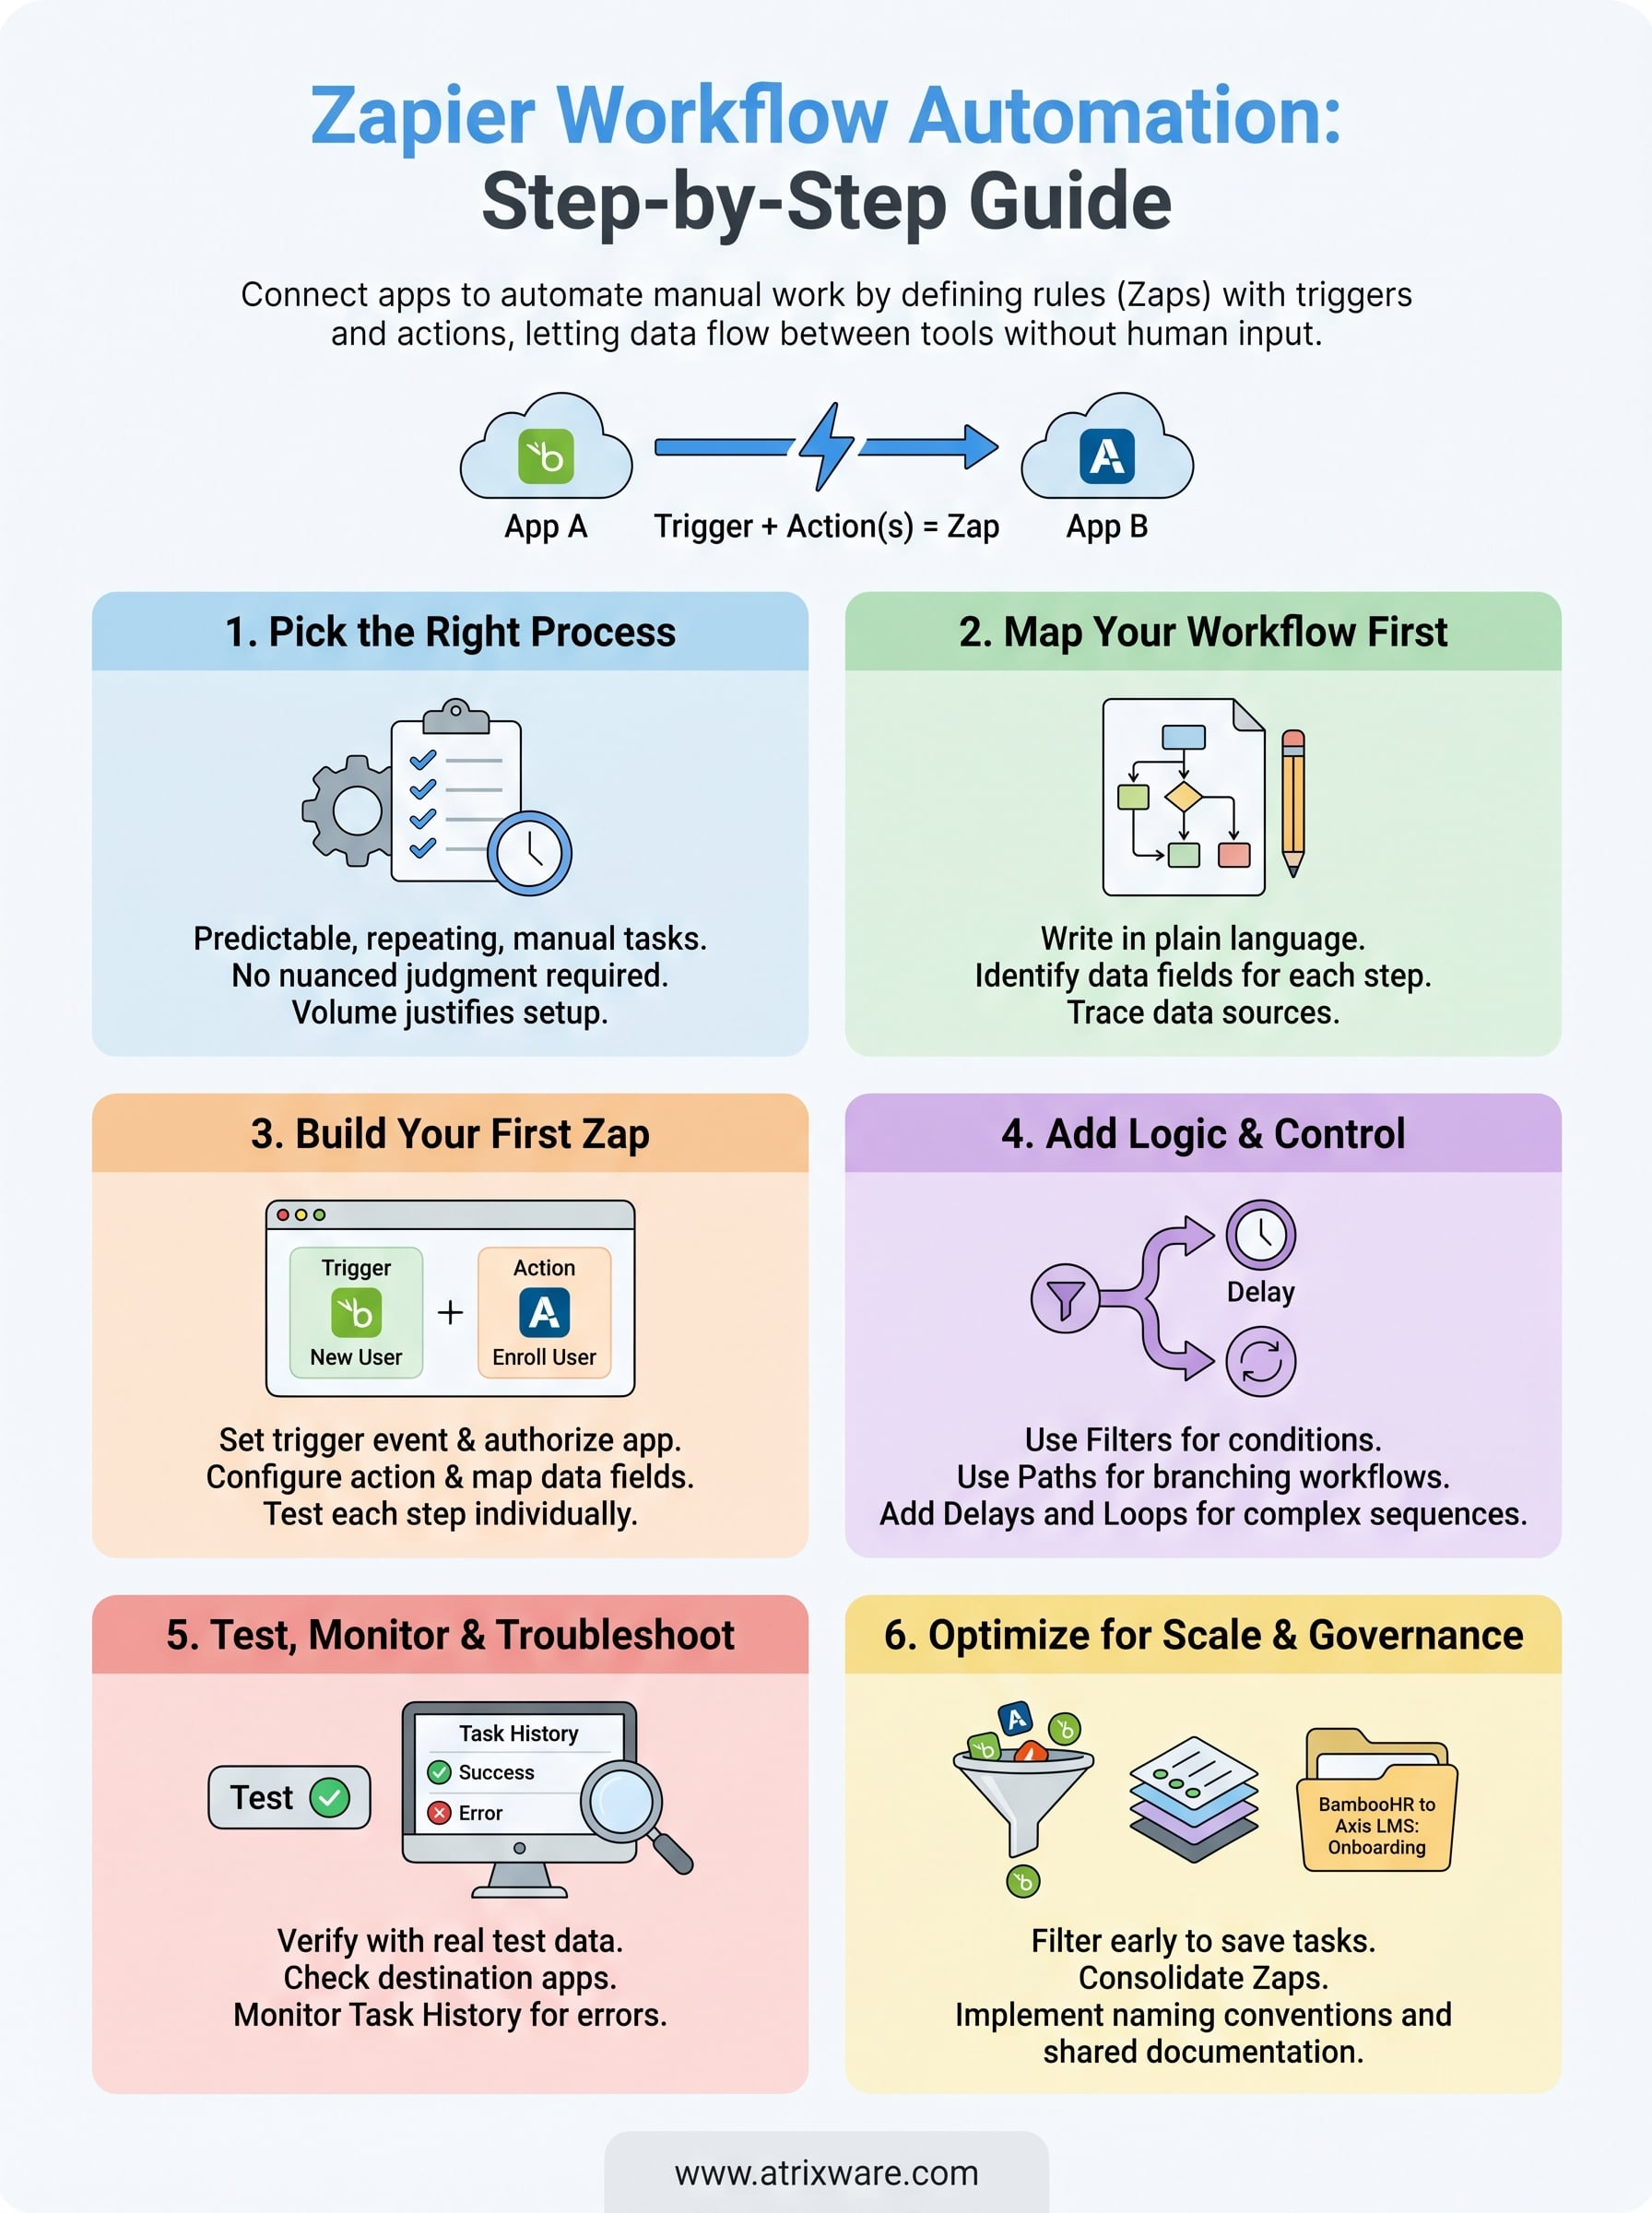
Step 1. Pick the right process to automate
Not every task in your workflow is worth automating. The best candidates for zapier workflow automation are processes that run on a predictable trigger, follow the same steps every time, and drain time from your team without adding creative or strategic value. Before you open the Zap builder, spend five minutes identifying which tasks actually qualify.
Automating a broken process just makes the broken process run faster, so fix the workflow logic first, then automate it.
Signs a process is ready for automation
A process is a strong automation candidate when it meets three conditions: it repeats consistently, the data it handles is structured and predictable, and a human decision is not required at each step. Think of tasks like enrolling new hires in onboarding courses after they appear in your HR system, sending follow-up emails after a learner completes a module, or updating a CRM record when a certification is earned.
Use this checklist to evaluate any process before you build:
- Trigger is clear and consistent – a definable event always starts the process
- Steps are identical each time – no case-by-case judgment calls mid-process
- Data passes between apps – information needs to move from one tool to another
- Volume justifies setup time – the process happens at least a few times per week
Processes to leave manual
Some tasks look automatable but aren’t good fits. Any process that requires nuanced human judgment, involves sensitive communications that need personalization, or changes structure frequently will create more problems than it solves once automated. A manager writing a personalized performance review is not an automation target. Neither is a one-off report you pull quarterly.
Avoid automating processes where data quality is inconsistent across your source system. If the input data is messy or incomplete, your Zap will pass bad data downstream into every connected app. Clean up the source fields first, confirm that the data your Zap will rely on is reliable, and then build the automation with confidence that every run will produce a clean result.
Step 2. Map your workflow before you build
Jumping straight into the Zap builder without a clear plan wastes time and produces fragile automations. Mapping your workflow on paper first forces you to think through every step, every data dependency, and every edge case before you commit to a configuration. The mapping process takes less than fifteen minutes, and it prevents you from building a Zap that fails on its third run because you overlooked a missing field.
Write the workflow in plain language
Start by writing out your intended zapier workflow automation as a simple sentence: "When X happens in App A, do Y in App B, then do Z in App C." Keep the language concrete. Instead of "notify the team," write "post a message in the #training-updates Slack channel." Specificity saves you from making vague decisions inside the builder.
The clearer your plain-language description, the faster your build session will go, because every configuration choice maps directly back to a sentence you already wrote.
Once you have that sentence, break it into numbered steps where each step corresponds to exactly one action in Zapier. A typical training onboarding automation looks like this:
- Trigger: New user added in BambooHR with department = "Sales"
- Action: Create user in Axis LMS with matching name, email, and role
- Action: Enroll user in the "Sales Onboarding" course group
- Action: Send a welcome email via Gmail with login credentials
Map your data fields before you open the builder
Every action in a Zap needs specific data fields from a previous step to complete correctly. Before you build, list the fields each action requires and trace exactly where those fields come from. This step prevents the most common Zap failure: an action that references a field your trigger does not actually provide.
Use a simple table to map those field dependencies:
| Action | Required Field | Source |
|---|---|---|
| Create Axis LMS user | Email address | BambooHR trigger |
| Create Axis LMS user | Full name | BambooHR trigger |
| Send welcome email | Login URL | Static text (your LMS URL) |
| Send welcome email | First name | BambooHR trigger |
Filling in this table before you open Zapier confirms that your data is available and structured correctly at every point in the workflow, so you are not hunting for missing fields mid-build.
Step 3. Build your first Zap from scratch
With your workflow mapped and your data fields identified, you are ready to build. Log in to Zapier, click "Create Zap" from your dashboard, and you will land in the visual Zap editor. This editor walks you through each step in sequence, so you configure the trigger first and then add actions one by one. The whole build for a three-step zapier workflow automation typically takes under twenty minutes if you completed your mapping beforehand.
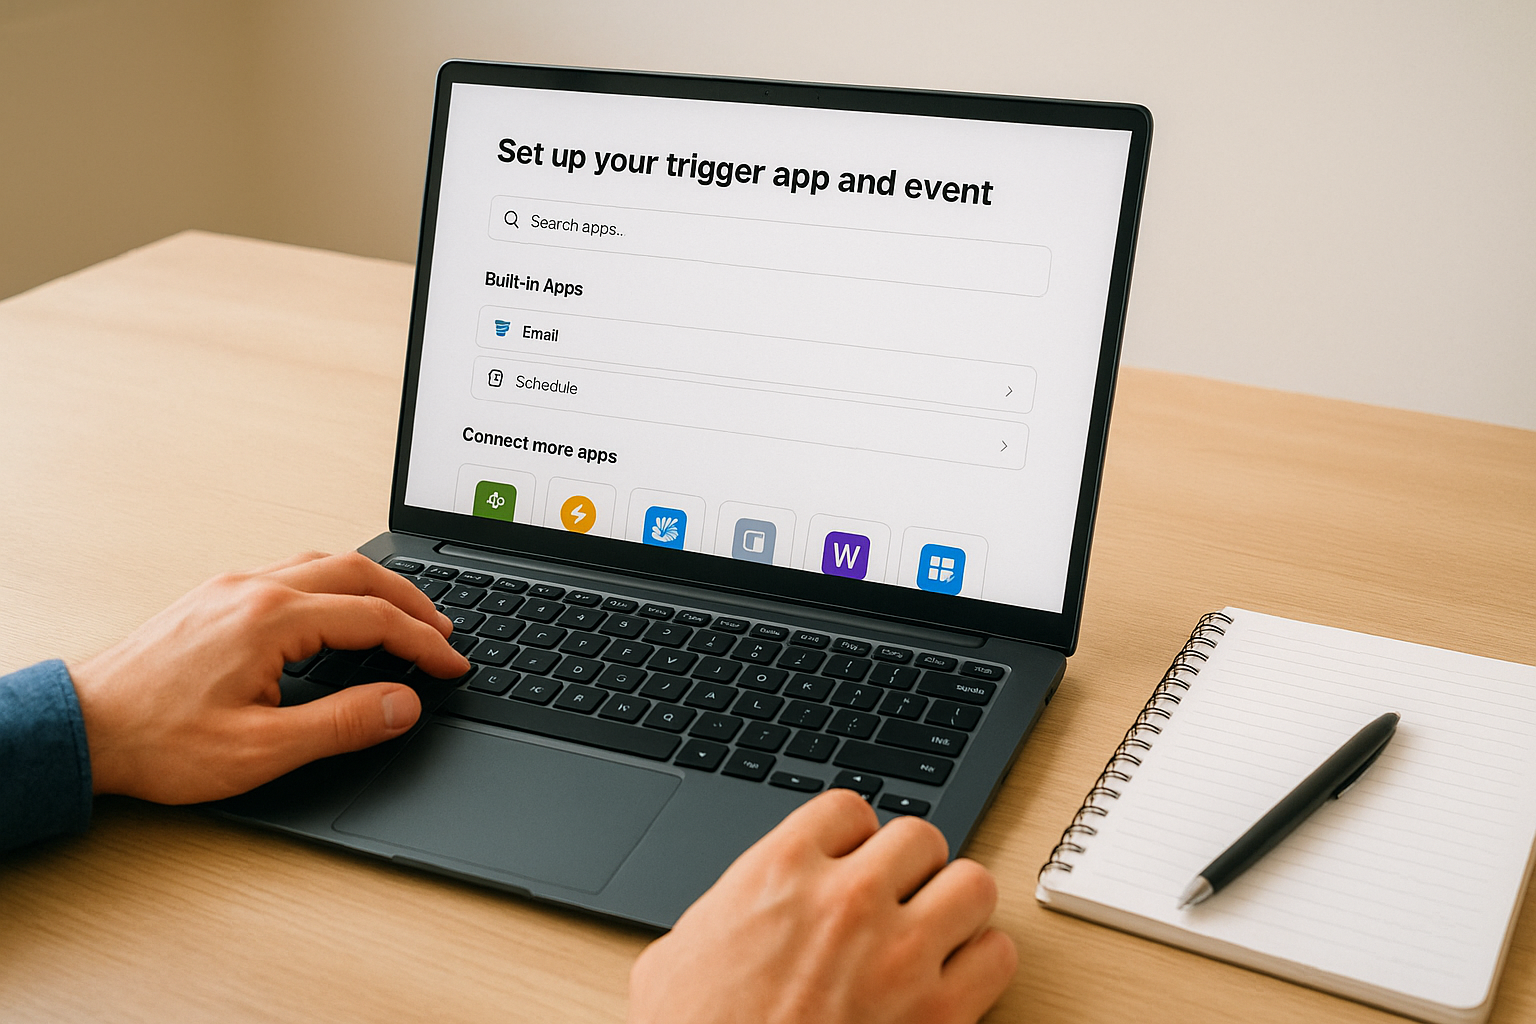
Set up your trigger app and event
Click the trigger step and search for your source app, such as BambooHR or a web form tool. Zapier will ask you to select a trigger event, which is the specific action in that app that starts the Zap. Choose the event that matches what you wrote in your plain-language description. For a new hire workflow, that event is typically "New Employee" or "New User Created."
Get this trigger event right the first time, because every action step downstream depends on the exact fields your trigger exposes.
After selecting the event, Zapier prompts you to connect your account by authorizing the app through OAuth or an API key. Once connected, run a test to pull in a real sample record. This sample is the data Zapier uses to populate fields in your action steps, so confirm the sample shows the fields you listed in your mapping table before you move forward.
Configure your action steps
Click the "+" button below your trigger to add your first action. Select your destination app, choose the action event such as "Create User" or "Enroll in Course", and connect that app’s account. Then map the data fields by clicking into each required field and selecting the corresponding value from your trigger data.
Use this field mapping reference for a standard onboarding Zap:
| Axis LMS Field | Mapped From |
|---|---|
| BambooHR: Work Email | |
| First Name | BambooHR: First Name |
| Last Name | BambooHR: Last Name |
| Course Group | Static value: "Sales Onboarding" |
After configuring each field, test every action step individually using the sample record Zapier pulled in. Confirm the test creates a real record in your destination app before adding the next action. Catching field errors at this stage costs seconds. Catching them after your Zap goes live costs you bad data across your entire stack.
Step 4. Add filters, paths, delays, and loops
A basic trigger-action Zap handles straightforward, linear workflows just fine. But most real business processes are not linear. Filters, paths, delays, and loops are the four built-in Zapier tools that give your zapier workflow automation the intelligence to respond differently to different inputs, wait for the right moment, and process batches of records without extra manual effort.
Add these logic layers only after your base Zap is confirmed working, not during the initial build, so you are troubleshooting logic and structure separately.
Filters and paths
A filter stops a Zap mid-run if a condition is not met. You add it as a step between your trigger and your first action, then define the rule. For example, only continue if the new employee’s department field equals "Sales" or only proceed if a course completion score is above 80. If the condition is false, the Zap halts cleanly with no errors and no downstream effects.

Paths go further by routing the workflow in different directions based on data values. Each path acts as a separate branch with its own actions. Use paths when a single trigger needs to produce different outcomes for different records:
- Path A: Department = "Sales" – enroll in Sales Onboarding course group
- Path B: Department = "HR" – enroll in HR Compliance course group
- Path C: All others – enroll in General Onboarding course group and flag for manual review
Delays and loops
A delay step pauses your Zap for a set duration before continuing to the next action. This is useful when you need to give a system time to process a record before referencing it, or when you want to space out follow-up emails over days rather than sending them all at once. Set the delay in the Zap editor by selecting "Delay by Zapier" as an action and specifying the unit and duration, such as two days after course enrollment before sending a check-in reminder.
Loops by Zapier let you iterate over a list of items and run the same action on each one. If your trigger returns a list of five users, a loop processes each user individually through the same action steps rather than requiring five separate Zaps.
Step 5. Test, monitor, and troubleshoot errors
Testing is not optional in zapier workflow automation. A Zap that looks correct in the builder can still fail when it encounters real data because the field structure in your live records differs from the sample Zapier pulled during setup. Before you turn any Zap on, verify every step with real test data and confirm the output in each destination app is exactly what you expected.
Skipping live tests because the builder preview looked clean is how bad data ends up in your CRM, your LMS, and your HR system simultaneously.
Run tests before you turn your Zap on
Zapier gives you a test button on every action step. Click it, then immediately open the destination app and verify the record was created or updated with the correct values. Do not rely on the green checkmark in the Zapier editor alone. Check that the full name is not truncated, that the email address is formatted correctly, and that any static values you entered such as a course group name or role label match exactly what the destination app expects.
Use this pre-launch checklist before activating any Zap:
- Trigger sample reflects a real, recent record from the source app
- Every required field in each action step is mapped and populated
- Test results appear correctly in the destination app, not just in Zapier’s confirmation panel
- Filters and paths produce the correct branch for the test record’s data values
- Any email action shows the correct recipient and a clean, readable message body
Monitor task history and fix common failures
Once your Zap is live, Zapier’s Task History is your primary monitoring tool. Find it in the left sidebar of your Zapier account. It logs every Zap run with a status of success, error, or filtered, and it shows you the exact data that passed through each step. Check it daily for the first week after you launch a new Zap.
Most Zap errors fall into three categories: a missing required field, an authentication token that expired and needs reauthorization, or a value that does not match what the destination app accepts. When you open a failed task, Zapier highlights the step that broke and shows the error message from the destination app, which tells you exactly which field to fix.
Step 6. Optimize for speed, scale, and governance
Once your Zaps are running reliably, the next challenge is keeping your zapier workflow automation efficient as your team and your tool stack grow. Zaps that work fine with ten runs per day can develop bottlenecks or hit plan limits at two hundred. Building with scale and governance in mind from this point forward saves you from a painful rebuild later when the stakes are higher.
Reduce unnecessary task consumption
Every successful action step in Zapier counts as a task against your plan’s monthly limit. The fastest way to stay within your limit is to filter early and filter tight. Place your filter step immediately after the trigger, before any action runs, so Zapier stops processing records that would never produce a valid outcome. A Zap that filters out ineligible records at step two instead of step five consumes far fewer tasks across thousands of runs.
You can also reduce task consumption by consolidating redundant Zaps. If you have three separate Zaps with the same trigger but different actions, combine them into one multi-step Zap using paths. This approach cuts the number of trigger polls Zapier runs and keeps your workflow logic in one place, easier to audit and update.
Build a governance system for your Zaps
The harder a Zap is to find and understand, the longer it takes the next person to fix it when something breaks.
A governance system does not need to be complicated. Start by naming every Zap consistently using a format like "[Source App] to [Destination App]: [Process Name]", for example "BambooHR to Axis LMS: New Hire Onboarding." Add a description in the Zap editor’s notes field that explains the trigger condition, the intended outcome, and the owner responsible for maintaining it.
Maintain a shared document or spreadsheet that logs every active Zap your team relies on. Include the following fields so anyone on your team can understand your entire automation stack at a glance:
| Field | Example |
|---|---|
| Zap name | BambooHR to Axis LMS: New Hire Onboarding |
| Owner | Training Manager |
| Trigger condition | New employee, department = Sales |
| Last tested | 2026-05-01 |
| Status | Active |
Review this log quarterly, deactivate any Zap that no longer serves a current process, and re-test any Zap that has not run successfully in the past thirty days.
Wrap-up and next steps
You now have a complete framework for zapier workflow automation, from picking the right process and mapping your data fields to building multi-step Zaps with logic, testing them against live data, and governing them as your stack scales. The core principle throughout is the same: define the rule once, let Zapier run it automatically, and spend your time on work that actually requires a human.
Your next step is to pick one high-volume, repetitive process your team handles today and build that first Zap this week. Start simple, confirm it works cleanly, and then layer in filters and paths once the base workflow is stable. If your training workflows are part of what you want to automate, Axis LMS connects directly into this stack. Take the Axis LMS admin demo to see exactly how the integration points work before you build.