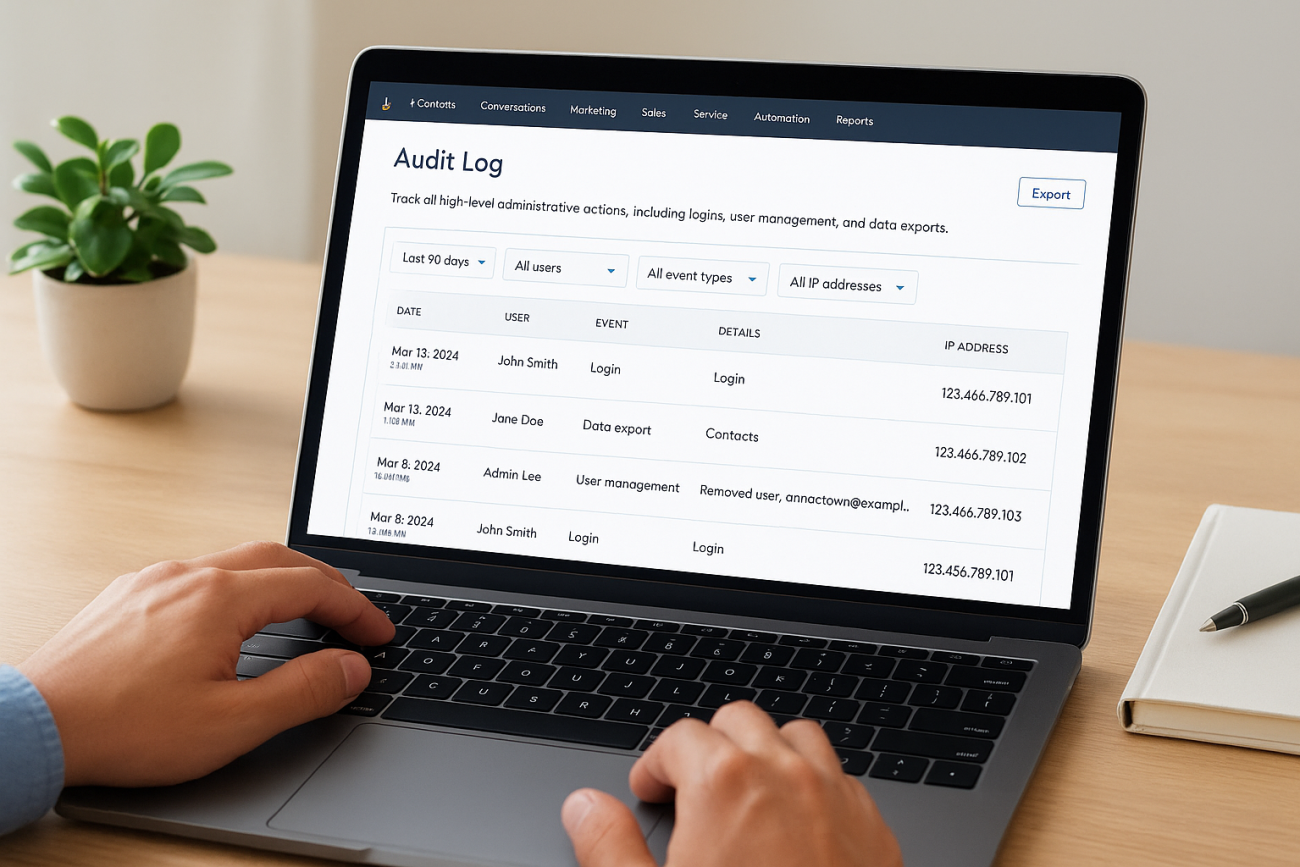
Every action taken inside your HubSpot account, logins, permission changes, data exports, setting modifications, gets recorded. The HubSpot audit log is where you find that record, and knowing how to use it matters more than most teams realize until something goes wrong. Whether you’re investigating a security incident, tracking down who changed a workflow, or preparing for a compliance review, audit logs give you the visibility you need.
If your organization uses HubSpot alongside training platforms like Axis LMS by Atrixware, keeping tabs on user activity across systems becomes even more critical. CRM data often flows into LMS platforms through integrations, and a clear audit trail on both sides helps you maintain accountability and meet regulatory requirements.
This guide walks you through how to access, read, and export your HubSpot audit logs step by step. You’ll learn where to find login history and account activity, how to filter the data that matters, and how to pull audit information through the API for more advanced use cases.
What HubSpot audit logs track and who can access them
The HubSpot audit log captures a running record of actions taken inside your account, giving you a timestamped history of who did what and when. Before you can use it effectively, you need to understand what it actually covers and whether your subscription gives you access to it. Both of those details directly shape how far you can dig into your account history and what kind of compliance evidence you can produce.
What the audit log records
HubSpot’s audit log focuses on administrative and security-related events rather than every contact update or deal stage change. That distinction matters because teams sometimes open the audit log expecting to find granular CRM edits, then get confused when those aren’t there. For individual property changes on contacts or companies, HubSpot’s property history and activity timeline are the right tools. The audit log operates at a higher level and is built for security monitoring and compliance reviews.
Here is what the audit log typically captures:
- Login events: successful logins, failed attempts, and logouts, each with an IP address and timestamp
- User management: new user additions, role assignments, permission changes, and user removals
- Security settings: two-factor authentication changes, connected app authorizations, and API key creation or deletion
- Data exports: records of when users exported contact lists, reports, or other data sets from the account
- Integrations: activation and deactivation of connected apps and OAuth approvals
- Account settings: changes to domain configurations, billing details, and notification preferences
If you’re investigating a suspicious event, the IP address and timestamp recorded in each log entry are your two most immediate reference points.
Who can access HubSpot audit logs
Access to the audit log depends on both your HubSpot subscription tier and your assigned user permissions. Not every plan includes it, and not every user role within a qualifying account can view it by default. Knowing this upfront saves you time if you open Settings and can’t find the Audit Logs menu.
Here is a clear breakdown of the requirements:
| Factor | Requirement |
|---|---|
| HubSpot Plan | Enterprise tier (Marketing, Sales, Service, or Operations Hub) |
| User Permission | Super Admin, or a user with "Audit Logs" permission explicitly enabled |
| Access Location | Settings > Account Management > Audit Logs |
| Data Retention | Up to 90 days of log history available in the UI |
Your account’s Super Admin always has full access to the audit log by default. If you’re a team member trying to view logs and don’t see the menu option, ask your Super Admin to check your permission settings. They can grant audit log access without giving you full administrative control, which keeps your permission structure secure and appropriately scoped for your role.
Step 1. Open audit logs in HubSpot settings
Getting to the HubSpot audit log takes less than a minute once you know the exact path. The challenge most users run into is looking for it in the wrong part of the interface, since audit logs live inside Account Management settings rather than any tool-specific section like Marketing or Sales.
Navigate to the correct settings menu
Start by clicking the gear icon in the main HubSpot navigation bar at the top of your screen. That opens your Settings panel. From there, look at the left sidebar and scroll down to find the Account Management section. Click it to expand the submenu, then select "Audit Logs" from the list.
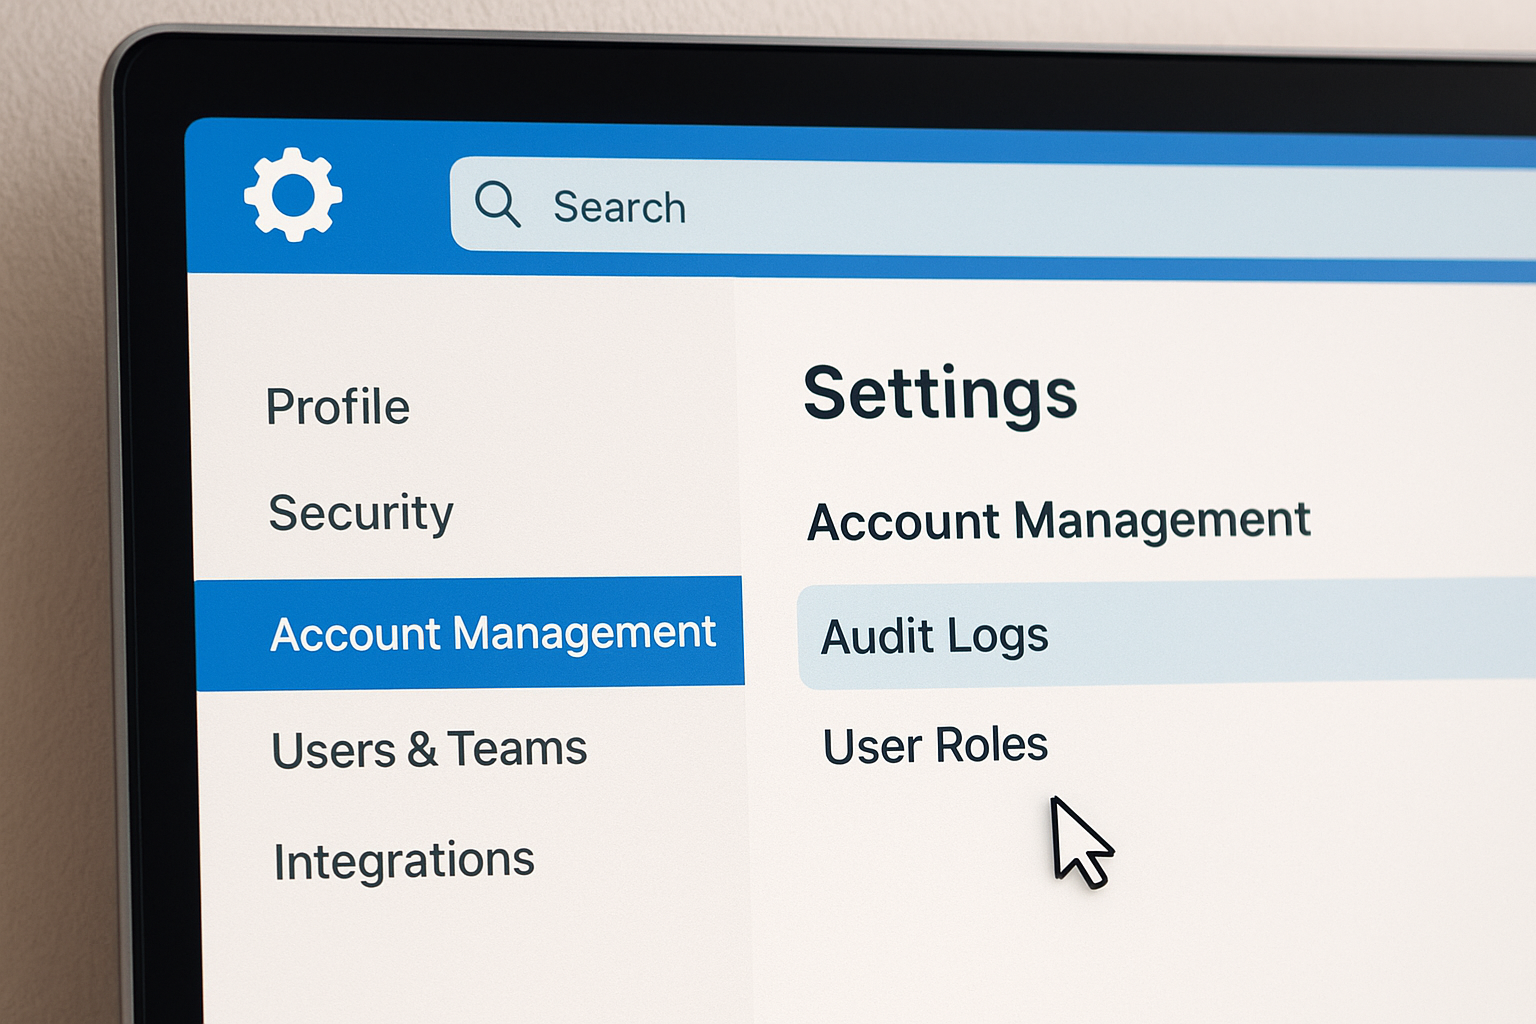
Follow these steps in order:
- Click the gear icon in the top navigation bar
- In the left sidebar, locate Account Management
- Click to expand it, then select Audit Logs
- The log table loads automatically, showing the most recent activity first
If you don’t see "Audit Logs" in the sidebar at all, your account is either on a non-Enterprise plan or your user permissions don’t include audit log access.
Verify your access and permission level
Your Super Admin controls who sees the Audit Logs menu. If the option is missing from your sidebar, reach out to them directly rather than spending time troubleshooting on your own. They can enable audit log visibility for your user profile without changing your other permissions.
To check your own permission settings, go to Settings, then click "Users & Teams" under Account Management. Select your name from the user list and review the permissions panel on the right. Look for the Audit Logs toggle under Account permissions. If it’s off, your Super Admin needs to switch it on before you can proceed. Once that’s confirmed, return to Account Management and the Audit Logs menu will appear in your sidebar.
Step 2. Filter, review, and troubleshoot activity
The raw audit log table loads every recorded event in reverse chronological order, which works for a quick check but becomes difficult to navigate when you’re tracking a specific incident. HubSpot gives you filter controls across the top of the log table that let you cut the list down to exactly what you need without scrolling through hundreds of unrelated entries.
Use filters to narrow down the log
The filter bar at the top of the Audit Logs page includes several options you can combine to isolate specific events. Filtering by user is especially useful when you need to review the actions of a team member who may have made unauthorized changes or whose account shows suspicious activity.
Apply filters in this sequence to get precise results:
- Date range: Set a start and end date to contain your search to the relevant window
- User: Select a specific team member by name or email address
- Event type: Choose from categories like logins, user management, data exports, or settings changes
- IP address: Filter by a specific IP if you’re investigating activity from an unknown location
If a login event appears from an IP address your team doesn’t recognize, treat it as a potential security incident and reset that user’s password immediately.
Read entries and identify problems
Each log entry in the HubSpot audit log displays four core fields: the event type, the user who triggered it, the timestamp, and the IP address. Reading these fields together is how you reconstruct what happened during a specific window of time.
For example, if a workflow was deactivated unexpectedly, filter by event type "Settings Changes" and the date the change occurred. Then scan the results for a matching user and timestamp to identify who made the update and from which location. That combination typically narrows a confusing situation down to a single accountable action in under two minutes.
Step 3. Export audit logs and security histories
Once you’ve filtered the HubSpot audit log down to the events you need, exporting that data gives you a permanent record you can share with stakeholders, store for compliance, or load into an external tool for analysis. HubSpot lets you export audit log data directly from the UI without requiring any technical setup, which makes this step accessible to admins at any experience level.
Export the log from the HubSpot UI
The export function sits inside the same Audit Logs page you’ve been working in. After applying your filters, look for the Export button in the upper-right corner of the log table. Clicking it triggers a download request, and HubSpot sends the file to your registered email address rather than downloading it directly to your browser.
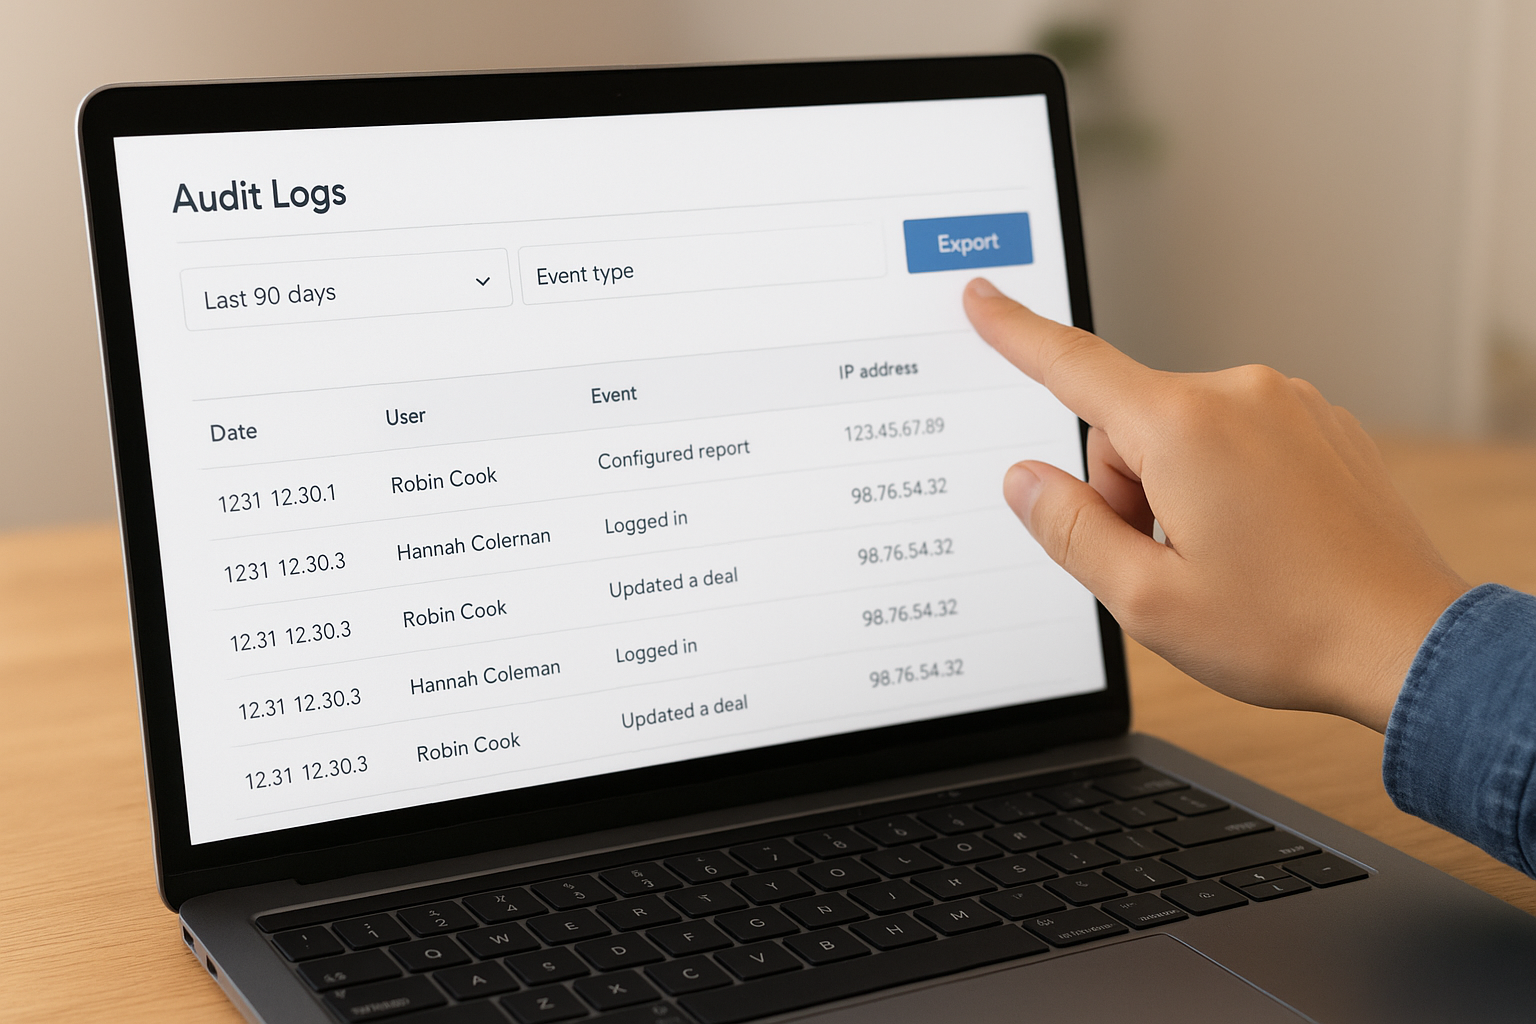
Follow these steps to complete the export:
- Apply your date range, user, and event type filters before exporting to avoid downloading unnecessary data
- Click Export in the upper-right corner of the Audit Logs table
- Check your email for a message from HubSpot with the download link
- Open the link and save the CSV file to a secure location
Store exported audit log files in a protected folder or a compliance-designated system, not in a shared drive where access is unrestricted.
Download security event history
HubSpot also tracks login and security activity separately through the Security Activity section, which you can find under Settings > Account Management > Security. This section records failed login attempts, password resets, and two-factor authentication changes with the same timestamp and IP address format as the main audit log.
To download this history, scroll to the bottom of the Security Activity page and click Download Security History. HubSpot generates a separate CSV covering recent security events for your account. Keeping both exports, the audit log and the security history, gives you a complete picture when you’re responding to a potential account compromise or preparing documentation for an external review.
Step 4. Set alerts, analyze trends, and use the API
Reviewing the HubSpot audit log manually works well for one-off investigations, but proactive monitoring is what keeps your account secure between reviews. In this step, you’ll set up notifications for security events, identify patterns in your log data over time, and pull audit records through the API for teams that need automated reporting or external system integrations.
Configure security notifications
HubSpot lets you receive email alerts for specific security events so you don’t have to log in and check the log manually each day. Go to Settings > Account Management > Security, then scroll to the Notification Preferences section. From there, enable alerts for failed login attempts and new user additions at minimum, since these two event types cover the most common early indicators of unauthorized access.
Confirm your notification email address on this page, because alerts go to your account email by default and that may differ from the inbox you check daily.
Pull audit data through the API
If your team needs audit log records in an external system, HubSpot’s API gives you programmatic access to the same data available in the UI. You authenticate using a Private App token, which you generate under Settings > Integrations > Private Apps. Once you have your token, send a GET request to the audit log endpoint to retrieve recent events.
Here is a basic example using curl:
curl --request GET \
  --url 'https://api.hubapi.com/account-info/v3/activity/audit-logs' \
  --header 'Authorization: Bearer YOUR_PRIVATE_APP_TOKEN' \
  --header 'Content-Type: application/json'
The response returns a paginated JSON array of log entries, each containing the event type, actor email, timestamp, and IP address. Use the after parameter to page through results and the objectType parameter to filter by event category. Storing these responses in a data warehouse or SIEM tool gives your security team a continuous, queryable audit trail that goes well beyond HubSpot’s 90-day UI retention window.
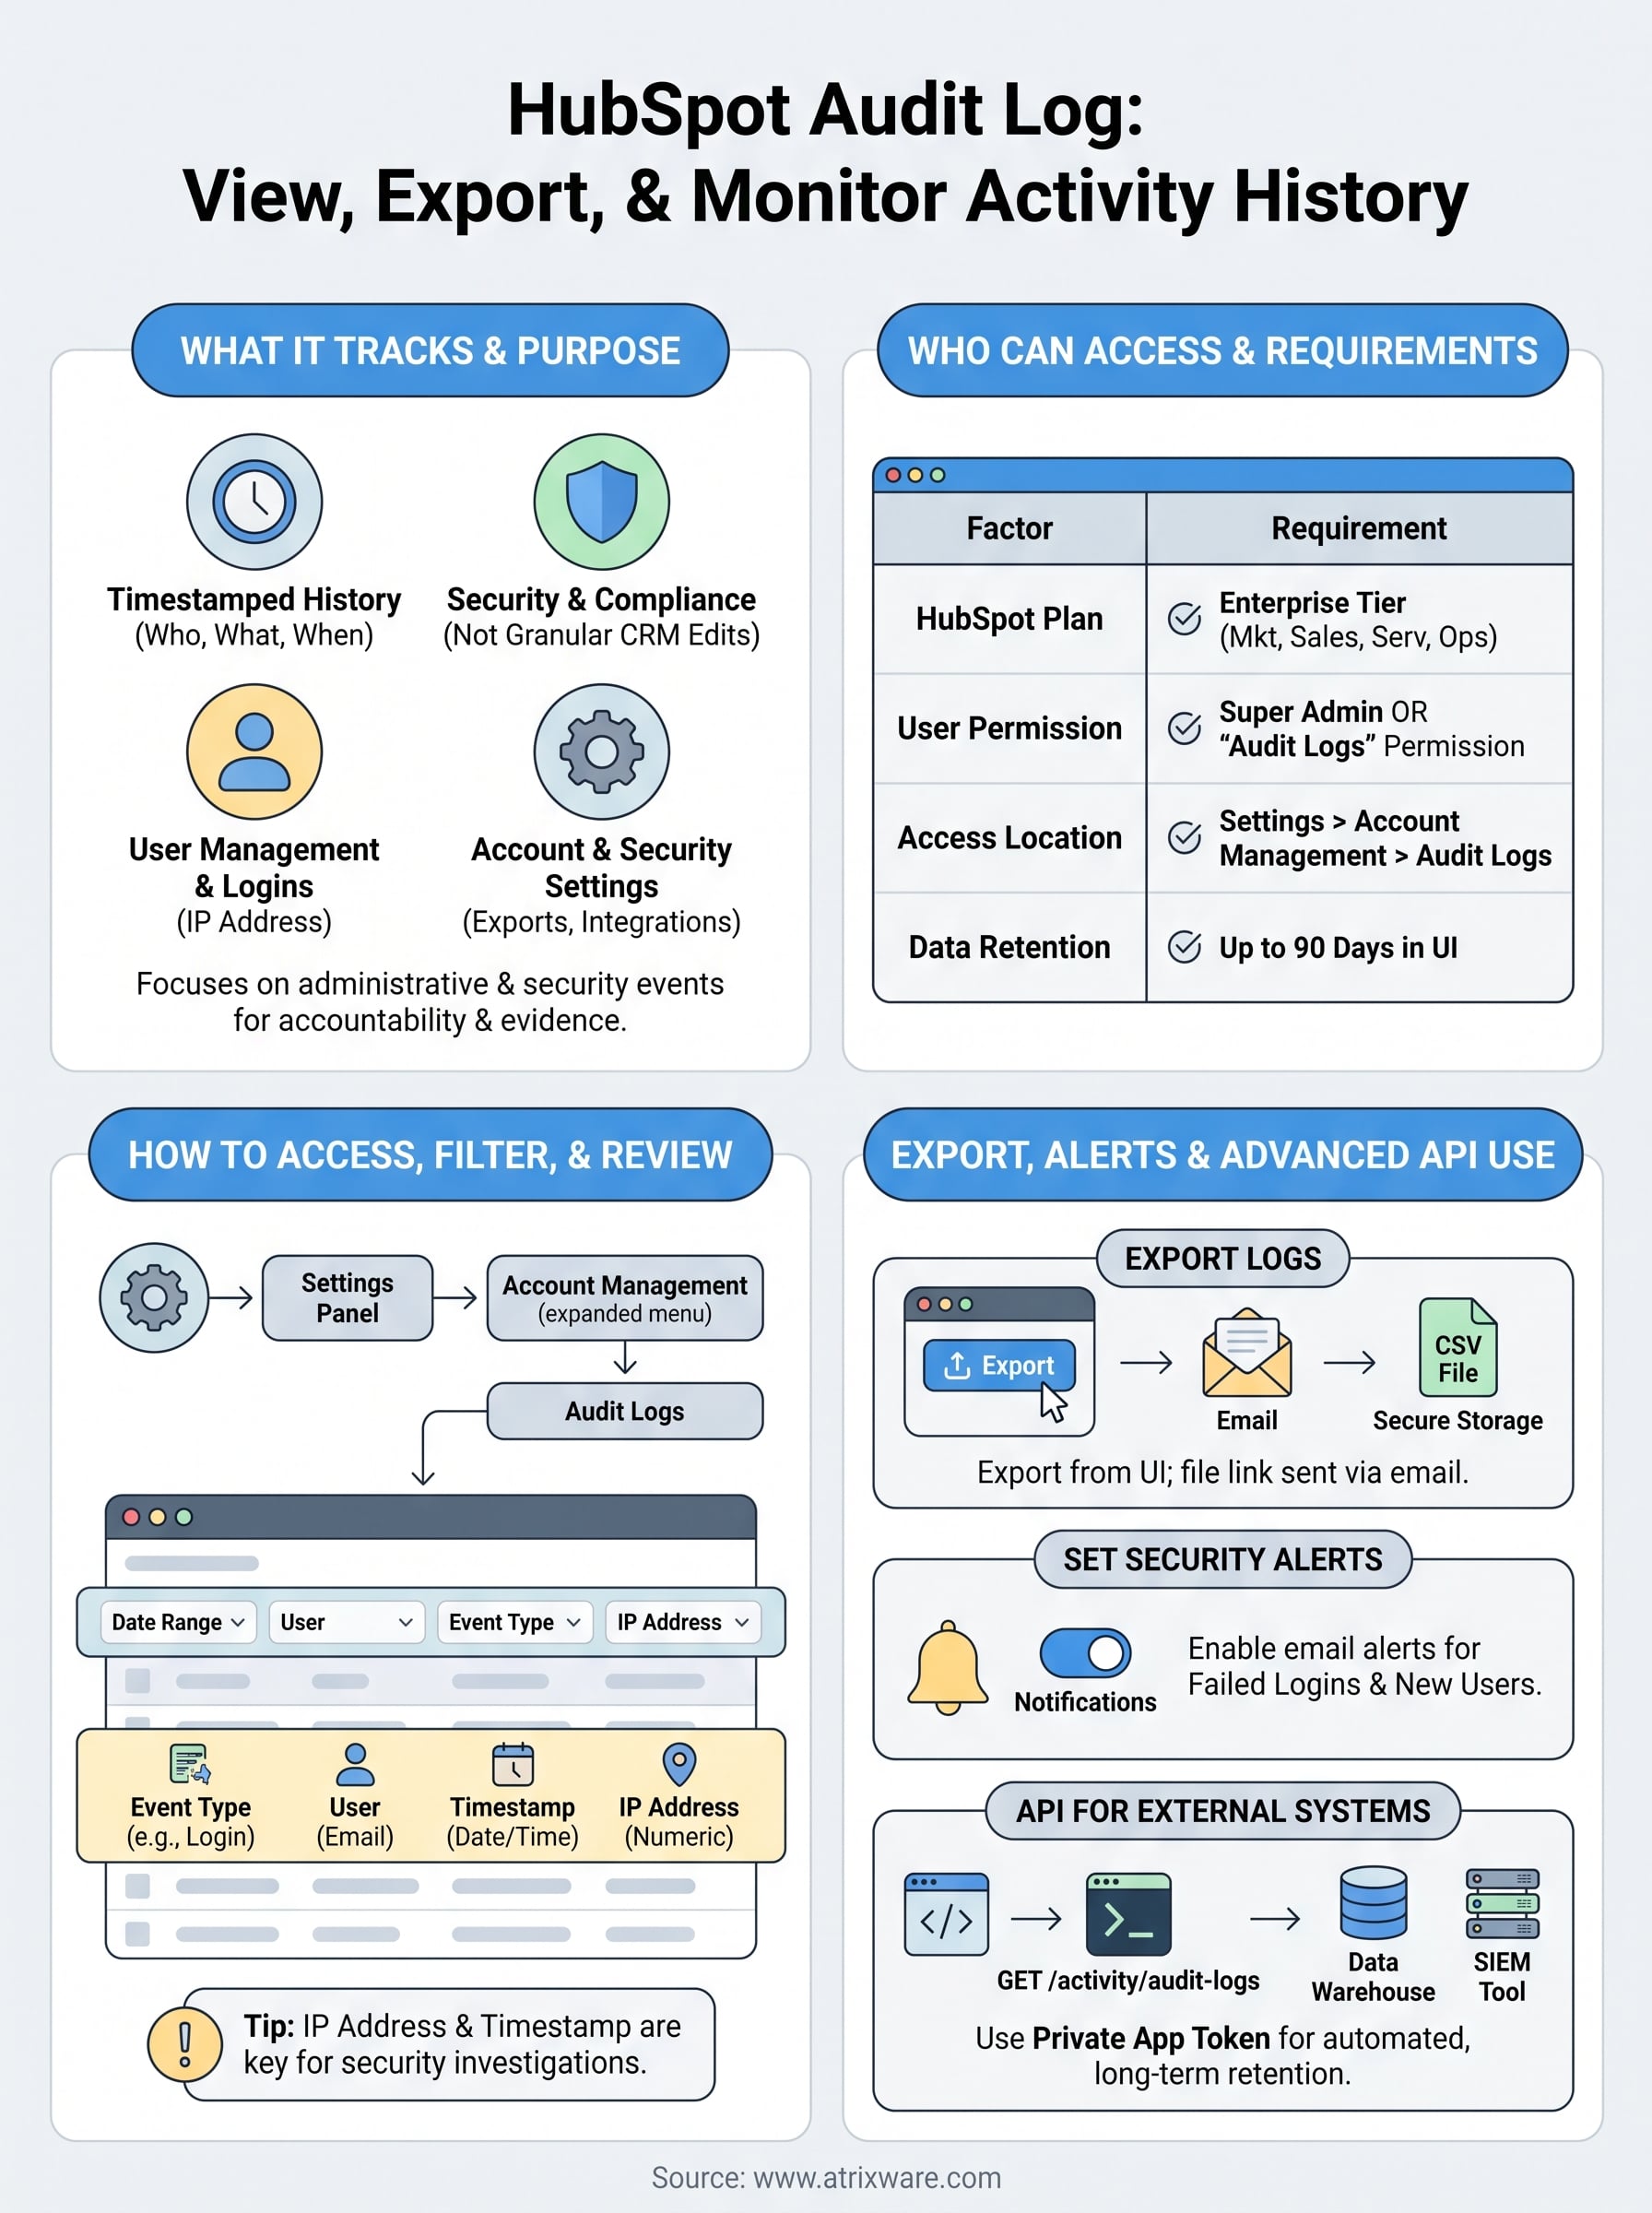
Key takeaways for staying audit-ready
Your HubSpot audit log is only useful if you check it before problems escalate. Review the log on a regular schedule, not just after incidents. Set security notifications for failed logins and new user additions so your team catches unauthorized activity without waiting for a manual review. Export your audit data monthly and store it in a secure, compliance-designated location, keeping both the audit log CSV and the security history file together as a complete record.
For teams that need long-term retention or cross-system reporting, the HubSpot API gives you a reliable path to pull log data into external tools automatically. Combine that with clear permission hygiene, limiting audit log access to admins and compliance staff, and you remove most of the risk before it reaches a serious level.
If your organization also runs training through an LMS, take the Axis LMS readiness quiz to see how well your current setup supports compliance tracking across both platforms.
