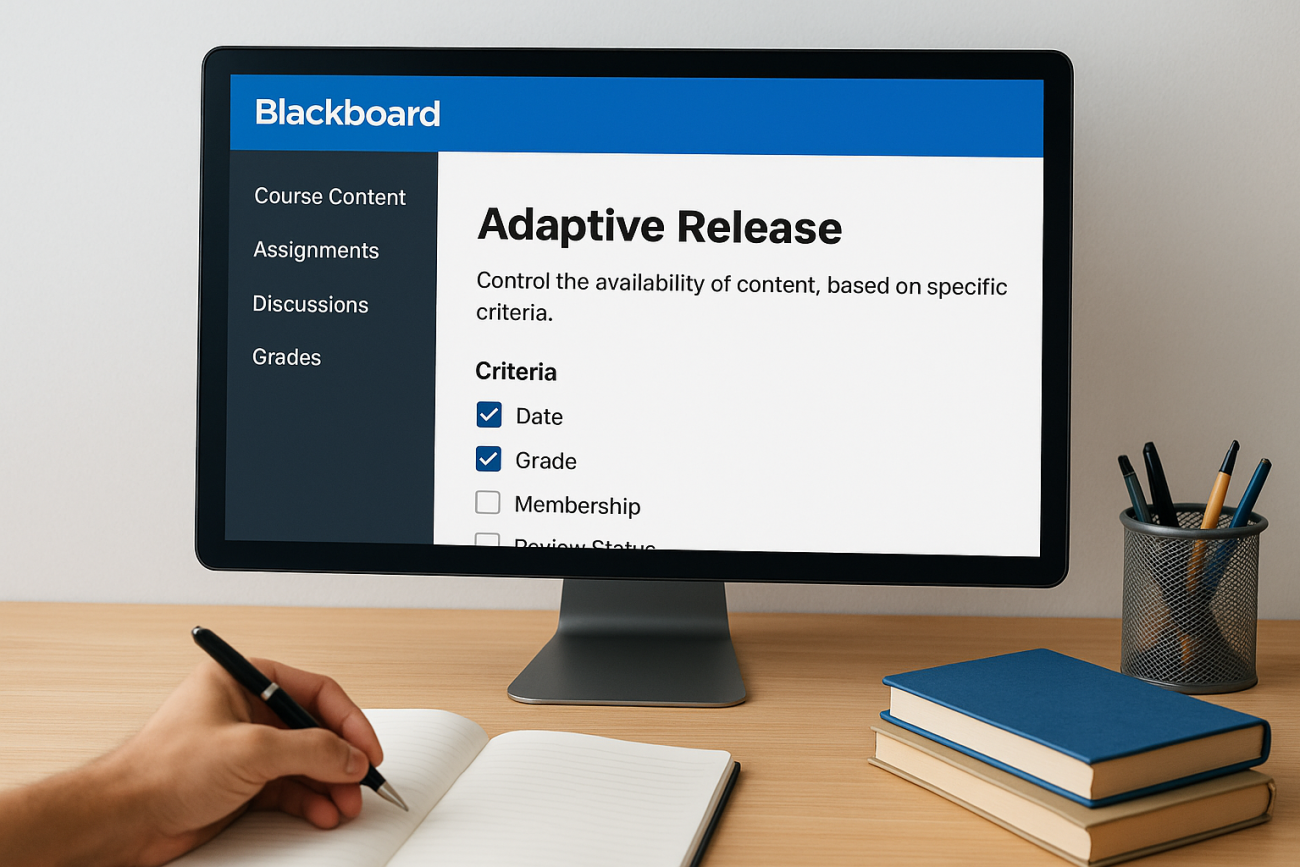
Blackboard adaptive learning tools give instructors a way to control when and how students access course materials. At the core of this functionality is a feature called Adaptive Release, which lets you set rules that determine what content a learner sees based on specific criteria, like completing a previous module, hitting a grade threshold, or belonging to a certain group. It’s one of Blackboard’s more powerful features, but it’s also one that trips up a lot of instructors the first time around.
The setup process involves multiple rule types, each with its own configuration steps and quirks. If you get the logic wrong, students either see everything at once or, worse, get locked out of materials they should have access to. That’s why understanding exactly how each rule works, and how rules interact when you stack them, matters before you start building. A clear walkthrough can save you hours of troubleshooting down the line.
This guide breaks down the full process of setting up Adaptive Release in Blackboard, step by step. You’ll learn how to configure each rule type, combine multiple conditions, and test your setup to make sure learners follow the path you intended. And if you find that Blackboard’s adaptive features feel limited for what your organization actually needs, especially around automation, compliance tracking, or scalable course delivery, it’s worth knowing that platforms like Axis LMS from Atrixware are purpose-built for that kind of flexibility. But first, let’s get you up and running with what Blackboard offers.
What Blackboard adaptive release can do for you
Adaptive Release in Blackboard gives you four distinct ways to control content visibility. Each rule type targets a different condition, and you can use them individually or in combination to build out personalized learning paths without writing a single line of code. Understanding what each rule does upfront is the fastest way to get your blackboard adaptive learning setup working correctly from the start.
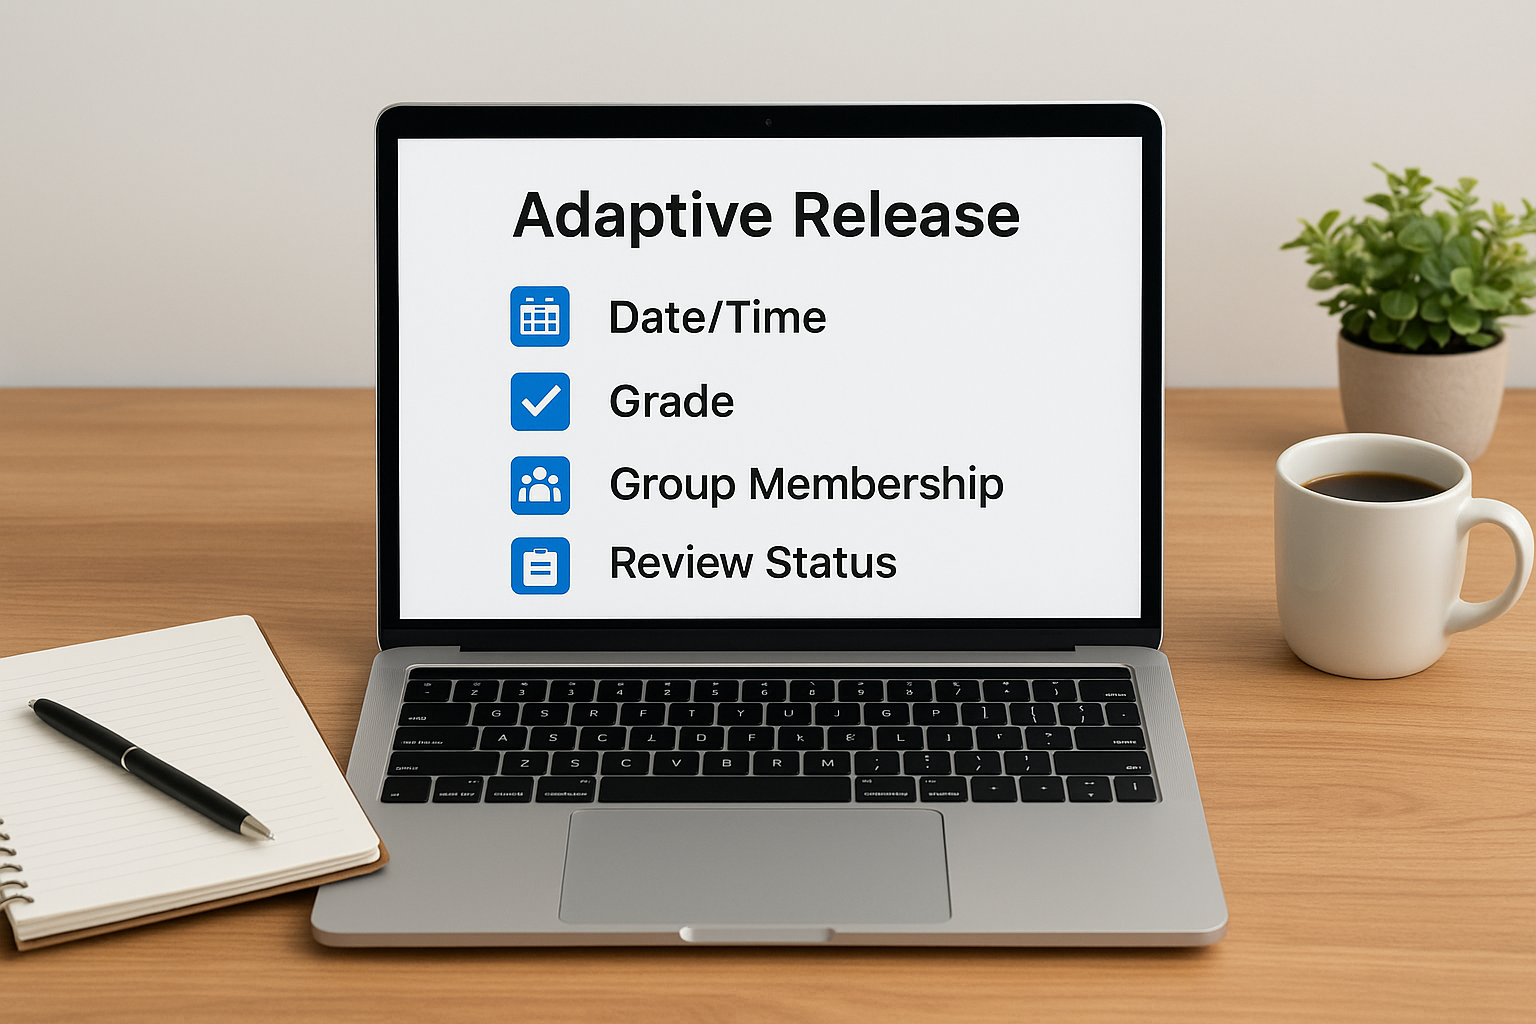
The four rule types you can work with
Each rule type controls access from a different angle. Here’s a quick breakdown of your options:
| Rule Type | What It Controls |
|---|---|
| Date/Time | Restricts content to a specific date range |
| Grade | Releases content based on a score in the Grade Center |
| Group Membership | Shows content only to students in a specific group |
| Review Status | Unlocks content after a student marks an item as reviewed |
You can apply one rule or stack several together. When you combine multiple rules, Blackboard treats them with AND logic by default, meaning every condition must be true before the content unlocks.
Stacking rules adds control, but it also adds complexity – always map your conditions on paper before you build them in the system.
What you can actually gate with these rules
Any content item in your course can carry an Adaptive Release rule: files, assignments, tests, discussion boards, and entire content folders. This means you can build a sequenced course structure where Module 2 only opens after a student scores 70% or higher on the Module 1 quiz.
Segmenting your class by group is equally straightforward, letting you show advanced learners supplemental materials that other students won’t see until they meet the right conditions. This approach works well in courses where prior knowledge varies widely across your student population.
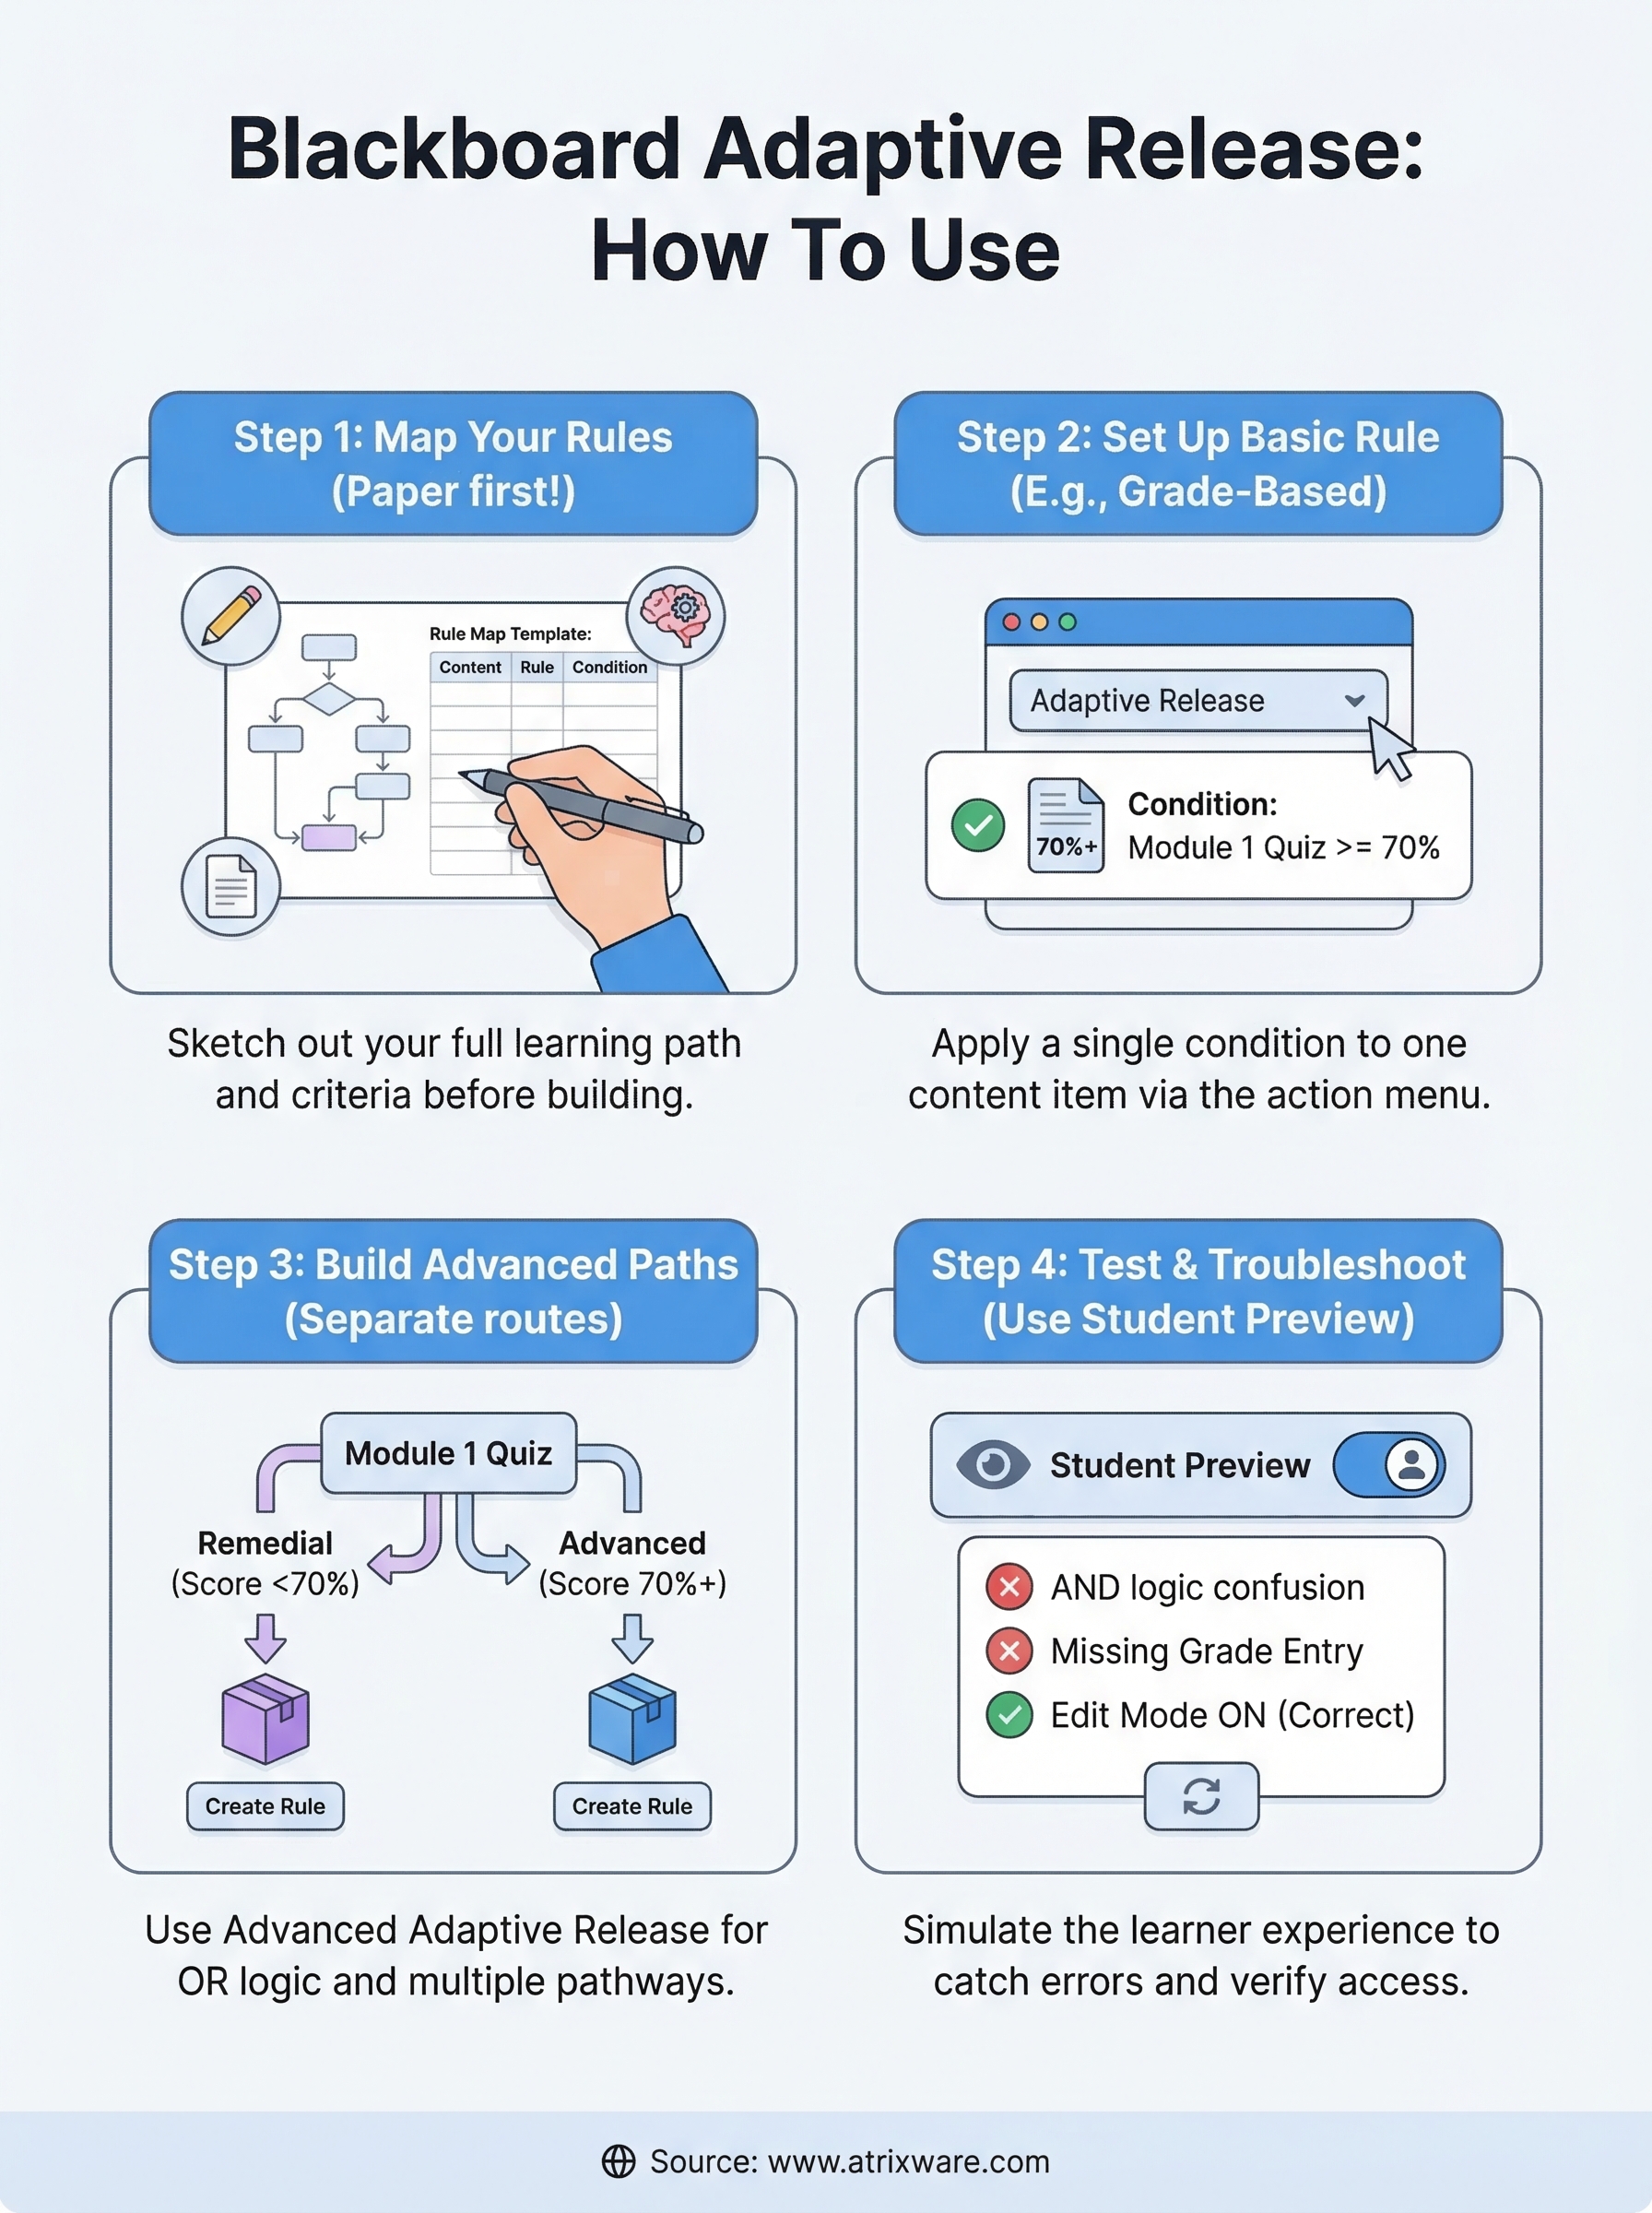
Step 1. Map your learning path and release rules
Before you touch a single setting in Blackboard, sketch out your full learning path on paper (or a simple spreadsheet). Jumping straight into the interface without a plan is the most common reason blackboard adaptive learning setups break. You end up with conflicting rules or content that never unlocks at all.
Spending 15 minutes mapping your path before you build can save you an hour of troubleshooting after students start reporting access issues.
Use a simple rule map template
A plain table works well for this. List every content item in your course, then document exactly what condition must be true before a student can see it. Here is a template you can copy:
| Content Item | Rule Type | Condition | Unlocks After |
|---|---|---|---|
| Module 2 Overview | Grade | Score 70%+ | Module 1 Quiz |
| Advanced Reading | Group | Advanced group only | N/A |
| Final Exam | Review Status | Module 4 marked reviewed | Module 4 Content |
| Week 3 Content | Date/Time | Opens Jan 15 | N/A |
Fill this out completely before logging into Blackboard, and you will have a clear reference point for every rule you build in the next steps.
Step 2. Set up a basic adaptive release rule
With your rule map ready, you can build your first rule inside Blackboard. Basic Adaptive Release applies a single condition to one content item, making it the right starting point before you layer in more complex logic. Locate the content item you want to gate inside your course content area before you open any menus.
How to access the Adaptive Release menu
Hover over the content item’s title to reveal the action menu (the gray chevron arrow), then click it and select "Adaptive Release" from the dropdown. This opens the basic rule editor where you configure one condition at a time.
If you do not see the Adaptive Release option, confirm that your course is in Edit Mode by checking the toggle in the top-right corner of the screen.
Configure a grade-based rule step by step
This example gates Module 2 content behind a 70% score on the Module 1 quiz, one of the most common blackboard adaptive learning setups you will encounter:
- Select Grade Center Column and choose "Module 1 Quiz"
- Set the condition to "Greater than or equal to"
- Enter 70 as the score value
- Click Submit to save the rule
Blackboard confirms the rule is active by displaying a yellow exclamation icon next to the content item name in your course list.
Step 3. Build advanced rules for different student paths
When one condition is not enough, Blackboard’s Advanced Adaptive Release option lets you create multiple rules on a single content item. Each rule acts as a separate pathway, so a student who meets any one rule’s conditions gains access. This OR logic is what separates basic from advanced setup, and it’s where you unlock real flexibility in blackboard adaptive learning course design.
Switch to the Advanced Adaptive Release editor
From the content item’s action menu, select "Adaptive Release: Advanced" instead of the basic option. This opens a rule management screen where you can create, name, and manage multiple independent rules for the same item.
Configure separate paths for remedial and advanced learners
Your goal here is to route students into different content experiences based on their Module 1 Quiz performance. Follow these steps to build two distinct paths on one content item:
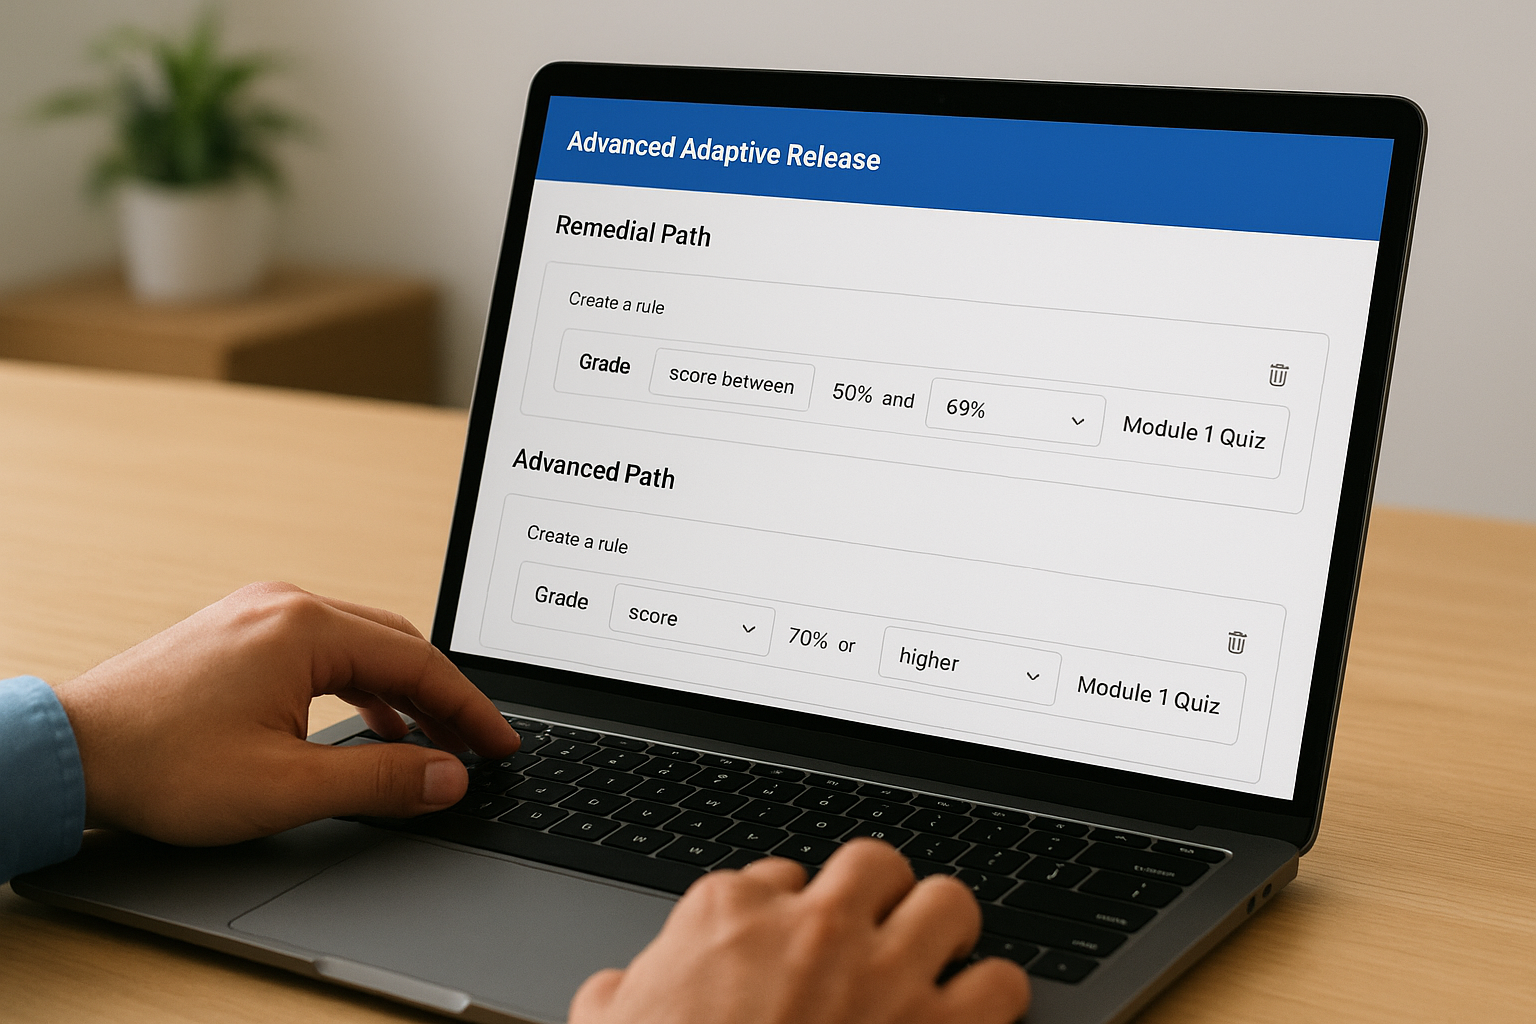
- Click "Create Rule" and name it "Remedial Path"
- Add a Grade condition: score between 50% and 69% on Module 1 Quiz
- Click "Create Rule" again and name it "Advanced Path"
- Add a Grade condition: score 70% or higher on Module 1 Quiz
- Click Submit to save both rules
Each named rule operates independently, so a student only needs to satisfy one rule’s conditions to gain access to the content item.
Step 4. Test, troubleshoot, and avoid common mistakes
After building your rules, testing from the student’s perspective is the only reliable way to confirm your blackboard adaptive learning setup works as intended. Skipping this step is where most instructors run into problems after students are already enrolled.
Use Student Preview to verify your rules
Blackboard’s built-in Student Preview mode lets you simulate the learner experience without creating a separate test account. Click the Student Preview button in the top-right corner of your course, then navigate to each gated content item to confirm it behaves exactly as your rule map specifies. Exit preview, use the Grade Center to manually enter a qualifying score, then re-enter Student Preview to confirm grade-based rules trigger correctly.
Always test each rule individually before combining them, so you can isolate which condition is causing an issue if something does not work.
Fix the most common rule errors
Three mistakes account for most adaptive release failures. Recognizing these in advance keeps your course structure clean and prevents learner access issues before they happen.
- AND logic confusion: Multiple criteria within one rule must all be true simultaneously
- Missing Grade Center entry: Grade-based rules will not fire if the column carries no recorded score
- Edit Mode off: The Adaptive Release option disappears from the action menu when Edit Mode is toggled off
Next steps
You now have everything you need to build a working blackboard adaptive learning setup using Adaptive Release. You know how to map your rules before touching the system, configure both basic and advanced conditions, and test your setup from the student’s perspective to catch errors before they affect real learners.
The key is to start small. Pick one content item in your next course, apply a single grade-based rule, and verify it works in Student Preview. Once that clicks, adding more complex multi-path rules becomes straightforward because the underlying logic stays the same.
Blackboard’s tools work well for academic settings, but if your organization needs more automation, compliance tracking, or scalable course delivery, you may find the platform limiting. Axis LMS is built specifically for business training needs. Take the LMS readiness quiz to see where you stand and whether a dedicated platform makes sense for your training goals.