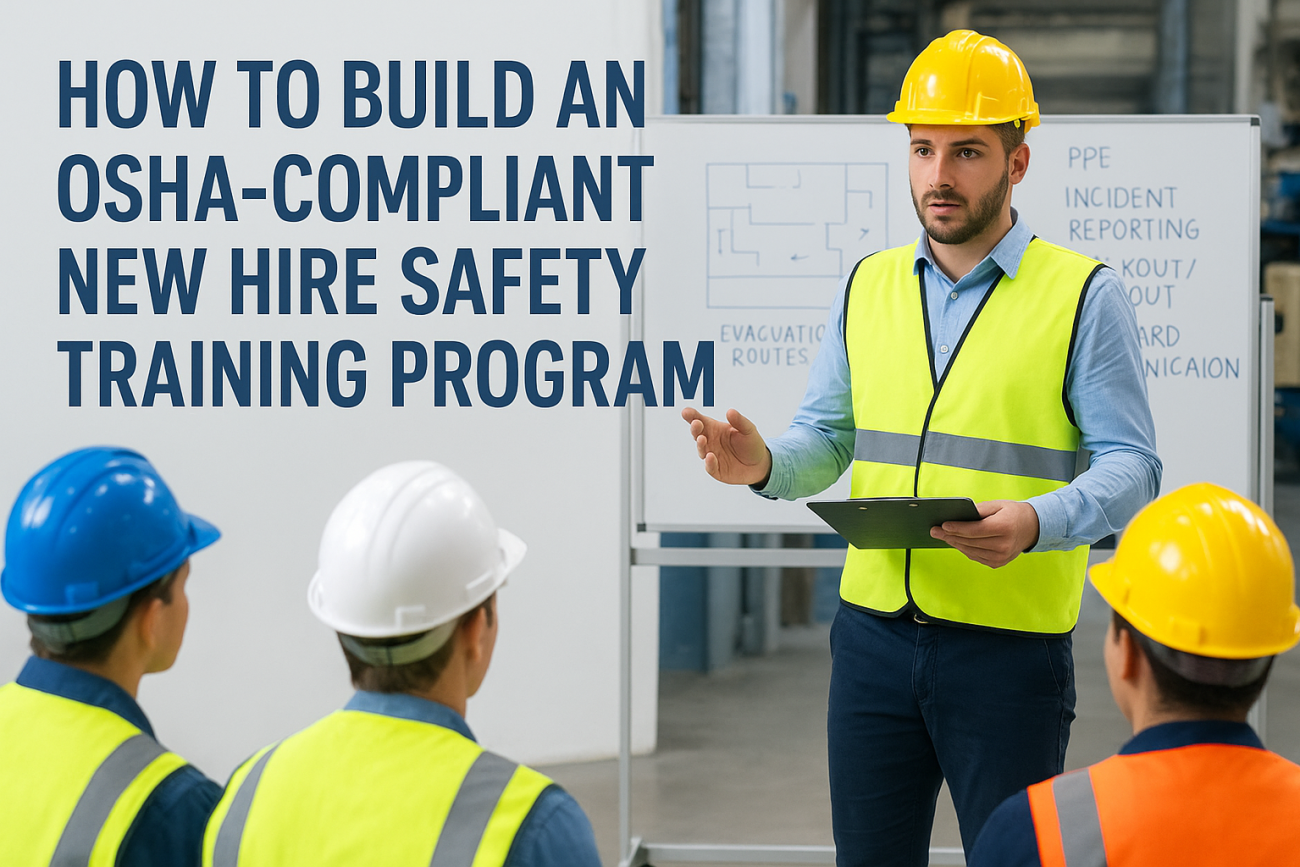
A new employee’s first week is when most workplace accidents happen. OSHA data consistently shows injury rates spike for workers in their first months on the job, which means your new hire safety training program isn’t paperwork, it’s the difference between a safe hire and an incident report and a lawsuit.
If you’re building this program from scratch or fixing a checkbox exercise that isn’t holding up under audit, you need a clear structure: what topics OSHA actually requires, how soon training must happen after start date, and how to document it so you can prove compliance if an inspector or attorney ever asks. This guide gives you that structure, not vague advice about "safety culture."
Below you’ll find a step-by-step framework for new hire orientation safety training, including hazard-specific modules by industry, a suggested timeline from day one through 90 days, and a checklist you can adapt immediately. We’ll also cover how a learning management system simplifies tracking and how automated compliance reporting keeps your records audit-ready without extra manual work on your end.
Why new hires need a structured safety orientation
Every employer thinks their onboarding covers safety until an incident happens and the paper trail doesn’t hold up. The problem isn’t that companies skip safety training entirely, it’s that they treat it as a HR formality, a video and a signature, instead of a structured process tied to actual job hazards, and that’s the single biggest reason safety training fails. New hire safety training done this way creates a false sense of compliance: you have a signed form, but the worker never learned how to lock out a machine, wear a respirator correctly, or report a near miss. That gap is exactly what OSHA inspectors and plaintiff’s attorneys look for after an incident.
The first 90 days carry the highest risk
Research from the National Council on Compensation Insurance and multiple state workers’ compensation boards has found that a disproportionate share of workplace injuries happen to employees in their first year, with the highest concentration in the first month. New hires haven’t yet developed the muscle memory for safe procedures, they don’t recognize hazards a five-year veteran spots instantly, and they’re often reluctant to ask questions or slow down a process to do it correctly. Combine that inexperience with production pressure to "get up to speed fast," and you get the exact conditions that produce lost-time injuries.
A new hire’s first 30 days on the job are statistically the most dangerous days of their entire employment.
What OSHA actually expects from you
OSHA doesn’t publish one single "new hire training" standard, so it helps to see how OSHA training requirements work in practice. Instead, training obligations are scattered across the General Duty Clause and dozens of specific standards, each triggered by the hazards present in your workplace. Here’s how the most common requirements break down:
| OSHA Requirement | What It Covers | When Training Is Required |
|---|---|---|
| General Duty Clause (Sec. 5(a)(1)) | Recognized hazards not covered by a specific standard | Before exposure to the hazard |
| Hazard Communication (1910.1200) | Chemical labels, SDS, PPE for chemical exposure | Before working with or near hazardous chemicals |
| Lockout/Tagout (1910.147) | Control of hazardous energy during machine service | Before authorized or affected employee performs the work |
| Bloodborne Pathogens (1910.1030) | Exposure control for blood and bodily fluids | Before assignment to tasks with occupational exposure |
| Personal Protective Equipment (1910.132) | Selection, fit, and use of required PPE | Before performing work requiring PPE |
| Emergency Action Plans (1910.38) | Evacuation routes, alarm systems, reporting procedures | Upon initial assignment |
Notice the pattern: almost every standard says training happens before exposure, not sometime in the first month once you get around to it. That timing requirement is where most onboarding programs quietly fail.
Untrained workers cost more than the fine
OSHA citations for training violations routinely run into the tens of thousands of dollars per instance, and willful violations can exceed $161,000 each as of 2024 penalty adjustments. But the fine is rarely the biggest cost. A single serious injury triggers workers’ compensation claims, potential OSHA investigations, increased insurance premiums, and, in wrongful death or gross negligence cases, personal liability for supervisors and executives, which is what poorly trained workers really cost you. Courts and juries consistently ask the same question after an incident involving a new employee: what training did this person receive, and can you prove it? If your answer is a vague description of an orientation video, you’re exposed. If your answer is a documented, role-specific training record with timestamps, quiz scores, and sign-offs, you have a defense. Building that record starts with mapping requirements to roles, which is where the real work of your program begins.
Step 1. Map OSHA training requirements to each role
Generic orientation content can’t satisfy OSHA because OSHA doesn’t regulate generically, it regulates specific tasks and hazards. Before you build a single slide, you need a job hazard analysis for every role you hire into, listing the equipment they’ll touch, the chemicals they’ll handle, and the environments they’ll work in. Skip this step and you end up training a warehouse picker on bloodborne pathogens while missing the powered industrial truck certification they actually need.
Start with a role-by-role hazard inventory
Walk each job function with a supervisor who actually performs the work, not just the job description on file. Ask what machines they operate, what PPE they wear, what chemicals are stored nearby, and what emergency procedures apply to their work area. This is where most gaps surface: a maintenance tech might need lockout/tagout, respiratory protection, and confined space training, while an office employee down the hall only needs emergency action plan awareness.
If you can’t name the specific OSHA standard tied to a task, you can’t prove the training was adequate.
Build a training matrix you can audit
Once you’ve mapped hazards, turn them into a simple reference table your training coordinator and managers can pull up instantly:
| Role | Required OSHA Training | Frequency |
|---|---|---|
| Warehouse forklift operator | Powered Industrial Trucks (1910.178), PPE, HazCom | Initial, refresher every 3 years or after incident |
| Lab technician | Bloodborne Pathogens, HazCom, PPE | Initial, annual refresher |
| Maintenance technician | Lockout/Tagout, Confined Space, Electrical Safety | Initial, annual refresher |
| Office staff | Emergency Action Plan, Fire Prevention | Initial, as plan changes |
Keep this matrix as a living document. New equipment, new chemicals, or a revised process should trigger an automatic review, not wait for the next annual audit.
Assign ownership before day one
Mapping means nothing if nobody’s accountable for delivering it. Designate a training coordinator or department manager for each role category, and confirm they know the exact modules, timelines, and sign-off requirements before the new hire’s start date. Many teams manage this inside an LMS by building role-based learning paths for new crews that assign curricula automatically, so nobody has to remember a spreadsheet on someone’s desktop. That mapping becomes the backbone of everything you build next, starting with what happens on the employee’s very first day.
Step 2. Build your day one safety orientation
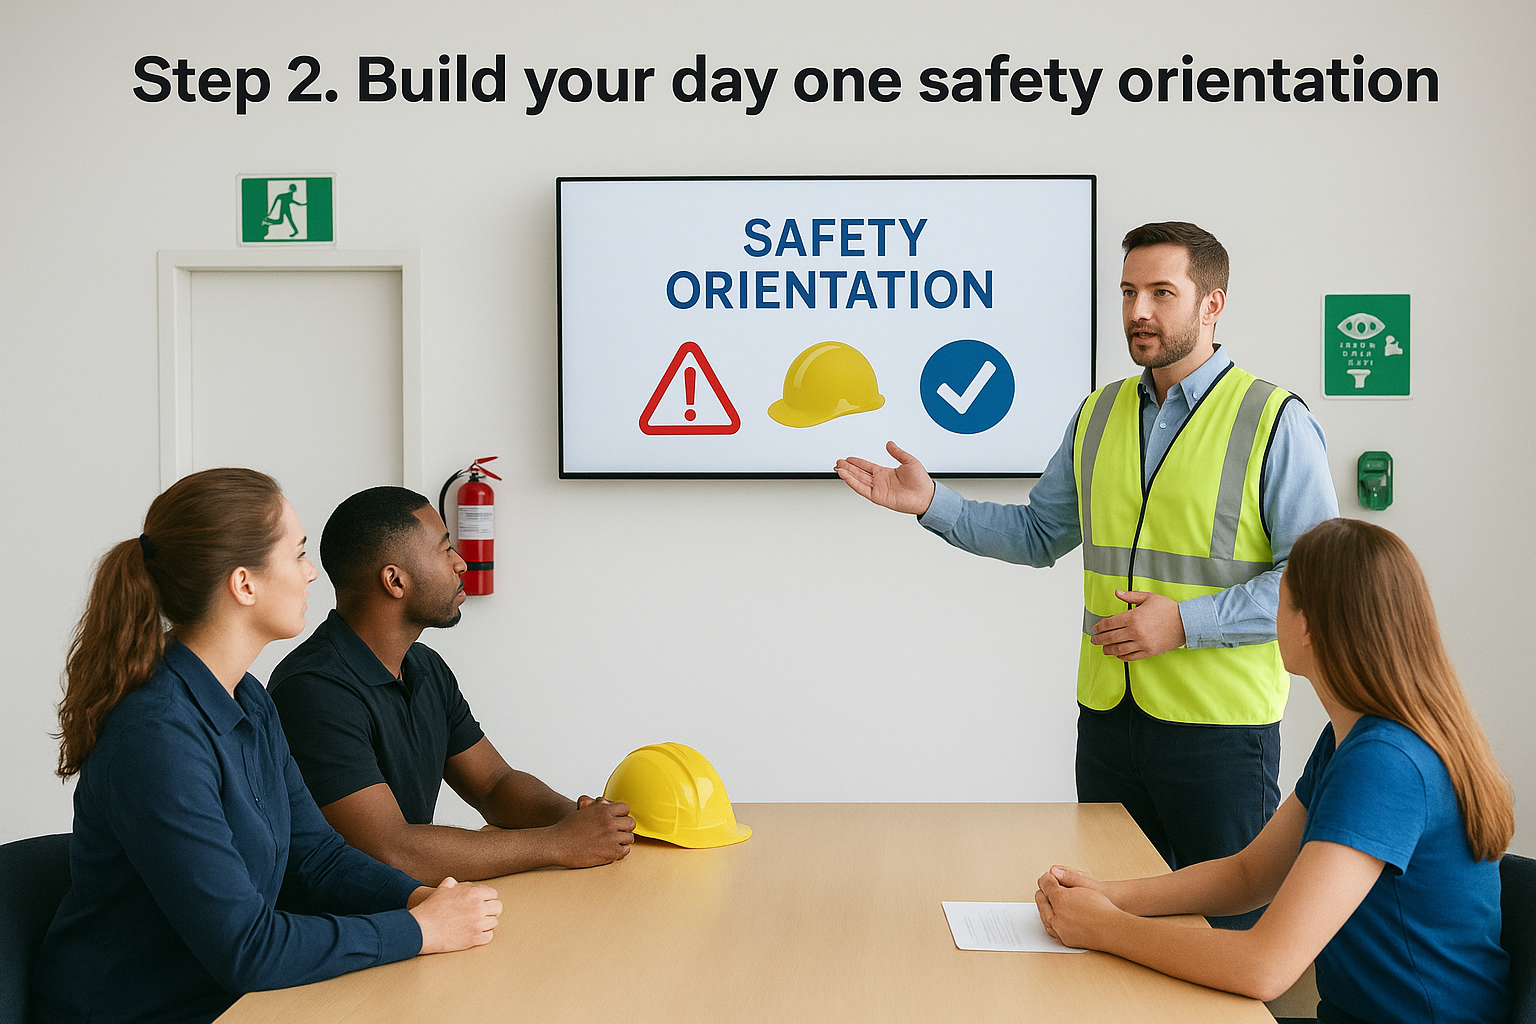
Day one sets the tone for how seriously a new hire treats safety for the rest of their employment. Your new hire orientation safety training should happen before the employee touches equipment, chemicals, or a workstation, not squeezed in during a lunch break on day three. Treat this session as the foundation that every role-specific module builds on later, not a formality to clear before HR paperwork.
Cover the universal basics every employee needs
Regardless of job title, every new hire needs the same baseline knowledge before they set foot on the floor. Build your day one session around this checklist:
- Emergency action plan: evacuation routes, alarm sounds, and muster points
- Incident and near-miss reporting procedure, including who to notify and how
- Location and use of first aid stations, eyewash stations, and fire extinguishers
- General PPE requirements for the facility, even if role-specific PPE comes later
- Right-to-know information: where SDS sheets are kept and how to read a chemical label
- Introduction to the safety data system or LMS they’ll use to complete future modules
Getting through this list satisfies your Emergency Action Plan obligation under 1910.38, which requires training upon initial assignment, not sometime in the first month.
Make it interactive, not a slideshow marathon
Sitting through ninety minutes of slides doesn’t teach anyone how to evacuate a building. Walk new hires physically through the facility: point out exits, show them where the extinguishers hang, and have them locate the eyewash station themselves. Quiz them on the spot rather than saving all assessment for a final test. Employees retain physical, walked-through information far better than anything read off a screen, and that retention is what protects them during an actual emergency.
An orientation that stays in the classroom never prepares anyone for what happens on the floor.
Document attendance and comprehension immediately
Treat your day one session like any other regulated training: track who attended, what was covered, and whether they demonstrated understanding. A learning management system makes this simple by assigning the orientation module automatically on the hire’s start date, timestamping completion, and storing a quiz score alongside a digital signature, which is one of the best practices for onboarding new hires. That record becomes your proof of compliance if an incident happens six months later and someone asks what the employee actually learned on day one. Once orientation is locked down and documented, you’re ready to move into the deeper, role-specific training that turns awareness into real competence on the job.
Step 3. Deliver hands-on, role-specific training
Orientation gives new hires the baseline, but new hire safety training only becomes real once you put a worker in front of the actual equipment, chemicals, or process they’ll handle every day. This is where the training matrix you built in Step 1 earns its keep. Each role should trigger its own set of hands-on modules, delivered before the employee performs the task unsupervised, not weeks after they’ve already been doing it wrong.

Train on the equipment they’ll actually use
Skip generic videos for anything involving machinery, chemicals, or confined spaces, and know when digital safety training beats in-person instruction and when it doesn’t. Walk the new hire through the real equipment on the floor, with a qualified trainer demonstrating each step before the employee tries it themselves. A solid hands-on session covers:
- Proper start-up and shutdown procedures for the specific machine or line
- Correct PPE selection and fit for that task, not just facility-wide PPE
- Lockout/tagout steps if the role touches machine service or maintenance
- Chemical handling and labeling specific to the substances in that work area
- Emergency shutoff locations and procedures unique to that station
Running through this list against your role matrix confirms nothing got missed between the paperwork and the floor.
Verify competency before solo work
Watching a demonstration isn’t the same as being able to repeat it safely under pressure. Require the new hire to perform the task while the trainer observes, and don’t sign off until they can do it correctly without prompting. This return-demonstration step is what separates real competency verification from a box-checking exercise, and it’s exactly what an OSHA investigator or plaintiff’s attorney will ask about after an incident.
A worker who’s watched a task once hasn’t been trained, they’ve been shown.
Pair new hires with a trained mentor
Beyond the formal module, assign every new hire a mentor who’s worked the role for at least a year and has a clean safety record. Mentors catch the small habits that formal training misses: the shortcut a coworker takes, the way noise levels make verbal warnings hard to hear, the unofficial hand signals used near loud equipment. Keep this mentorship period documented too, with a defined end date and a final sign-off confirming the new hire can work independently. That sign-off becomes another piece of evidence in your compliance file, and it sets up the documentation and reinforcement work covered next.
Step 4. Document, verify, and reinforce training
Training that isn’t documented might as well not have happened, at least in the eyes of an OSHA inspector or a plaintiff’s attorney. Document, verify, and reinforce every module a new hire completes, and treat that record as a living file that grows throughout their employment, not a folder you close after the first week.
Build a record that survives an audit
Your documentation needs to answer three questions instantly: who was trained, on what, and how do you know they understood it. A defensible record includes:
- Employee name, role, and hire date
- Specific OSHA standard or topic covered
- Date and method of training (classroom, hands-on, LMS module)
- Trainer or supervisor name
- Quiz or competency assessment score
- Signed acknowledgment from the employee
Keep these records centralized rather than scattered across supervisor binders and shared drives, because an inspector asking for proof within 72 hours won’t wait while you track down paper files from three departments, and keeping training records audit-ready is far easier when everything lives in one system.
If you can’t produce the record in minutes, the training might as well not exist.
Verify understanding, don’t just collect signatures
A signature confirms attendance, not comprehension. Build a short quiz or practical demonstration into every module, and set a passing threshold before the system marks it complete. This is where a learning management system earns its cost back, going beyond basic completion tracking for OSHA safety training: Axis LMS can require a passing quiz score before it releases certification, flag any employee who fails twice, and route that employee back to a supervisor for hands-on retraining instead of letting a gap slide through unnoticed.
Schedule reinforcement, not just refreshers
Compliance training has expiration dates for a reason. Lockout/tagout, bloodborne pathogens, and forklift certifications all require periodic retraining, and missing a renewal date is one of the most common findings during OSHA inspections. Set automated reminders 30 and 60 days before any certification expires so retraining happens on schedule instead of after an inspector flags it, the simplest way of protecting your organization from expired credentials. Reinforcement also means short refreshers between formal cycles: a five-minute toolbox talk after a near miss, or a quick reminder module pushed to a specific department after an equipment change, the kind of targeted micro-learning that stops compliance drift. These small touches keep safety knowledge current instead of letting it fade until the next annual class, and they give you a documented trail showing training didn’t stop the day orientation ended.
From orientation to a lasting safety culture
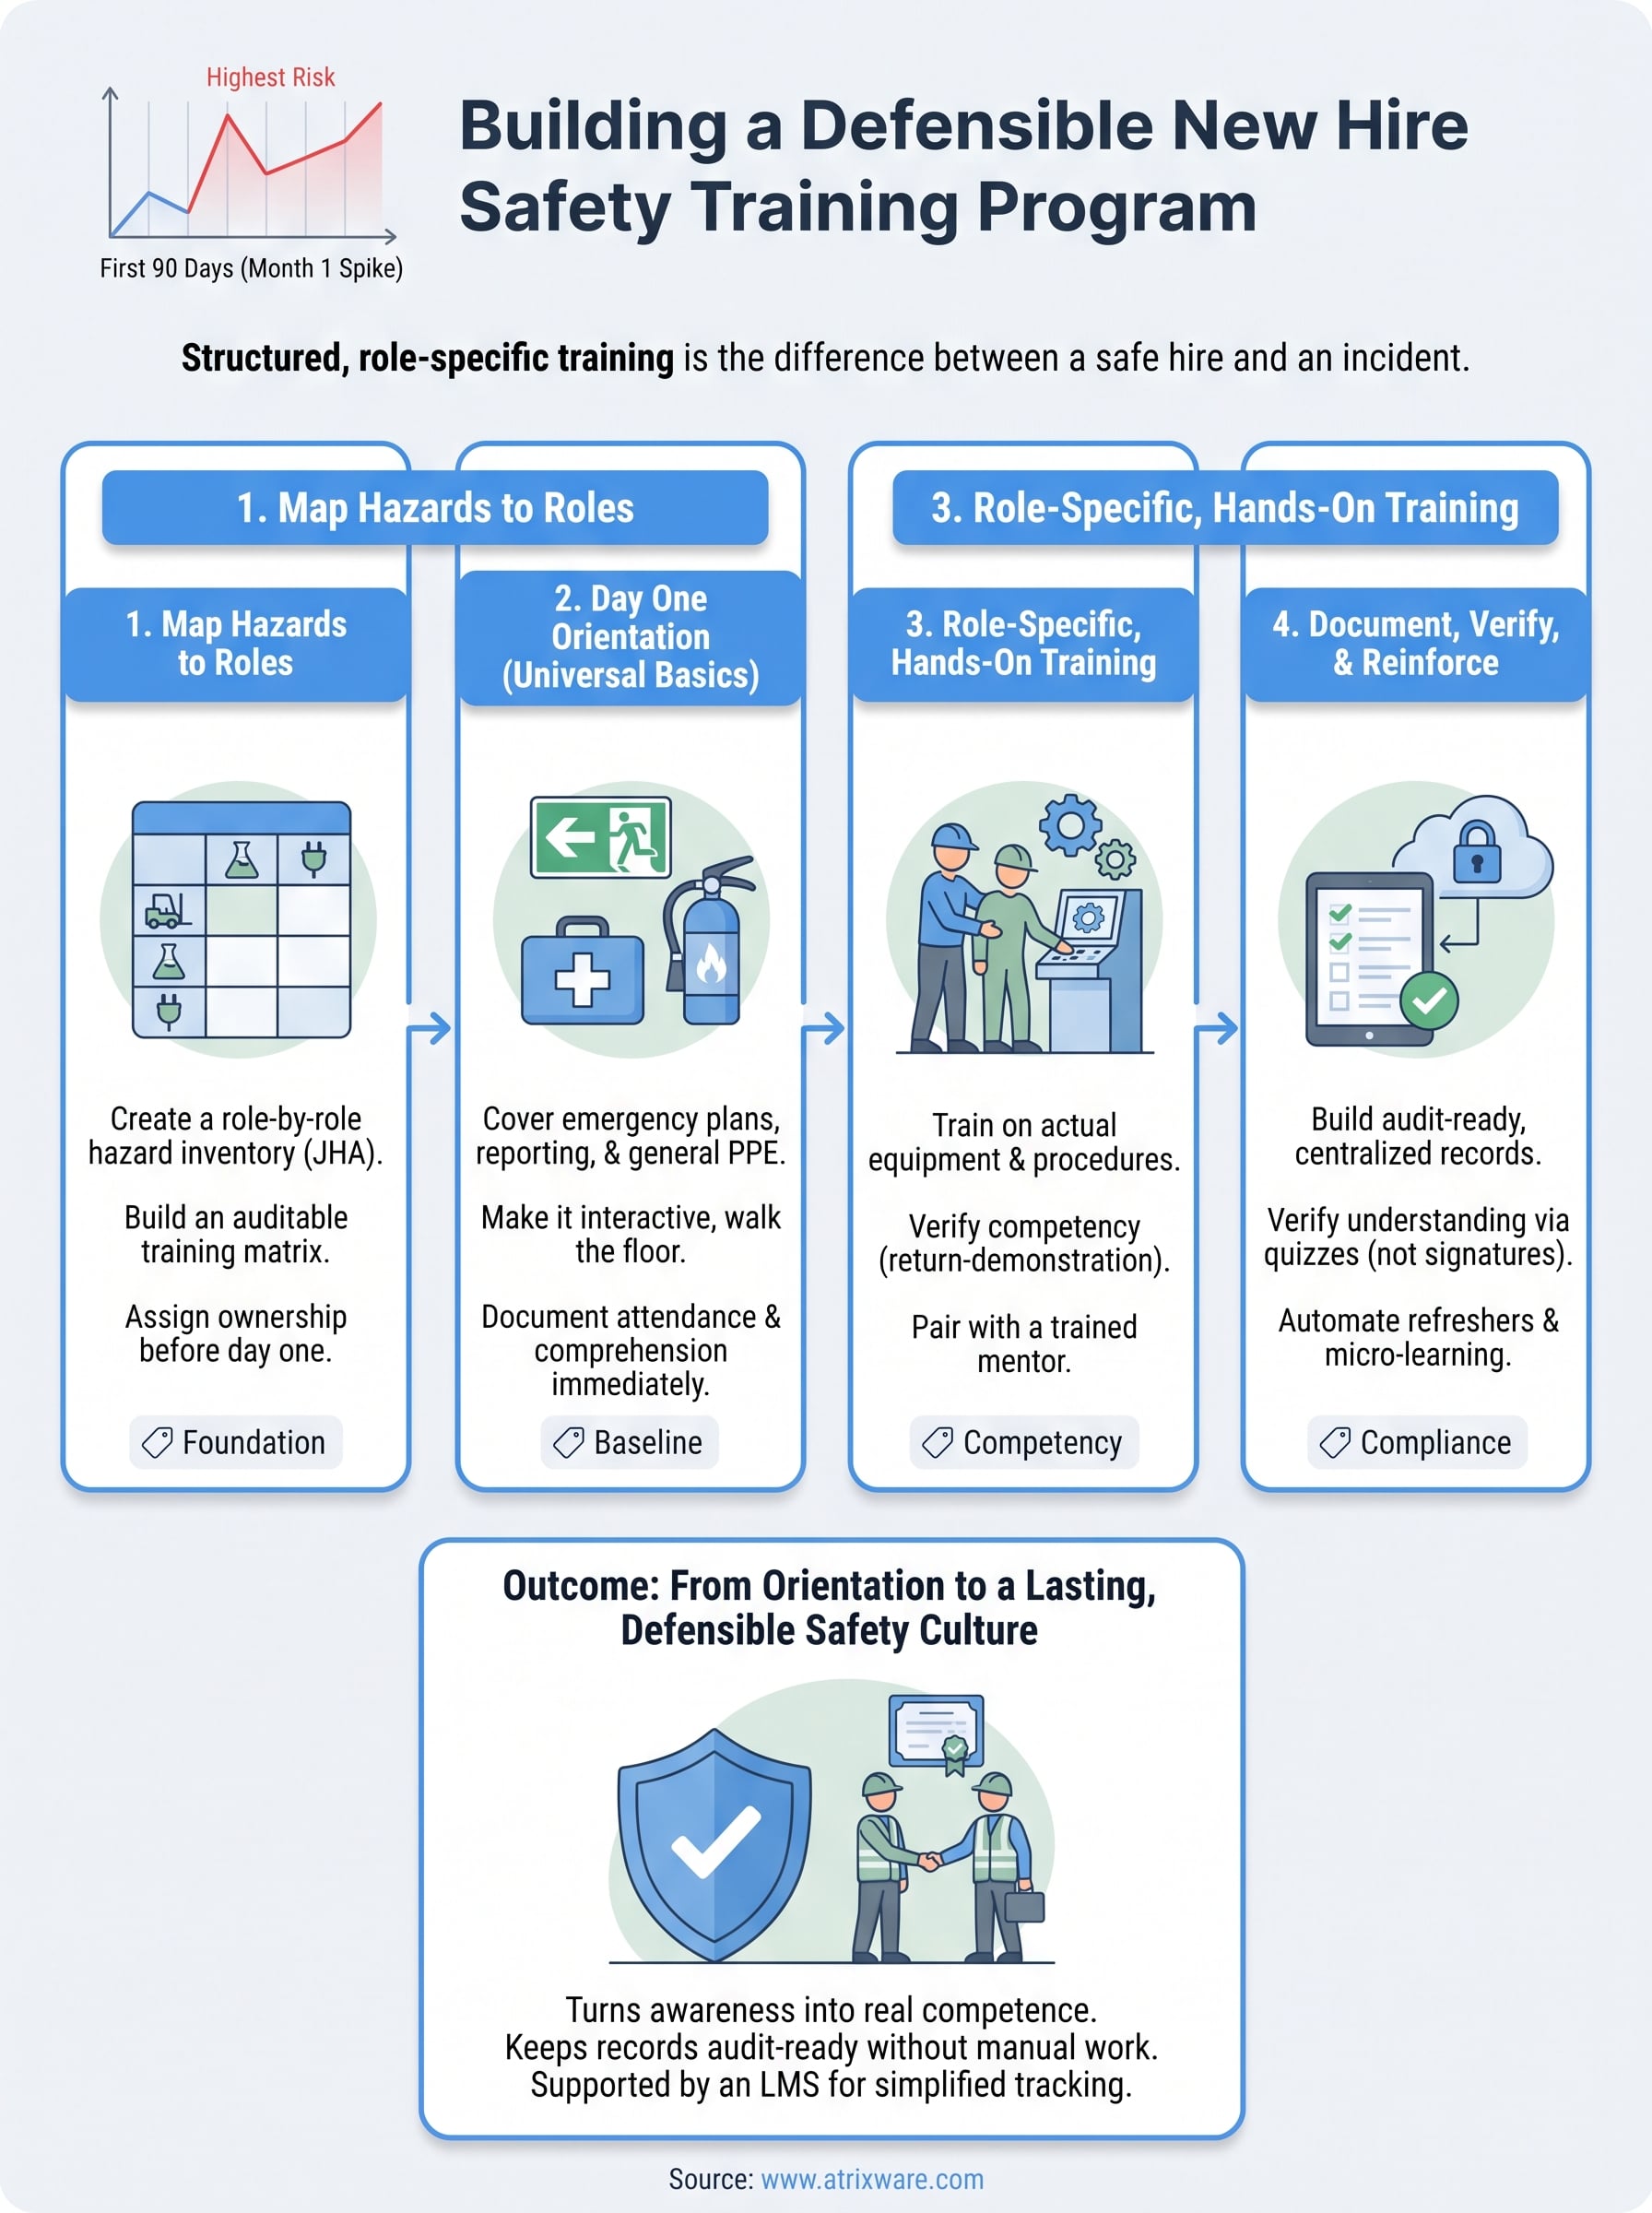
A strong new hire safety training program doesn’t end when orientation wraps up. It becomes the foundation new employees build on for the rest of their time with you, reinforced through hands-on modules, verified competency, and documentation that holds up when someone asks hard questions. Building this from scratch feels like a lot, but you don’t need spreadsheets, binders, and hope to pull it off.
Consistency matters more than complexity here. Assign the right modules automatically by role, verify comprehension instead of collecting signatures, and keep records centralized so nothing gets lost between departments. That’s what turns a checkbox exercise into a defensible, repeatable system.
If you’re still tracking training manually, find out how ready your organization is for an LMS and see exactly where your program stands and what to fix first.
