LearnDash is a popular WordPress-based LMS, but it doesn’t include native SCORM support out of the box. If you’ve invested in SCORM-compliant courses or need to track standardized eLearning content, you’ll need a LearnDash SCORM plugin to bridge that gap. Without one, you’re missing out on detailed learner tracking and the interoperability that SCORM provides.
This guide walks you through how to add SCORM packages to LearnDash, configure tracking, and pull meaningful reports on learner progress. We’ll cover the setup process, common troubleshooting issues, and what to expect from the available plugin options.
At Atrixware, we build Axis LMS with built-in SCORM support and comprehensive reporting, no plugins required. That said, we understand many organizations are already committed to LearnDash. If that’s your situation, this article will help you get SCORM content running properly so you can deliver compliant training without switching platforms.
What you need before adding SCORM to LearnDash
You can’t just drop SCORM content into LearnDash and expect it to work. Before you install any learndash scorm plugin, you need to make sure your WordPress environment meets basic requirements and your SCORM packages are properly formatted. Most plugin issues stem from skipping these preparation steps, so it’s worth taking five minutes to verify everything before you start.
Your LearnDash installation requirements
Your WordPress site needs LearnDash version 3.0 or higher installed and activated. Earlier versions lack the hooks and functions that modern SCORM plugins depend on. You also need administrator access to install plugins and modify settings. Check your hosting plan for at least 512MB of PHP memory and file upload limits of 100MB or more, since SCORM packages can be large. If your host restricts these values, contact support to increase them before proceeding.
Most SCORM tracking failures happen because the hosting environment can’t handle the file sizes or lacks the memory to process learner interactions properly.
Your SCORM packages and version compatibility
Gather your SCORM 1.2 or SCORM 2004 packages before you start. Most LearnDash SCORM plugins support both versions, but you need to know which one you’re working with because tracking variables differ between them. Your packages should be properly zipped with imsmanifest.xml at the root level, not nested in subfolders. Test your SCORM files in a standalone player first to confirm they launch correctly. If the package doesn’t work outside of LearnDash, it won’t work inside it either. Keep your original source files backed up in case you need to rebuild or troubleshoot the package later.
Step 1. Pick the right LearnDash SCORM plugin
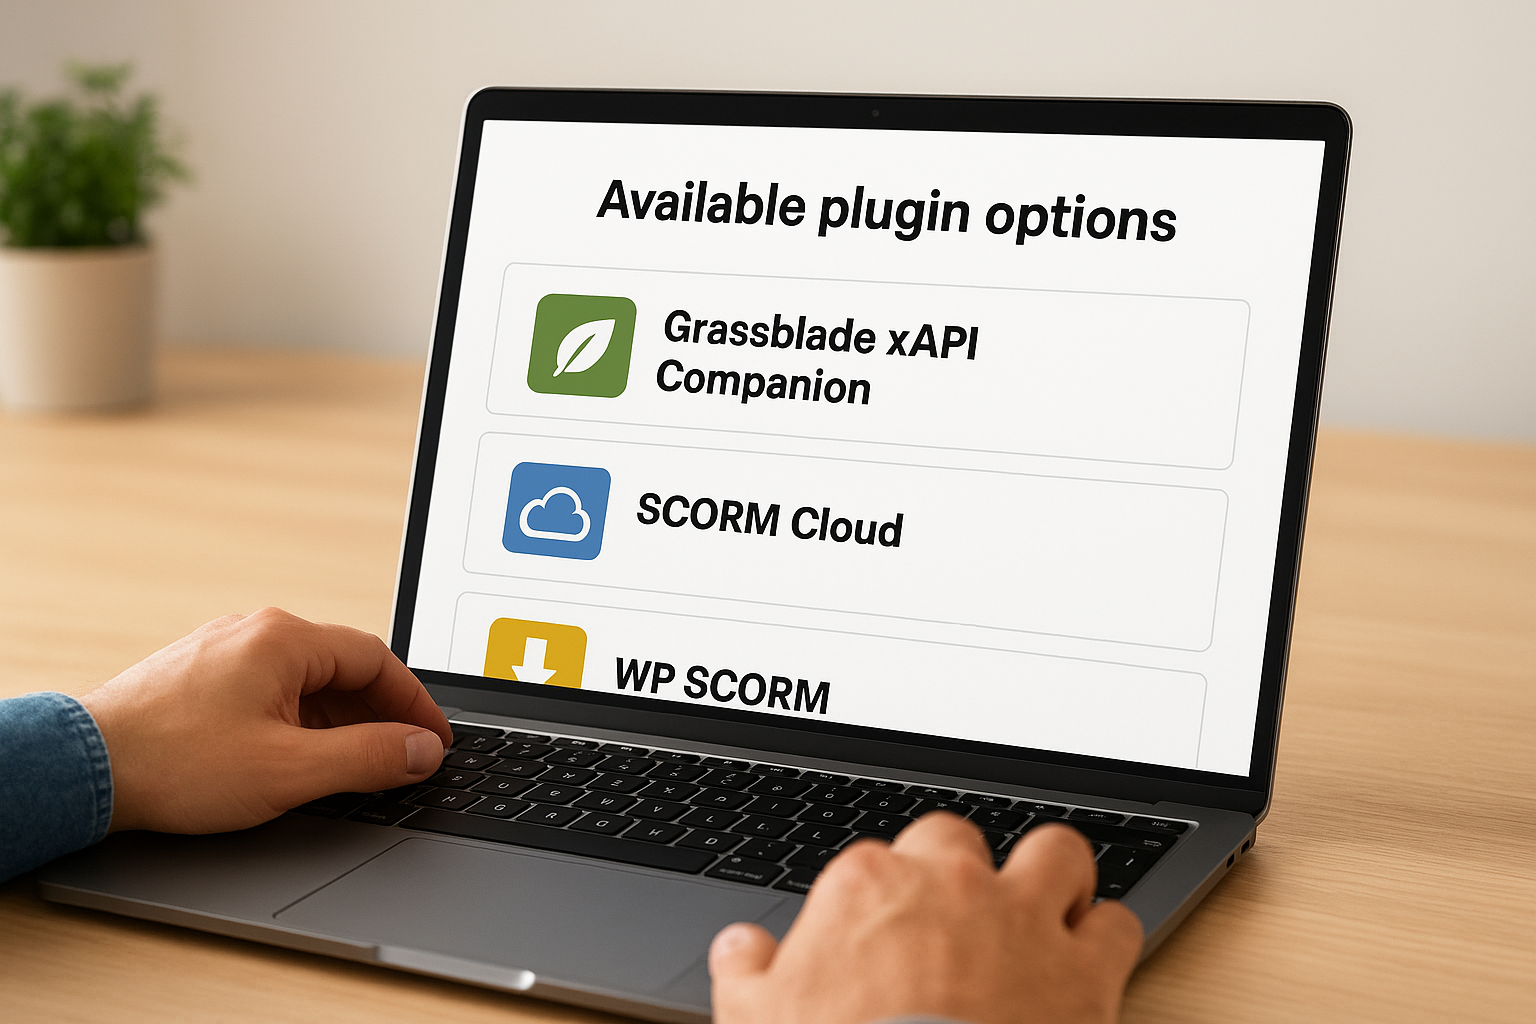
You have three main options for adding SCORM support to LearnDash: Grassblade xAPI Companion, SCORM Cloud plugin, or WP SCORM. Each one handles SCORM packages differently, so your choice depends on your tracking needs and budget. The wrong plugin will cause headaches with reporting and learner data, while the right one integrates cleanly with LearnDash’s existing course structure.
Available plugin options
Grassblade xAPI Companion is the most popular learndash scorm plugin because it supports both SCORM and xAPI (Tin Can) tracking. You’ll need Grassblade Cloud (subscription service) or a self-hosted LRS to store learner data. SCORM Cloud by Rustici Software offers robust hosting and detailed analytics but requires a separate subscription based on usage. WP SCORM is a free option with basic SCORM 1.2 support, though it lacks advanced reporting features. Pick Grassblade if you need comprehensive tracking and plan to use xAPI content later. Choose SCORM Cloud if you want hosted reliability and don’t mind paying per learner registration.
The plugin you choose determines what learner data you can track, so evaluate your reporting requirements before committing to a subscription.
Step 2. Install the plugin and set key options
Installing your chosen learndash scorm plugin follows the standard WordPress plugin installation process, but configuration varies significantly between plugins. You need to set up tracking parameters and storage locations correctly from the start, or you’ll lose learner data and face incomplete reports. Most setup issues happen because administrators skip the initial configuration screen and jump straight to uploading content.
Installing the plugin from WordPress dashboard
Navigate to Plugins > Add New in your WordPress admin panel and search for your selected SCORM plugin by name. Click Install Now, then Activate once the installation completes. If you purchased a premium version, you’ll need to upload the ZIP file manually through Plugins > Add New > Upload Plugin instead. After activation, look for a new menu item in your WordPress sidebar or under LearnDash > Settings depending on which plugin you chose.
Configuring essential SCORM settings
Open the plugin’s settings page and verify your SCORM version support is enabled for both 1.2 and 2004 if needed. Set your data storage method to either the plugin’s built-in database tables or an external LRS if using Grassblade. Enable completion tracking and configure which SCORM variables determine course completion, such as cmi.core.lesson_status or cmi.completion_status.
If you don’t configure completion criteria properly, LearnDash won’t mark courses complete even when learners finish all SCORM content.
Step 3. Upload and add a SCORM package to a lesson
Once your learndash scorm plugin is configured, you can start adding SCORM content to your courses. The upload process differs slightly depending on which plugin you installed, but the general workflow remains similar across all options. You’ll upload your SCORM ZIP file through the plugin interface, then assign it to specific LearnDash lessons where learners will access the content.
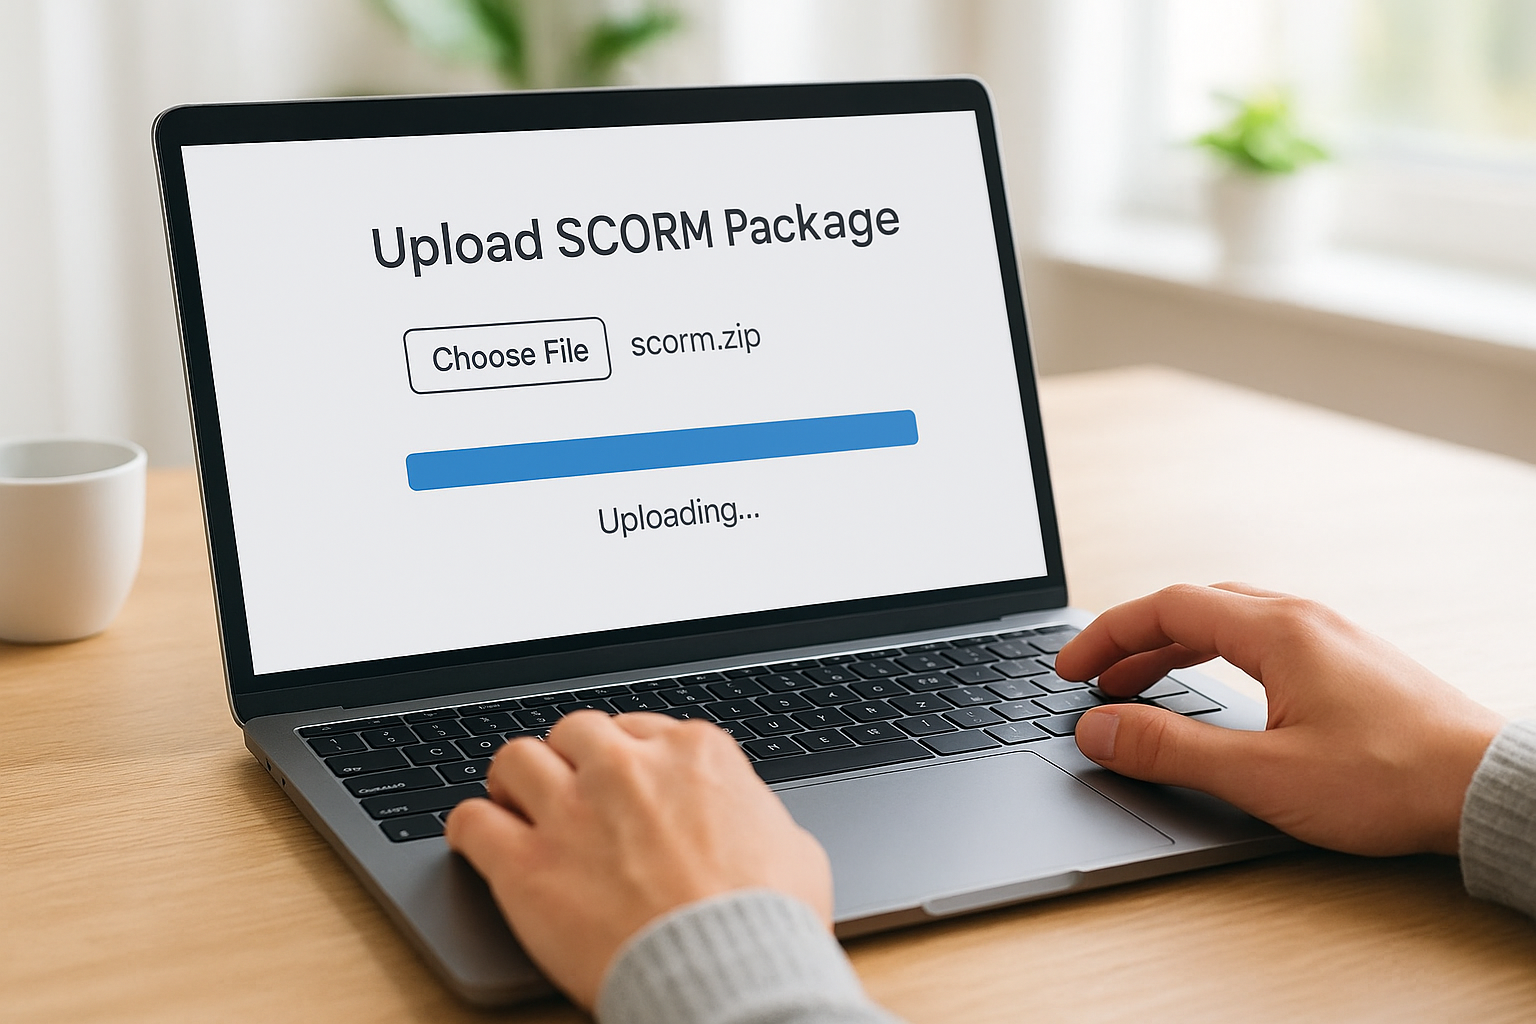
Uploading your SCORM ZIP file
Navigate to the SCORM management section in your plugin (usually under LearnDash > SCORM or a dedicated plugin menu item). Click Add New or Upload SCORM Package and select your ZIP file from your computer. The plugin will extract and validate the package automatically, checking for the imsmanifest.xml file and proper structure. Wait for the upload to complete before navigating away from the page, as interrupting this process can corrupt the package data.
Adding the SCORM package to a lesson
Open the LearnDash lesson where you want to add your SCORM content and scroll to the SCORM package selector or widget area that your plugin added. Select your uploaded package from the dropdown menu and save the lesson. The SCORM content will now appear within that lesson when learners access it.
Your SCORM package needs to complete the upload process fully before you can assign it to a lesson, otherwise learners will see broken links or error messages.
Step 4. Track completion, scores, and reports
After learners complete your SCORM content, you need to verify that tracking data flows correctly into LearnDash and your chosen storage system. Your learndash scorm plugin captures completion status, quiz scores, and time spent automatically, but you must know where to find this information and how to interpret it. Most administrators discover tracking gaps weeks after launch because they never validated the data pipeline during initial setup.
Accessing your SCORM reports
Navigate to LearnDash > Reports in your WordPress dashboard and select the SCORM Reports tab or equivalent section added by your plugin. You’ll see a list of all learners who accessed SCORM content, along with their attempt status and completion dates. For detailed session data, click on individual learner names to view their interaction history and score breakdowns. If you’re using Grassblade with an LRS, access the LRS dashboard separately for xAPI statement logs that provide granular tracking beyond what LearnDash displays natively.
Key completion metrics to verify
Check that your reports display cmi.core.lesson_status showing "completed" or "passed" for finished learners. Verify that raw scores and scaled scores appear correctly if your SCORM package includes assessments. Monitor total time tracked to ensure the plugin captures session duration accurately.
If completion data doesn’t appear within a few minutes after a learner finishes, your SCORM package may not be sending the proper completion variables to the plugin.

Next steps
You now have a working learndash scorm plugin that tracks completion and scores within your WordPress LMS. Test your setup with a few pilot users before rolling out SCORM content to your entire organization, and verify that all completion data flows correctly into your reports. Document any plugin-specific quirks you discover so your team knows how to troubleshoot issues when they arise. Keep your plugin updated to avoid compatibility breaks when LearnDash releases new versions.
If you’re finding LearnDash’s plugin-dependent approach limiting, consider exploring systems with native SCORM support that eliminate plugin compatibility issues entirely. Axis LMS includes built-in SCORM tracking, automated reporting, and compliance features without requiring third-party plugins. Take our LMS readiness quiz to see if a purpose-built learning platform better fits your training requirements. You’ll get immediate insights on whether your current setup meets your organization’s needs or if it’s time to evaluate alternatives.